Showing posts with label die cut. Show all posts

Wednesday, September 28, 2016

Have a Cheery Christmas

Hello, everyone! It is Jessi here today! Who is falling in love with all the new holiday stamps coming out in the MarkerPop store? My wishlist is growing everyday!

I was super excited to get my hands on one of the newest stamp sets from Lawn Fawn, Cheery Christmas. As soon as it arrived in the house, I had to rip it open and get started on a card!


I love making scene cards with cutesy stamps! Lawn Fawn stamps are perfect! I stamped the deer images onto white cardstock and colored them in with a variety of Chameleon markers. The images are cut out and set aside. I used two stitched rectangle dies to create the black frame and the smaller rectangle and a Pink & Main Scalloped Waves die to create the snowy ground of the scene. The deer are attached to the scene. I used two stamps to create the mistletoes hanging down. I decided it needed to have a bow and used a stamp from a different stamp set.  The sentiment is created on a banner and the rest at the bottom of the card.


What cute stamps to work with! Check out the rest of the Lawn Fawn stamps available in the MarkerPop store!


Stop by my MarkerPop post for the list of supplies used on this card!

Thank you for stopping by today!
Have a great day!

Monday, September 26, 2016

Let's Stick Together with Adornit

I am super excited to share my first project as an ADORNit Ambassador! It is going to be a fun adventure and looking forward to working with a variety of ADORNit product. Check out their website HERE and their Amazon store, HERE.


ADORNit has a variety of Coloring products. They include books and separate 12x12 pages. Today, I am working with one image from a new ArtPlay paintable page - Floral Jars designed by Carolee McMullin.  I paired the image with some bright ADORNit scrapbook paper designed by Laura Kelly.


I used a variety of greens and blues watercolors to fill in this adorable image. To make the colors brighter, I painted the image in multiple layers. The sentiment is colored in with bright orange. I used a stitched diecut to cut out the image. The panel is attached to a printed base and added to the card. A simple sentiment is stamped to complete the card.


Interested in learning more about the ADORNit brand? Like them on Facebook, HERE, and join their FB group ADORNit ArtPlay.

Thank you for stopping by today!
Jessi

Thursday, July 7, 2016

DCWV Watercolor Stack Layout

Hello, DCWV friends! It's Jessi from the Social Media Design Team. I am truly excited to be sharing another layout with you today! I am sort of in a slump of creating cards, but that is OK, because my love for scrapbooking is growing and it is now a fun art for me!

Today I am using two stacks that will be available soon at Hobby Lobby stores, Watercolor and Embossed White stacks!


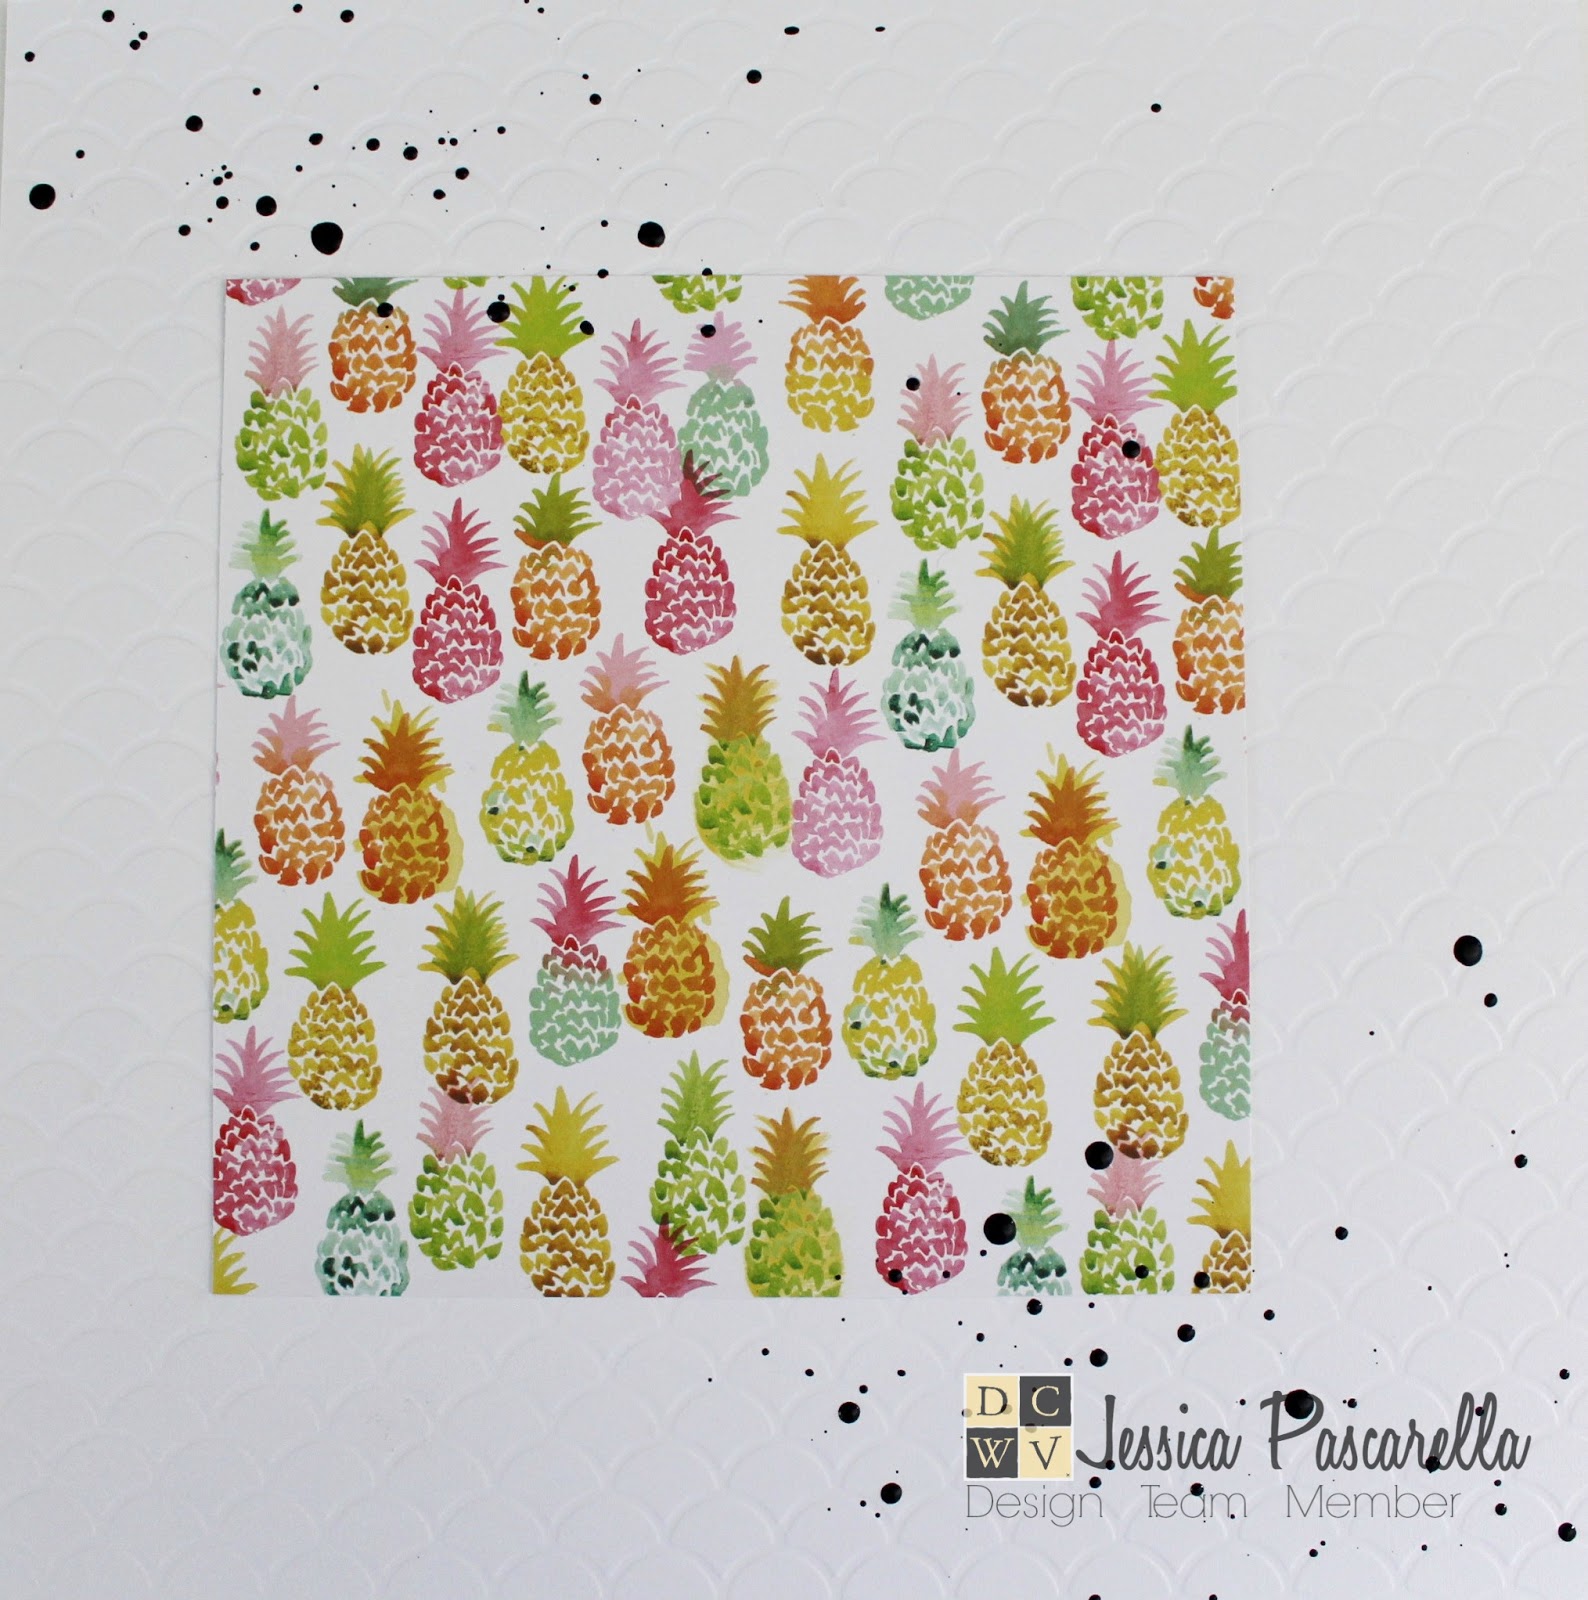
There are quite of few pineapples throughout the Watercolor Stack, so I decided to highlight them in different parts of the layout. I chose the color pineapple print to be the main background of the layout. I attached the print to a piece of white embossed cardstock. I decided to have the de-bossed side of the cardstock as the front of the layout. I loved how the print caused the indentions to the page.


I knew that the journal card I was going to use had black, so I wanted to add more black to the layout. I opted for black paint splatters. I used watered down acrylic paint on the end of a paint brush to form the splatters.


While the paint splatters are drying, it was time to piece the layers together. I used a variety of prints and one sheet of vellum to highlight the photo. The photo is attached to one fun print and set aside. A different print and vellum are attached together and matted onto the final print slightly tilted. The matted photo is attached to the top. A pineapple diecut is attached to the corner using a foam square.


To finish the layout, I added a journaling card and cut out a few words that were part of the Watercolor Stack.

Thank you for stopping by today!

Jessi


Supplies:
DCWV - Watercolor Stack and Embossed White Stack
Paper Studio - Vellum Sheet
Gina K Designs - Pineapple Die
Black Acrylic Paint

Tuesday, July 5, 2016

Joy Clair - Donut Worry Be Happy Bible Page

Hello, Joy Clair friends!  I hope all our USA friends enjoyed their holiday yesterday! It was a great day with the family and our closest friends. Lots of food and water fun!

Today I am sharing my latest Bible journaling page with you!
I used the following stamp sets on the page.

Worship Him
Worship Him Clear Stamps - Joy Clair - 1

Funny Foods
Funny Foods Clear Stamps - Joy Clair - 7


Here is the final page:


Interested in learning more about this project? You can find out the details on the Joy Clair blog!

What to learn more about Joy Clair stamps or see a number of inspirational projects using the stamps, please join the Joy Clair Facebook Group and our Color by Faith Facebook Group.
Thank you for stopping by!

Jessi
Supplies:
Joy Clair - Worship Him and Funny Foods stamp sets

Tuesday, January 19, 2016

PAWSitively Wonderful!

Hello, Pretty Cute Stamp fans! Hope you are having a fabulous week! I am excited to share my project with you today!

I am working with the adorable Doggone It and Fur Baby stamp sets!


These dogs are 'barking' to be a part of a scene card! I used a diecut rectangle to create the scene. Using distressed inks, I blended the ink to make the sky and grass. The dog and dog bowl images are stamped and colored onto cardstock. The images are cut out and attached to the scene. The scene card is attached using foam dots to the card base. A few cloud die cuts are added to the scene. A sentiment is stamped and embossed in white on a black banner. The banner is attached to the card.
 
Thank you for stopping by today!
 
Jessi


Supplies:
Pretty Cute Stamps - Doggone It and Fur Baby

Thursday, July 2, 2015

New Little Tangles Challenge - Die-cutting

Happy Thursday, everyone! Today starts a new Little Tangles Challenge and it is all about Die-cutting! So break out those dies and get to cutting!
 
My card today uses the Neat & Tangled's Hoop Die:

This was a very simple card to create.  I paired up the fun Neat & Tangled Hoop die with fun printed papers. A simple sentiment is stamped onto a banner. A perfect card for a new home owner!
 
I hope you stop by the Little Tangles blog to see more of the design team projects.

Challenge Guidelines:
  • Create a NEW project based on the challenge theme. Your project must fit within the challenge theme in order to be eligible to win.
  • Submit your entry through the Inlinkz tool below. (If you have a blog, please link to the blog post with your challenge entry, not your entire blog!)
  • Link back to our challenge and display our challenge graphic in your blog post.
  • The use of Neat & Tangled stamps is not required, but it is strongly encouraged! If you don't own any Neat & Tangled stamps, check out the FREE digi stamps HERE
  • You may enter as many times as you'd like.
  • We'd love for you to be a follower of Little Tangles!
  • You have until Thursday, July 30th at 11:59 EST to enter.
 

Thank you for stopping by today!
 

Jessi
 

Monday, May 26, 2014

Gallery Idol 2014 Round 2 is now open for voting!

Let Round 2 of the Gallery Idol begin! And it is all about Diecutting!

When I found out the theme for this round, I went to Pinterest for some inspiration. It was there that I came across the 'Die Cut Inlay" Technique. I will be honest. I was not familiar with that technique before this search. So the ideas started to come in. I made the first card and LOVED the technique!  I even made went on to make another! (Mainly because I was doubting my creation, but also because I had so much fun!)

So here is the card I submitted for Round 2 (and it was the first card I made using the technique):


To create the 'inlayed' target, I nested all the circle dies and ran them through the machine with two different papers. I separated the circles and re-created the target design alternating the paper.  Other dies used on this card were the heart die and the pendant die.

The finishing touches included the sentiment (made with both stamps and stickers). Wood veneers are attached using twine.

I truly appreciate you visiting my blog. I hope you will take a look at the other 19 talented designers! You can take a look at all the entries HERE. Please take the time to vote for your favorite! 

Have a great day! 


Supplies:
Crate Paper -  Love Notes
Spellbinders - Circles and Pendant Dies
Sizzix - Heart Dies
Studio Calico - Wood Veneers
Trendy Twine - Totally Natural
Sweet Stamp Shop - Wheely Like You
My Mind's Eye Word Stickers

Playing along with the following challenges:
Through the Craft Room - Anything Goes
Scrapbooker PhD Challenge  - Die cuts
The Pink Elephant - Anything Goes

Sunday, January 26, 2014

Prickley Pear Spring Blog Hop Day 2

Welcome to Day 2 of the Prickley Pear Spring Release Blog Hop! I hope you are enjoying the fun creations the design team has shared using the Prickley Pear Spring Release stamps! You should be arriving from Brenda's blog!

If you did not hop with us yesterday, there is still time. Check out the details on the Prickley Pear blog!

Here is my first creation using the Spring Crosses Clear Stamps 2 from the newest release:


I was in need of a bookmark for the missal I use each week at church. Once I saw the new Spring Crosses  clear stamps, I knew what I wanted to do. Using the Flourished Oval Nesting Die (D-043), I cut out 2 diecuts from a notebook style paper. In the middle of one of the ovals, I used the Cross Die(D-032) to cut out the cross shape. The next stamp is to stamp and color the cross image from Spring Crosses Clear Stamps 2 . The final touch was to add the gold ribbon.

Thank you for stopping by! The next stop is to the talented Jenn!

But before you leave, be sure to leave a comment! Each comment you leave along the hop, increases your chance to win one of two amazing prizes! 


Have a wonderful day!

Just in case you get lost along the way, here is the Day 2 lineup:

Jessica *you are here*


Friday, July 22, 2011

Trend of die-cut cards...I'm finally there!

I am in love with kraft cardstock.  I tend to use it for all my cards.  It is a habit that I should break...but why stop something that's so good! Although, I did do something that is out of my comfort zone.  I decided it was time to use a die-cut to make the card itself.  I broke out my Spellbinders to start this card.  I must say that I might get addicted to the shaped cards, a nice break from rectangle/square cards!!!! Here is my creation with Adornit Vintage Groove:

Supplies also used:
Buttons - Basic Grey
Alpha Letters - Cosmo Cricket

Challenges:
Frosted Designs - Buttons