Showing posts with label home décor. Show all posts

Thursday, October 25, 2018

Pebbles, Inc. Guest Designer - Along the Way

Hello, Pebbles, Inc. fans! This is Jessi and I am excited to be a guest designer for the Pebbles. Inc blog. I was given the super adorable Along The Way Collection. Once I got the collection in my hands, I could not wait to get to work. I immediately fell in love with the gorgeous colors used throughout the variety of prints!

First up, I made a simple home décor hanging using a few different prints:


This project started with a unfinished house shape wooden piece. I cut the different prints down to the correct sized and glued to the wood. I used a few more prints for form the different layers to highlight the saying. To finish the piece, I used on the of pieces from the Along the Way Ephemeras.

Next up is a page I completed in my Bible Journal:


I used more of the additional Along the Way embellishments than I did the papers. I used some ephemeras, 3D sticker, and word stickers. I did cut up a few of the 2x3 squares included on one side of  a 12x12 sheet. 

Another thing I loved about this collection is how easy it is to throw together some quick cards:


In the Along the Way collection, there is a box of cards. These cards are made using some of the fun prints from the collection. A great way to get started on a card. I cut up a few different tags from a 12x12 sheet and created the cards using frames and stripes of paper. 

I enjoyed my time as a guest designer. Thank you Pebbles, Inc. for the opportunity!

Jessi

Tuesday, September 27, 2016

DCWV Fall Paper Wreath

Hello, DCWV friends! It is Jessi from the Social Media Design Team. It is Fall and it is time to bring out the fall home décor! A few weeks ago, I shared the start of my decorating with the new Lia Griffith DIY Project Stacks. Today, I am adding to the décor using the new DCWV Autumn Leaves Stack.


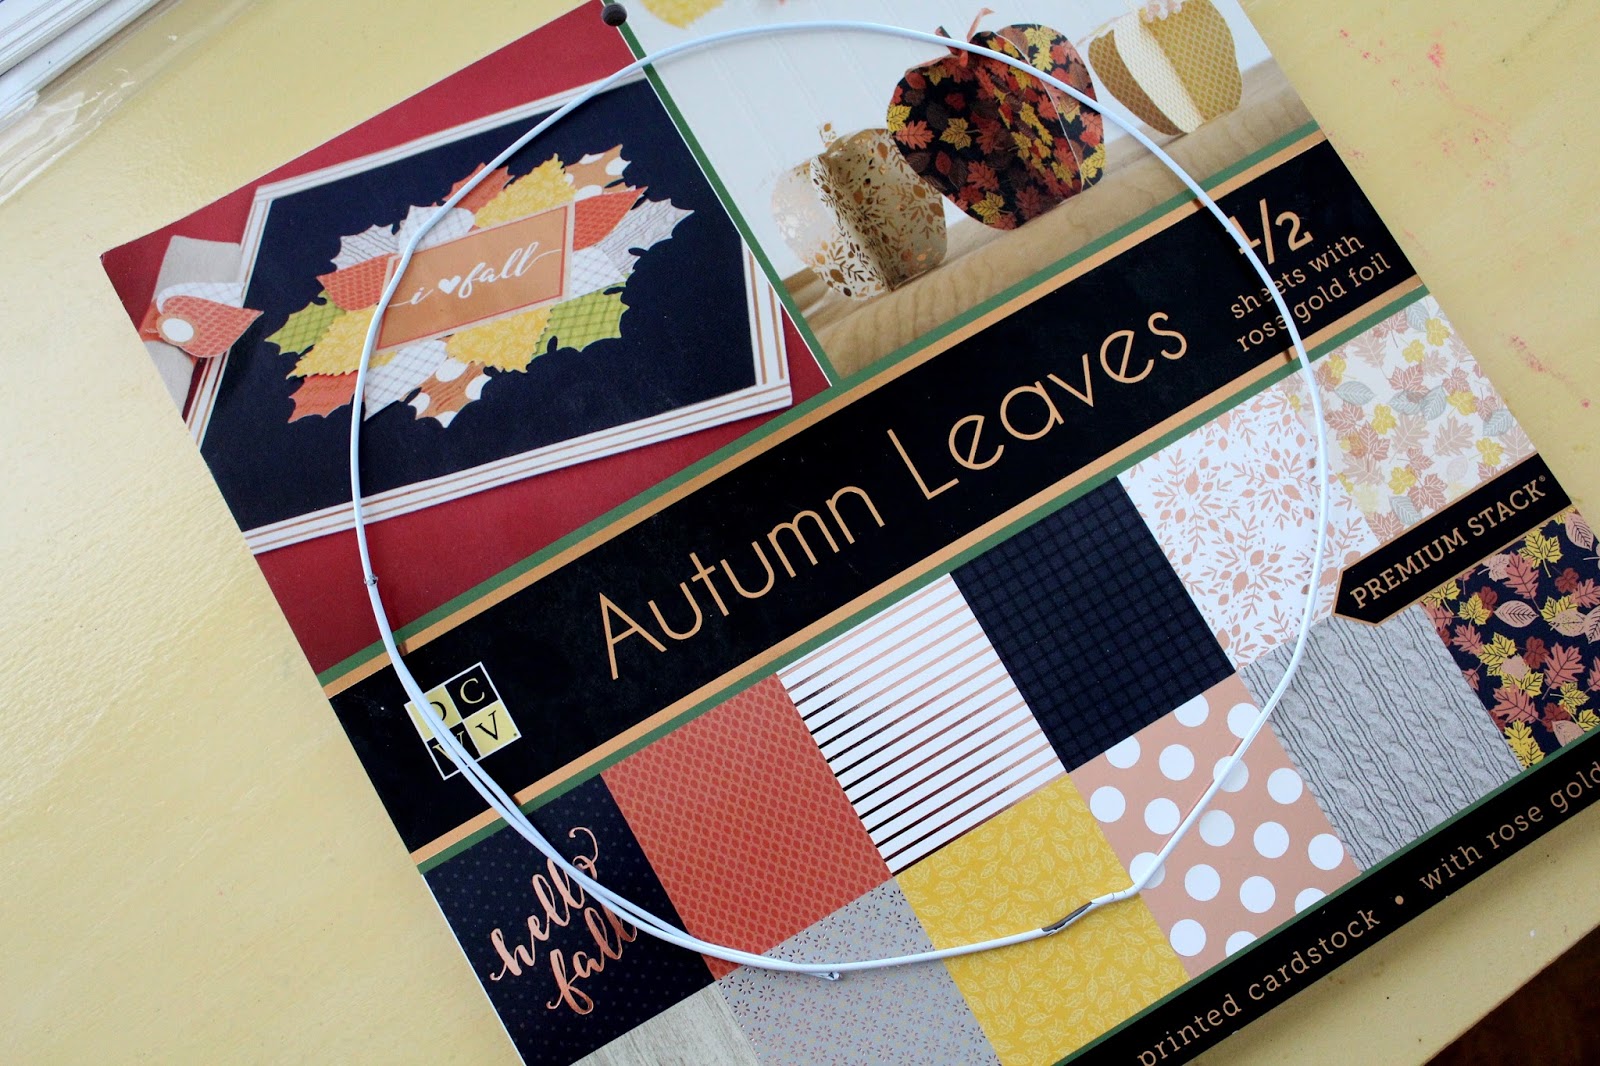
This is such a simple wreath to recreate! All you need is the DCWV Autumn Leaves Stack, glue, and a wire coat hanger!

To start the project, form a circle with the wire hanger. You can make the circle to the size that fits your needs.


Next, cut strips of printed paper. You can cut them at any width, mine are done at 1.5inches.


Fold the strips in half and place glue on the inside of one side. Put the crease of strip along the wire and fold in half. Repeat until the circle is full.  To add some detail, I cut part of the strips to make pendant-like tips at the end of the strips. To fill in the gaps in between the wreath, I added a variety of printed strips. To finish the wreath, I cut out a 12inch sentiment and placed across the center.


Thank you for stopping by!

Have a great day!

Friday, September 9, 2016

DCWV & Lia Griffith Fall Decor

Hello, DCWV friends! It's Jessi from the Social Media Design Team. Who all is ready for Fall? I know I am! But it will not arrive for awhile here in Texas! That doesn't stop me from decorating the house! This year, DCWV and Lia Griffith teamed up to make it super easy to get in the Fall mood!

Today, I am using the DCWV & Lia Griffith project stacks available at Joann's stores. First up is the Paper Pumpkin Stack. This stack includes pumpkins in different sizes and colors. These are super easy to assemble.

1. Punch out the pumpkin.
2. Assemble the pumpkin.
3. Twist paper stem and attach.
4. Glue on pumpkin leaves.


Next up is the Fall Acorn stack. These are just as simple to make!

1. Assemble the bottom of acorn.
2. Assemble the top of acorn. Tie twine on the top.
3. Attach the two pieces together!


Be sure to stop by Joann stores to see the entire collection of DCWV and Lia Griffith Project Stacks!

Thank you for stopping by today!

Saturday, January 23, 2016

LOVE Burlap Banner

Hello, DCWV friends! It is Jessi from the DCWV Social Network design team. Can you believe that Valentine's Day is less than one month away! Perfect timing to bring out the Valentine's Day décor!
 
I have a fireplace mantel that I leave the same décor on it year round. However, this past Thanksgiving, I decided to decorate it for the fall. I had so much fun switching the décor from fall to winter and have been looking forward to doing something different for Valentine's Day.
 
Recently, I received some new product available, Gold Threaded Burlap, at Hobby Lobby stores. One stack was of burlap paper that included strand of gold throughout the burlap. I knew right away, I wanted to make a banner with it! So I trimmed the sheet to make the banner pendants. Time to gather up the supplies!
 
 
Next thing to do is to paint the letters using stencils.
 
 
To help bring out the gold touches, I wanted to added additional gold to the banner. Using DCWV Foil cardstock, I punched out hearts and created these doilies to be placed in between the pendants. After the paint dried, I punched holes in the top corners of the pendants. (These will be where you where string the pendants together.
 
 
To piece the banner together, fold the doilies in half and glue with the twine in the crease. Place one the first pendant of the banner and attach another doily. Repeat until the banner is complete!
 
 
Thank you for stopping by today! Be sure to keep visiting! There are some amazing things in work at DCWV! We cannot wait to share them with you!
 
Jessi

Friday, September 11, 2015

DCWV Job Chart

Hello, DCWV friends! Are you ready to see another project using one of the new DCWV oversized paper stack? If you have not seen them, you can check out the new products available at Joann Fabric & Craft Stores.

I started off with a couple supplies: DCWV 11x17 White Stack Foiled Accents and a float frame.


My kids are at the age where they are asking for ways to earn money. So to make it easier my goal is to create a 'Job Chart' that will be hung on the family command wall:


I will have to attempt, this project is not finished. I will be adding 2 more clips in the middle of this board. However, the stores I went to were all out of the clips!

This was a simple project to create. I cut down the paper to the frame size (10x13).  Before adding the paper to the frame, I added a simple title using vinyl letters. The clips are glued to the glass and the project is finished! Time to add the jobs and the money!

Thank you for stopping by today!