Friday, March 31, 2017

Hoppy Easter

Happy Friday, MarkerPOP friends! Can you believe that today is the last day of March? Bring on April! So when someone mentions the month of April, I usually think of flowers and bunnies. So let's get to work with some bunnies.

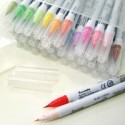
Today, I am working with the Lawn Fawn's Hoppy Easter stamp set and Chameleon markers:


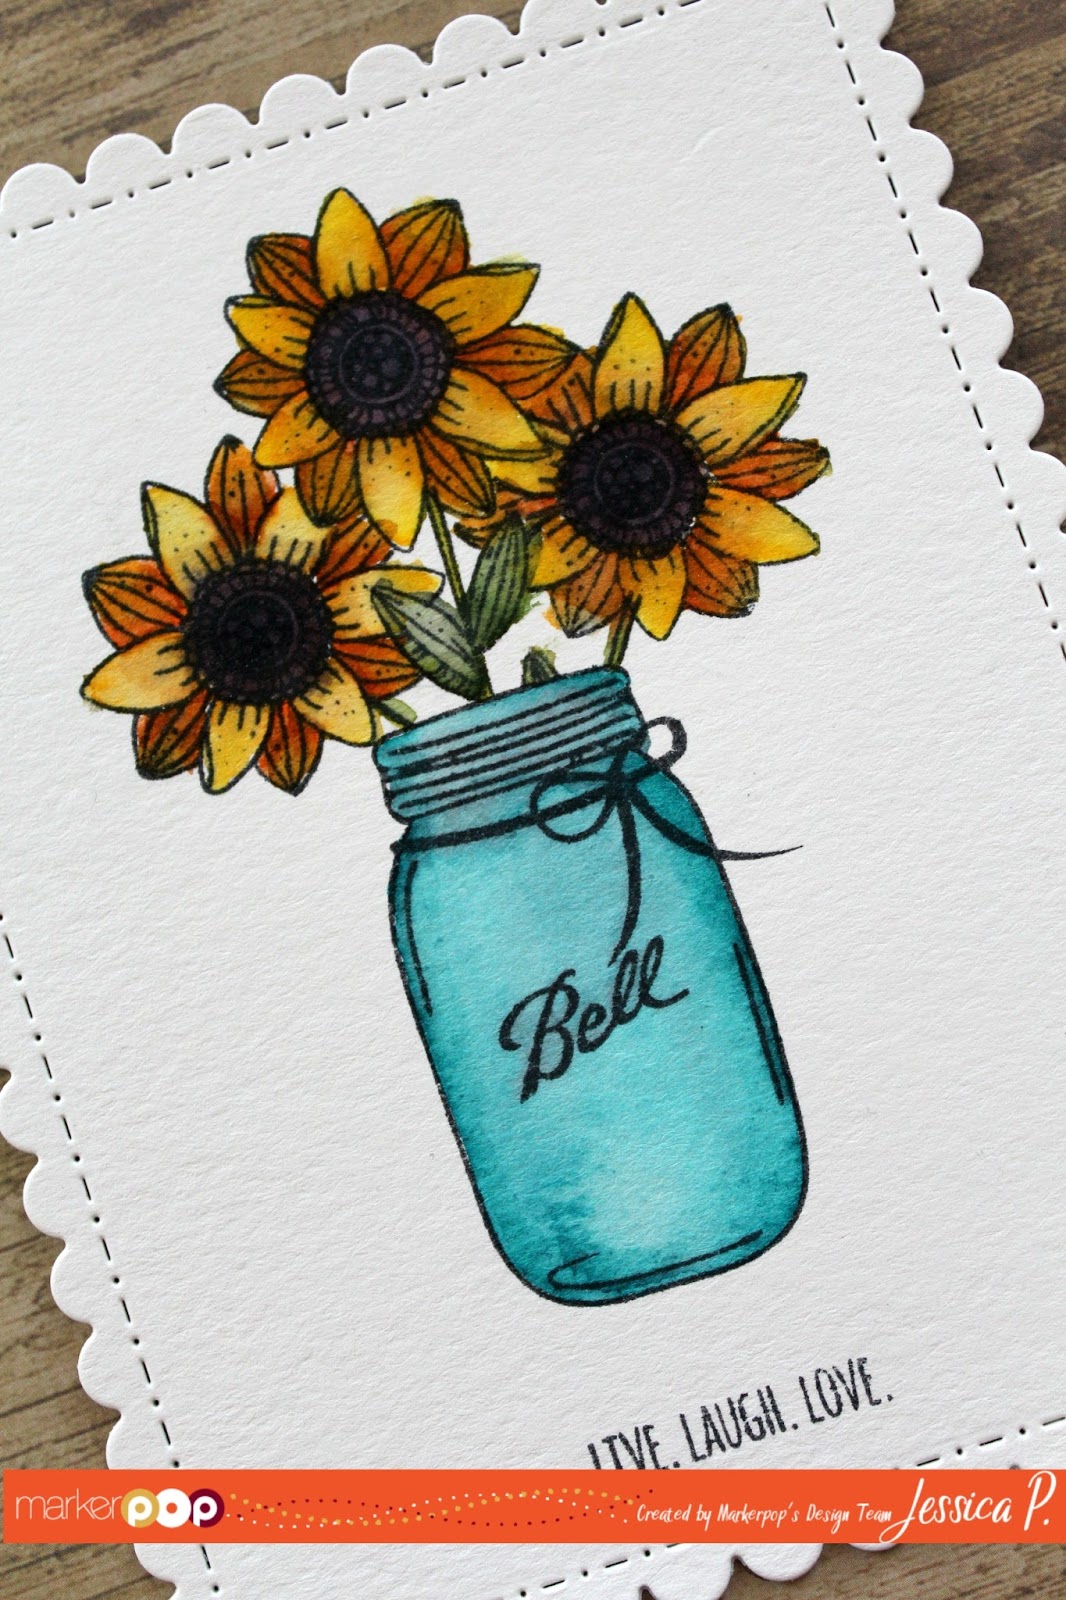
To create the background for the card, I used a few different prints from the Doodlebug's Hello Sunshine 6x6 paper pad. The hill is formed using a stitched wave die. The two printed are attached to the cardbase.


The bunnies are stamped onto white cardstock, along with the carrot, egg and basket. All images are colored in with a variety of Chameleon markers. The images are then cut out with their coordinating dies. The bunnies are attached on the hill. The egg, carrot, and basket are attached to the bunnies as if they are holding the items. A simple sentiment is stamped onto a orange printed paper and attached to the top of the card.

Please hop on other to the MarkerPOP blog for the list of supplies used on today's card.


Thank you for stopping by and have a wonderful day.

Jessi


Friday, March 24, 2017

Spring Coffee Lovers Bloghop - Joy Clair Stamps

Welcome, friends! I hope you are enjoying the Spring Coffee Lovers Bloghop! There are so many talented artists joining in the fun! I am sure you are getting super inspired to go and create after this hop! If you are stopping by and interested in starting at the beginning, hop on over to the official Coffee Lovers Blog to start.


Image may contain: text
Today, I am joining some of my fellow Joy Clair design team members to showcase how with use the Joy Clair stamps for our coffee projects. You can see the team's creations on the Joy Clair blog.

For today's project, I am using the Coffee Lovers stamp set to complete a Bible Page:

 Clear Stamps - Coffee Lovers Clear Stamps - Joy Clair


To start the page, I stamped the coffee cup onto the page and also on a spare sheet of cardstock. I cut the spare cup out and placed it on top of the cup on the Bible page. This provides a mask over the cup. I stamped a few circles from the April Showers stamp set around the cup and around the page. The circles are stamped with distress inks, which react with water. So I used a wet paintbrush around the circles. The sentiment stamps are added to the Bible page. To fill in some of the empty space, I added a few of the steam stamps. To finish the page, I added watered down paint splatters around the page. Time to remove the mask on the cup! I added a few names from the Letter to God stamp set onto the coffee cup.

Let's talk about the prize! Who wants a chance to win a $25 gift card to the Joy Clair store? All you have to do is comment on this blog and all the Joy Clair design team members' blog. The winner will be announced on the Joy Clair blog at the end of the month!

Thank you for stopping by!

Jessi

Joy Clair Stamps used on today's project:

Chunky Thank You with Prima

Hello, MarkerPOP friends! I hope your week has been a great one. It has been a busy one here, trying to get back to the normal routine after Spring Break. I had some neighbors helping me out, so I needed to come up with a fun thank you card to show my appreciation.

Today, I am working with Stampendous Chunky Thank You Cling Stamp and Prima Confections watercolors to create this card:


A stamped the image with black ink onto some watercolor cardstock. The image is colored in with Prima Confections watercolor paints.

***This is the first time I used Prima Confections paints. I am so pleased with how creamy and thick these paints are. I am not use to that thickness, so I will need to practice more with learning how to get light to dark shades of one color.***

To add some detail to the card, I added some sparkle to the butterflies by added a layer from the Wink of Stella pen. (It is hard to capture the sparkle in a photo.


To finish the card, I used a stitched rectangle die to cut out the panel with the image. The image is then attached to a black cardbase. I felt the card needed a little more detail, so I added a few drops of NUVO black Crystal Drops.

Thank you for stopping by today! Don't forget, there are a few days left of the Copics Birthday celebration...be sure to join in for your chance to win!


Have a great day!


Monday, March 20, 2017

Joy Clair- Hedge of Protection Bible Page

Hello, Joy Clair friends! I am happen you stopped by today. For the month of March, the Joy Clair design team is pulling out some of the order stamp sets and making some new projects with them.

One of the stamp sets that I choose to work with is the super adorable Hedge Hogtastic stamp set.

Hedge Hogtastic Clear Stamps - Joy Clair - 1

This stamp set is part of the Everday stamp collections available at Joy Clair, but today, I decided to use the stamp set on a Bible Journaling page.  This year, I have been completing a new Bible Study. One day, while reading Job...Chapter 1 Verse10, and the word 'hedge' was mentioned. The moment I read that word, I knew that I wanted to include a hedgehog while journaling this page.
So below is the final project:


So while I was creating this page, I was so focused, that I forgot to take step by step pictures. I am going to explain the steps below. If you have any questions or need more clarity, please let me know.

Step-by-step tutorial:
  1. Prepare the Bible page with a layer of clear gesso.
  2. Stamp hedgehog images along the side of the page with back ink.
  3. Color in the hedgehogs with a variety of ZIG Clean Color markers and water.
  4. Stamp the word 'HEDGE' using the Soft Letters Alpha stamp set and color in with a green ZIG markers and water.
  5. Color in the background with blue ZIG Clean Color markers and water.
  6. Create the rest of the title for the page using word and alpha stickers.
  7. To fill in some of the empty space, I added a few cloud diecuts.
  8. Stamp the date onto the bottom of the page.
Thank you for stopping by today! Hope you have a 'hogtastic' day!


Friday, March 17, 2017

Reach for the Sky


Hello, MarkerPOP friends! I hope you all had a wonderful week and are ready for the weekend!  It is Spring Break here and we are currently experiencing some beautiful weather. (Not trying to rub into those who are currently dealing with a big snow storm.)


Today I am working with Hampton Art Reach for the Sky stamps and ZIG Clean Color Markers:


I stamped the image onto some watercolor cardstock. Once the ink dried, I used a variety of ZIGs to color in the scene. Recently, I have been seeing a trend were the artist does not fully color in the image. There is white space that is left in a tiny part of the image. I decided to give this technique a try with this card. I have fallen in love with and look forward to using it on future projects. The sentiment is stamped in the bottom corner.


The following ZIG Clean Color Markers were used on this project: 021, 036, 064, 065, and 081


Thank you for stopping by today! Hope you have a great day!

Jessi


Thursday, March 16, 2017

Joy Clair - My Redeemer March Blog Hop


Welcome to the Joy Clair's My Redeemer Blog Hop! You should be arriving to from the super talented LeeAnn's blog. If you happened upon this hop and would like to start from the beginning, hop on over to the Joy Clair blog.

For this hop, Joy Clair decided to change this hop a bit and invite you guys to play along with a fun game.  So play attention to the end of this post for more details!

For special blog hop is to showcase the new My Redeemer stamp set from the Color by Faith stamp line. Throughout this hop, you will see a variety of projects created by the design team to highlight this special stamp set.

For today's project, I designed a Bible page with the stamps:


To start of the page, I stamped the scene in the margins of the Bible page. The scene is colored in using colored pencils. To create the hills, I used a different shade of green. The cross is colored in with a few different browns. This is such a simple page to recreate.

Now let's talk about the game. Along the hop, each design team has a key word. By the end of the hop, you will have the secret sentence. All you have to do is email the sentence to me for your chance to win a $25 gift certificate to the Joy Clair store. The winner will be announced at the end of the month on the Joy Clair blog.

My secret key word:
email your sentence to kissinkrafts@yahoo.com

STAMPS
 Thank you for hopping along with the Joy Clair design team! Don't forget to go and email you answers!

Have a great day!


Tuesday, March 7, 2017

Happy Mother's Day - Avery Elle

Hello, MarkerPOP friends! It seems a little early to be making a Mother's Day card, but did you know that the UK equivalent is later this month on March 26th?

Today's card using the new Avery Elle's Mother's Day stamp set, paired up with some Touch Markers:


I used the word stamp to create the background for the card. The stamp is stamped in black ink at an angle, repeatedly. The floral image is stamped and colored in. The matching die, for the Mother's Day stamp set, is used to cut out the floral image. The floral image is then attached with foam tape. To add a little more detail to the card, I glued on a few clear droplets.


This is my first project using the Touch markers. The colors are so vibrate. I cannot wait to get my hands onto more colors very soon! Check out the colors available in the MarkerPOP store, HERE.


Interested in learning more about the supplies used on today's project? Please stop by the MarkerPOP blog for the details!

Also, Did you hear about the awesome COPICS giveaway? Check out THIS post for the information on how you can enter for the chance to win some amazing prizes!


Thank you for stopping by today!

Jessi

Friday, March 3, 2017

Live.Laugh.Love

Happy Friday, MarkerPOP friends! Who is ready for the weekend? I know that I am. My allergies have been strong this weekend and I am ready to curl up on the couch and do nothing...well, in my dream world anyway. Kid activities are going to be keeping me busy!
 
With Spring here, at least in my part of Texas, it is time to start planting in my garden. So I have been having flowers on the brain for the last few weeks. So I decided to create a floral card for this week's card.

Today's card using the ZenFloral and Not too Shabby stamp sets from Honey Bee Stamps:


To start the card, I used watercolor card stock and stamped the jar image. For the flowers, I stamped the center flower onto the cardstock. I stamped an additional flower onto some masking paper and cut the image out. I layer the masking flower on top of the center flower. I stamped two more flowers, one on each side.


I used ZIG Clean Color markers to color in the images. To finish the card, I cut the panel out using a scalloped rectangle die. I also cut out a panel of kraft cardstock for the back of the card. The sentiment is stamped in black at the bottom of the card.

Be sure to check out the rest of the Honey Bee Stamps available in the MarkerPOP store!

Be sure to stop by the MarkerPOP blog to see the list of supplies used on today's project!


Thank you for stopping by and I hope you have a great day!

Thursday, March 2, 2017

Joy Clair - Designer Labels Bible Page

Hello, Joy Clair friends! I am happy you stopped by today. For the month of March, the Joy Clair design team is pulling out some of the order stamp sets and making some new projects with them.

One of the stamp sets that I choose to work with Designer Label's from the Color by Faith stamp line:

 Clear Stamps - Designer Labels | Bible Journaling Clear Stamps - Joy Clair - 1

One of my favorite stamp techniques is paper-piecing. I love to stamp images onto printed papers and piece the images back together for a pretty outcome. The dress image in the Designer Labels stamp set is perfect for this technique.


To start this project, I stamped the dress image onto a variety of prints, as well as the alphas that were going to be used on the pages.

**Tip** If you find pairing up prints challenging, work with paper pads. The companies make sure that each print works with each other. Makes our job very easy when pairing up prints!


I had a vision for the page, but during the process, I decided to make the layout spread over 2 Bible pages. So below is the first page:


The dress is created by using two different prints. The bottom layer was stamped on a purple print. The top layer is stamped on a floral print and cut slightly short, so you can see the different layers of the dress.

The letters are stamped onto different prints. At first, I was planning on adding the alphas to the page, but decided to add them to a printed strip to make the letters pop more. To make the first page flow to the next page, I used a diecut arrow to point in to the directions.


I used a pocket card from the paper pad and stamped the words from the Designer Labels stamp set onto. The rest of the page is pieced together with a variety of printed papers and word/alpha stickers.

I love of the mixture of pinks and blues look on the 2 pages. Such an elegant combination to use in the Bible.

Thank you for stopping by today!

Wednesday, March 1, 2017

Joy Clair March Challenge

Hello Joy Clair friends! Can you believe that it is March? And that means that it is time for a new challenge over on the Joy Clair blog! So I hope you hop on over, get inspired, and join in the fun!

Here is the inspirational picture for this month, Spring Has Sprung!


I love the colors in the picture. So I decided to used those as my focus on my card:


To start this card, I  took the floral image from the Hugs & Smiles stamp set and stamped it multiply times around a watercolor cardstock panel. I gathered a variety of ZIG Clean Color markers to color in the individual flowers. It is hard to tell in the photograph, but I added sparkles to the gray dots around the image. The sentiment, from the Everyday Sentiments stamp set, is stamped in the middle of the panel.  The panel is then attached to a piece of vellum and attached to a purple cardbase.

Such a easy card to recreate! I hope you feel inspired to join in the Joy Clair March Challenge! Hop on over to their blog and add your creation!

Thank you for stopping by and have a awesome day!

Jessi