It is Tuesday, my day for Visible Image! Today I am switching it up! I stepped away from making a card and have an altered project to show you!
So here an Altoids Tin that I altered:
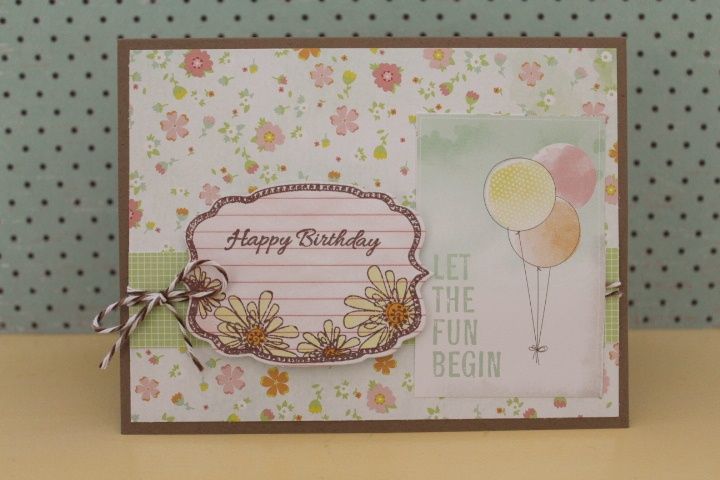
I used a collection of stamps for the Visible Image The Sewing Room Stamp Set to decorate the tin.
Here is a look at the inside of the tin:
Have you checked out Visible Image's monthly challenge? Just a few more days to enter the current challenge!
We would love to see you Visible Image creations! Join our Facebook group and share those creations!
Thanks for stopping by today!
Tuesday, January 29, 2013
Monday, January 28, 2013
Prickley Pear Monday!
Hello, Prickley Pear fans! Hope you all had an amazing weekend! I managed to set some time aside and create! That made my weekend :)
Here is my Monday card for Prickley Pear:
I switched it up alittle and decide to create a small 4in square card. I had so much fun doing a card this size and shape, I might be doing more soon!!
I took some stamps from the new Winter CHA release to start this project. I used the bird stamp and decided it was perfect to paper-piece the image and added foam dots to 'pop' the bird off the card. I used a die-cut to form the window and the frame. I felt the sentiment should be short and sweet and decided to stamp it on a simple strip of paper, embellished with a button/twine combo.
Thank you for stopping by today! Please stop by the Prickley Pear blog to see the talented design team's card being revealed today!
Have a great day!
Playing along in the following with:
Simon Says Stamp Challenge - Paper-piecing
Supplies:
Prickley Pear Rubber Stamps - Spring Flourished Ovals (sentiment) and Winter CHA Bird
Basic Grey Lucille Paper Collection
Spellbinders - Label Three
Trendy Twine - Kraft twine
Misc. Button
Foam Dots
Memento Rich Cocoa Ink
Sunday, January 27, 2013
A Fun and Relaxing Sunday Creation
I am super excited! I found time today to create a card, just for the fun of it! So as I was looking around different blogs for inspiration, I found a couple of challenges that I wanted to play along with!
So here is my creation:
I have been using Lily Bee Design's Double Dutch collection allot lately! I absolutely love the colors and prints! I decided to cut strips of different patterns and glued them to a piece of cardstock. Once the glue was dried, I ran it through the Cuttlebug with a Spellbinder die-cut to create the circle. I stamped the Neat and Tangled sentiment in black and used another die-cut to form the tag. After piecing the card together, I added the button/twine combo to finish off the card.
Today I am playing along with the following challenges:
Little Tangles - Button
Moxie Fab - Itty Bitty Cards
Card Makin' Mamas - Clean and Simple
CAS-ual Fridays - Use a Marker
Thank you for stopping by and hope you have a great day!
Supplies:
Lily Bee Designs - Double Dutch Collection
Neat and Tangled - Kindness Matters
Trendy Twine - In the Navy
Spectrum Noir Marker - CR08 Red (Heart)
Misc. Button
Spellbinders - Circle and Tag Diecuts
So here is my creation:
Card measures 3in x 3in
I have been using Lily Bee Design's Double Dutch collection allot lately! I absolutely love the colors and prints! I decided to cut strips of different patterns and glued them to a piece of cardstock. Once the glue was dried, I ran it through the Cuttlebug with a Spellbinder die-cut to create the circle. I stamped the Neat and Tangled sentiment in black and used another die-cut to form the tag. After piecing the card together, I added the button/twine combo to finish off the card.
Today I am playing along with the following challenges:
Little Tangles - Button
Moxie Fab - Itty Bitty Cards
Card Makin' Mamas - Clean and Simple
CAS-ual Fridays - Use a Marker
Thank you for stopping by and hope you have a great day!
Supplies:
Lily Bee Designs - Double Dutch Collection
Neat and Tangled - Kindness Matters
Trendy Twine - In the Navy
Spectrum Noir Marker - CR08 Red (Heart)
Misc. Button
Spellbinders - Circle and Tag Diecuts
Saturday, January 26, 2013
Trendy Twine's Pretty in Pink Blog Hop
Are you having fun with the Trendy Twine Pretty in Pink Blog Hop? Aren't the new colors fabulous?
Don't forget the special price for the 2 new colors, (THIS WEEKEND ONLY)! You can get both colors for $16.50! Once the sale is over, the cost will be $9.00 per spool. You can get them out HERE!
These minis will be on sale for $3.95 per set. Check them out HERE!
You should be arriving from Jamie's blog. If not and you are interested in joining the blog hop, start HERE!
Today I am sharing with you a project I created with the new Pink Midnight Twine! I LOVE this color combo! It is gorgeous!
Chalkboard Heart Magnet:
One day as I walking around Hobby Lobby, I came across this heart-shaped bottle cap. I had to have it. I wasn't sure what I was going to do, but eventually decided to make a magnet out of it.
The first step was to trim a piece of chalkboard vinyl to fit the inside of the heart. Once the vinyl was attached, I wrapped the Pink Midnight Twine to outline the shape. The finishing touch was to add the button/twine bow. My idea is you can label the magnet as a way to organize the papers on your fridge. (Coupons, To-dos, etc)
Now, do you want to know what is up for grabs? How about a $15, $10 or $5 store coupon to be used to buy your own yummy twine?
All you have to do is :
- Follow the Trendy Twine Blog
- Like the Trendy Twine Facebook page
- and leave a comment on each blog in this blog hop!
You have until 10:00PM CST to complete the requirements! The 3 winners will be chosen at random.
Now it is time to hop on over to see Jessica's blog!
Thank you for stopping by! Hope you are having fun!
In case you get lost along the way, here is the Blog Hop Line-up:
Helen - http://www.htbcreations.com/
Jessi - http:// kissinkrafts.blogspot.com/ (You are HERE)
Jessica - http:// chick-n-scrap.blogspot.com/
Friday, January 25, 2013
Gorgeous Prickley Pear Spring Stamps
Happy Friday, Prickley Pear fans! Hope you are excited for the upcoming weekend!
Have you been enjoying the newest stamps from Prickley Pear? They are just super gorgeous in my opinion!
Today I an sharing yet, another CAS card with you. Using the new Spring Crosses and the Flourished Oval die cut.
Once the die-cut was done, I ran it through the Cuttlebug to add some dry embossing to it. I believe that is adds a special effect to the card.
Thanks for stopping by today! Have a great weekend!
**We are experiencing some technical errors with our online store, we are working to fix this matter.**
Prickley Pear - Spring Crosses and Flourished Oval Die cut
Neehah Cardstock
Memento - Rich Cocoa ink
Cuttlebug - Victoria Embossing Folder
Wednesday, January 23, 2013
gel-a-tins LOVE!
Hello, everyone! It's Jessi here, from Kissin' Krafts! Can you feel the love in the air? With Valentine's Day next month, have you started you cards or projects yet?
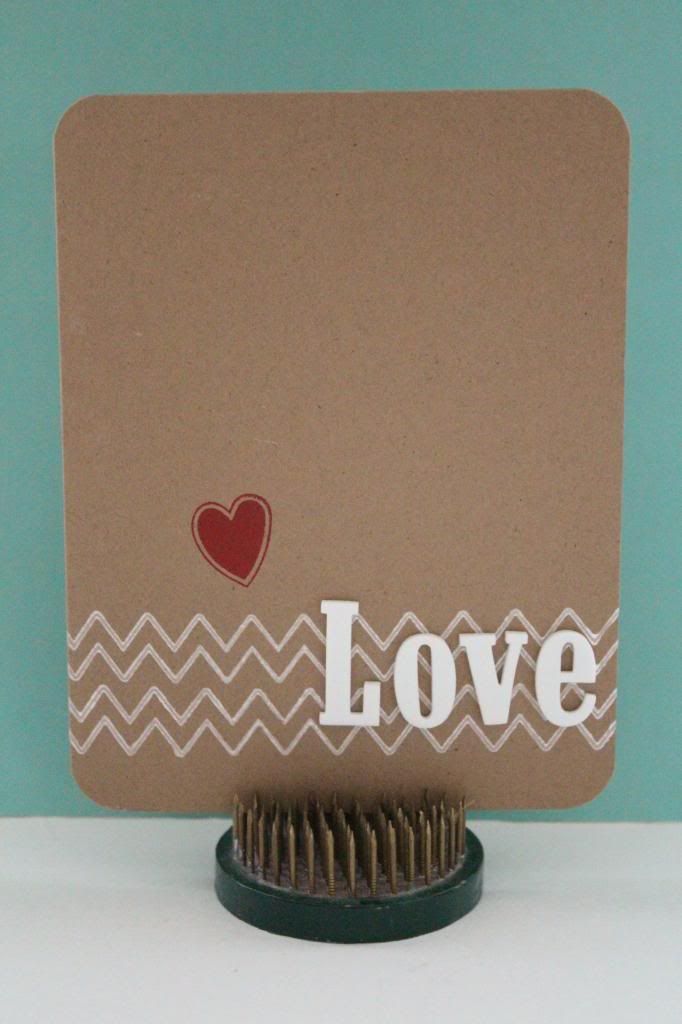
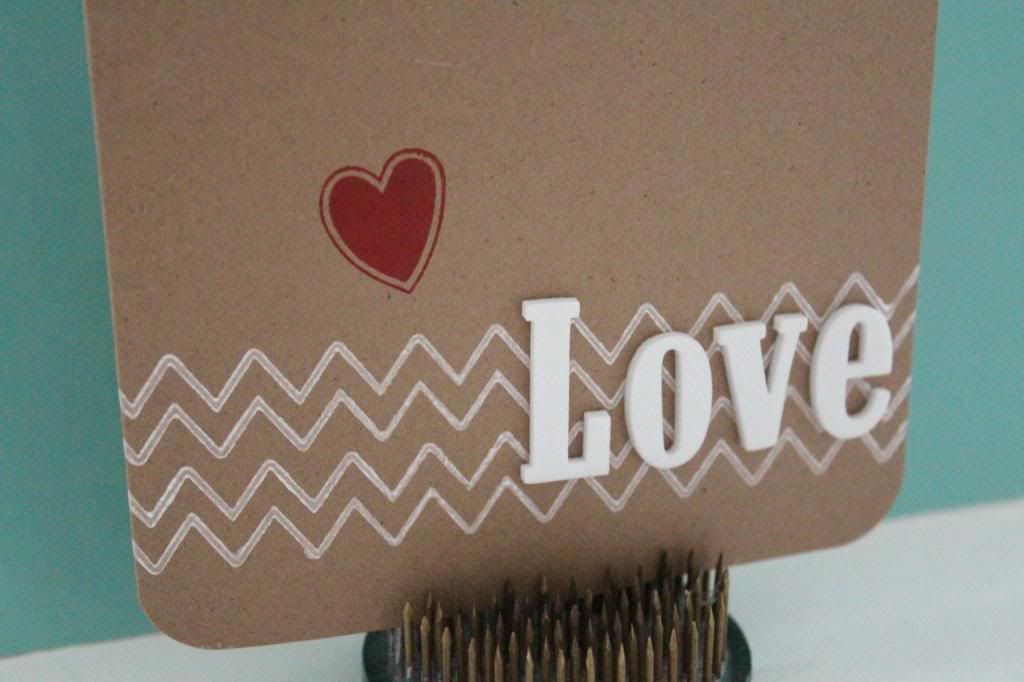
I made a CAS card using the gel-a-tins Gingerbread House Set and Cheverontastic Set:
I love the kraft, white and red combination, which makes it perfect for Valentine's! Using one of the Cheverontastic stamps to create the fun border at the bottom of the card. A red heart is added for a special POP. Foam letter stickers are used for the sentiment on the card. The last step is to round the corners of the card.
Thanks for stopping by today! Check out our amazing stamp selection at our online store!
Tuesday, January 22, 2013
Visible Image Friendly Patchwork
Happy Tuesday all! It is my day for Visible Image and I am excited to show you my latest creation!
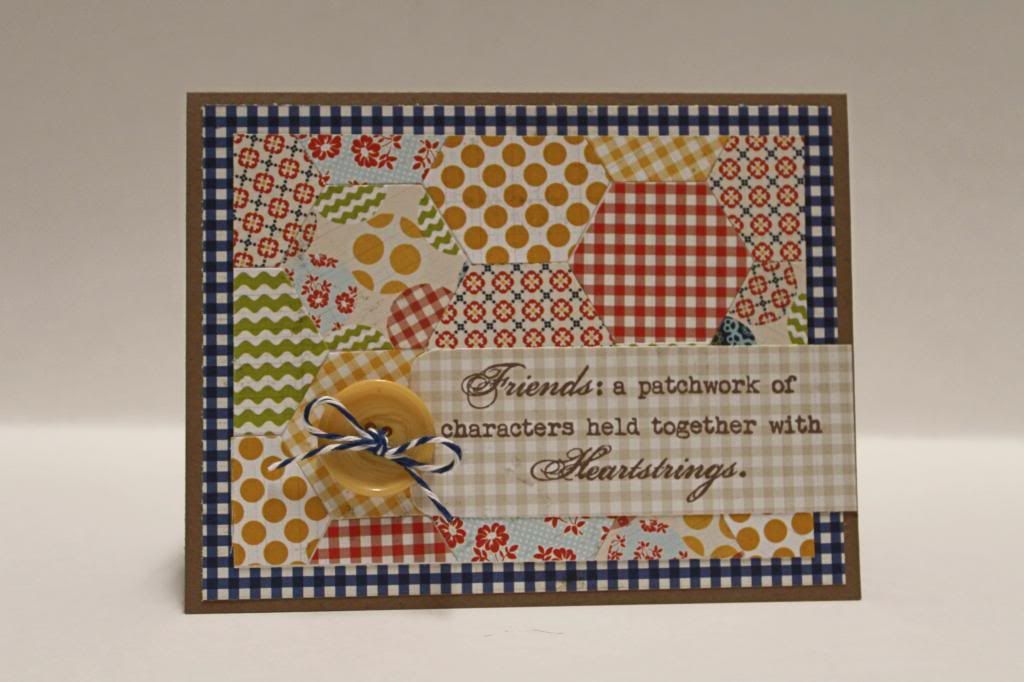
Today I used the sentiment for the The Sewing Room Stamp Set:
As soon as I saw the word 'patchwork' in the saying, I knew that I wanted to create a quilt-like card. I did not want to do a normal square-patch, so I decided to bring out the hexagon diecut and started to cut out the colorful pieces.
Once the pieces were glued together, I attached the quilt to the back layer. The last stop was to attach the sentiment with the button and twine add-on.
Thank you for stopping by today! Be sure to check out the wide selection of stamps available over at Visible Image.
Want a chance to win some stamps? Check out this month's challenge and share with us your creation!
Need some inspiration or would like to showcase your creations? Join our Facebook Group!
Supplies:
Visible Image - The Sewing Room
Lily Bee Designs - Double Dutch
Trendy Twine - In the Navy
Paper Studios - Button
Recollection Kraft cardstock
Saturday, January 19, 2013
Prickley Pear's CHA Clear Set Blog Hop
I hope you guys enjoyed the Prickley Pear's Blog Hops earlier in the week! Today we are sharing projects that showcase the newest clear stamps and dies that are being released! You should be arriving from Jenn's blog! If not and you are interested in joining this blog hop, start HERE!
Today I am showing a card using a new clear samp set and matching die:
Do you want to know the prize up for grabs? All you have to do is leave comments on each of the blogs and your name will be thrown in for a chance to win this prize!
Your next stop is Kina's blog!
In case you get lost on along the way, here is the list and order of today's blog hop:
Supplies:
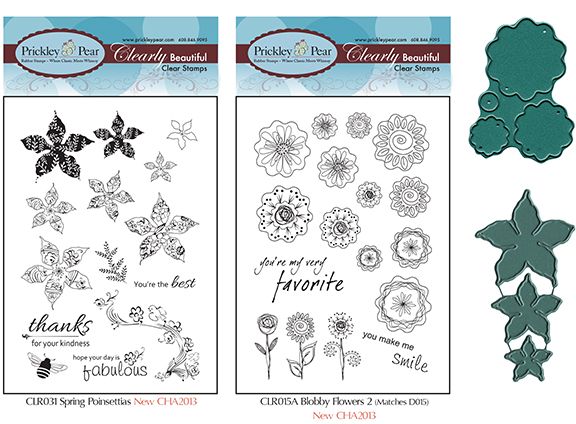
Prickley Pear Rubber Stamps - New CHA Clear Stamps and Die
Trendy Twine - Chocolate Truffle
AC Dear Lizzy Papers
Recollection Kraft Cardstock
Tuesday, January 15, 2013
Visible Image Tuesday!
*** Check out the Prickley Pear CHA Blog Day 2 post below***
It's Tuesday, which means that it is my day to reveal my latest project for Visible Image! If you are unfamilar with Visible Image, take a moment to stop and check out their assortment of stamps!
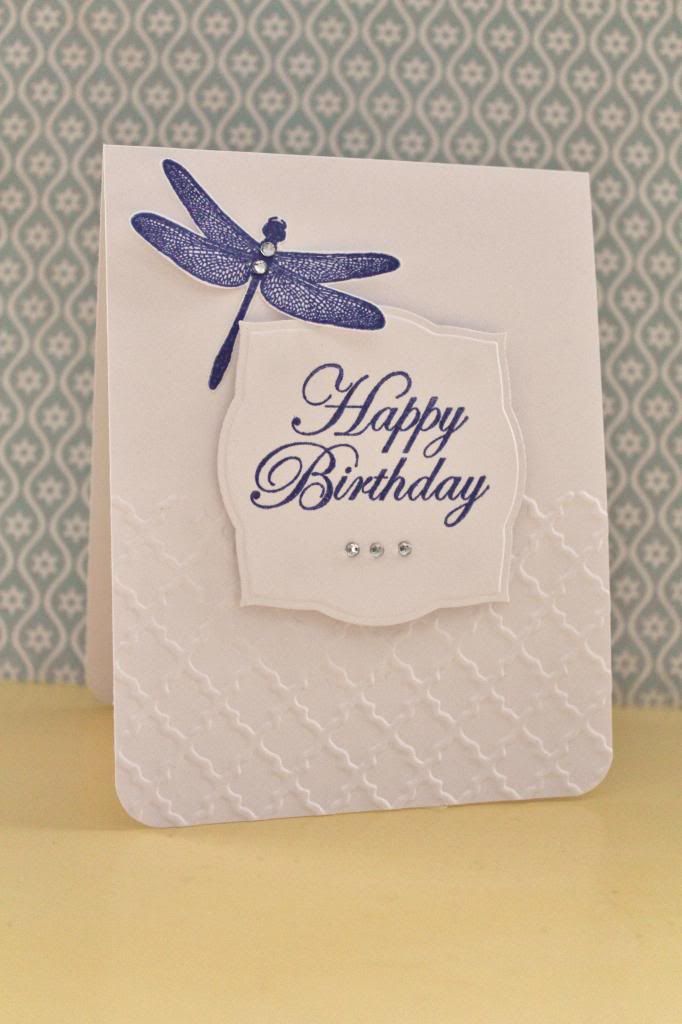
Today I made a CAS card using their Dragonfly and and Classic Birthday:
I love the look of a simple white card! I have been seeing the half embossed card and could not wait to give it a try! Using the embossing folder, I added the design to the bottom of the card. I used the same color of ink for both the dragonfly and sentiment stamps. Using a fancy shaped diecut, I used it create the frame for the sentiment. Added a few rhinestones to the dragonfly and sentiment.
You still have time to enter the Visible Image Monthly Challenge! Need more details? Check them out HERE!
Join us on Facebook!
Thanks for stopping by! Have a great day!
Supplies:
Visible Image - Dragonfly and Classic Birthday
Mohawk White Cardstock
Memento Paris Dusk Ink
Spellbinders Label Three
Rhinestones
Paper Studio Quatrefoil Embossing Folder
Prickley Pear CHA Blog Hop Day 2
Did you guys enjoy the Prickley Pear CHA Day 1 Blog Hop? (If you missed it, check it out HERE). Are you ready for another chance to win this awesome prize?
All you have to do is leave comments on all the blogs! The winners will be announced on the 20th!
You should be coming from Jenn's blog!
Here is my project for today:
This stamp for the newest release is perfect for paper-piecing! I stamped the flower multiple times and pieced the flowers together on the matted card. The sentiment is added with the final touch of a button and twine.
Your next stop on this hop will be Kina's blog!
Here is the order of today's blog hop, just in case you get lost along the way :)
Jessica --- you are HERE
Monday, January 14, 2013
Honey Bear Love with gel-a-tins!
***See post for Prickley Pear CHA Blog Hop below***
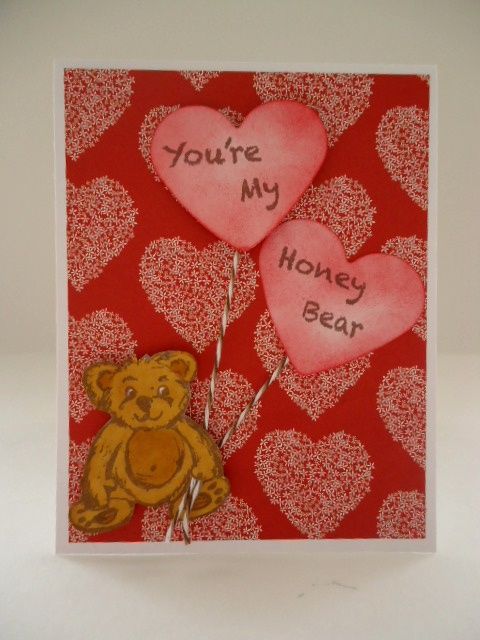
Hello, gel-a-tins friends! Thank you for stopping by today! It is Jessi P. here and I am excited to share you a card using the Honey Bear Stamp Set.
I don't waste time skipping from Christmas to Valentine's projects! So I decided that the cute bear from the Honey Bear set would make a great card.
Here it is:
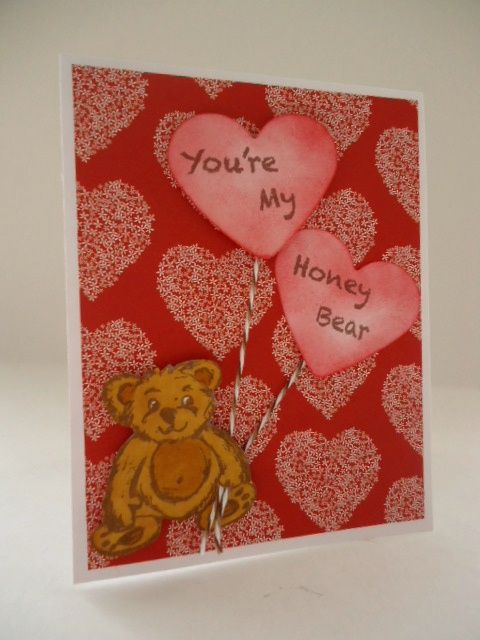
I stamped the bear in brown and used a variety of markers to color in the bear. (One New Year's Resolution for myself...learn to color with markers!!!) Next was to cut out the bear. I also cut a slit between the bear's arm and leg to slip in the twine as I put the card together.
Using a heart shape punch, I created the balloons by stamping the sentiment and using ink to color the hearts. Twine is attached to make the balloon strings from the heart to the bear;s hand.
The last step was to piece the card together. Using a patterned paper for the background.
Thank you for stopping by today!
Supplies:
gel-a-ins - Honey Bear Stamp Set
Prickley Pear CHA Blog Hop Day 1
Hello, Prickley Pear fans! Are you ready to see the latest stamps from Prickley Pear? There are several wonderful stamps and dies being released this week at CHA! We are celebrating with a CHA Blog Hop today and tomorrow. Playing along increases your chances to win a set from the new release. A winner will be selected each day to win the following prize:
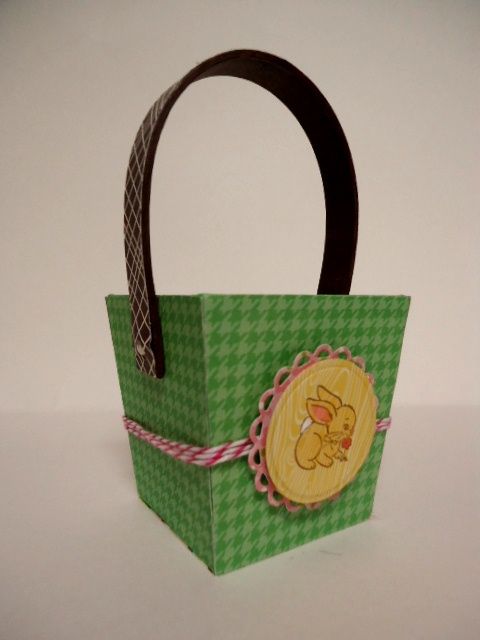
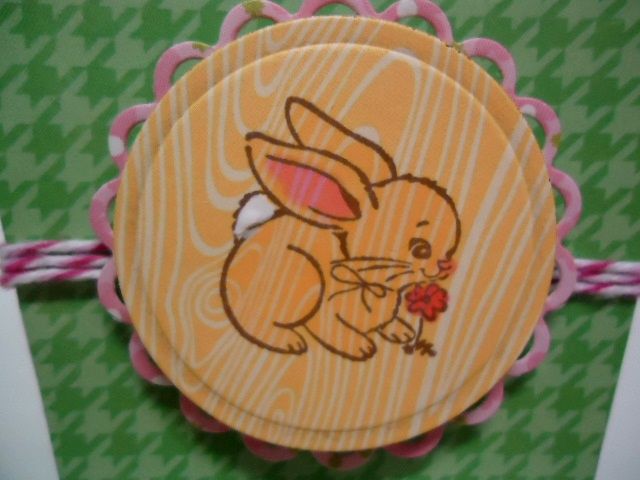
Today I am sharing an altered project using a cute bunny from the WinterCHA release.
As soon as I saw this cute bunny, I just knew that I wanted to use it on an Easter project! I covered the paper mache basket with patterned papers and moved on to created the scalloped embellishment.
Using a circle diecut, I created a circle and stamped the bunny image. Using a variety of markers, the bunny was colored in. The tail was covered using puffy paint. The circle is attached to a scalloped diecut. Twine is wrapped around the basket and the scalloped embellishment is attached.
Are you interested is playing along with the Prickley Pear blog hop for a chance to win some fun stamps? You should have arrived from Kina's blog. If not, please start at the Prickley Pear Blog.
Your next stop is Jen's blog!
Make sure to leave comments on all blogs throughout the hop! The winner will be announced on January 20th!
In case you get lost along the way, here is the order of the Prickley Pear CHA Blog Hop:
Thursday, January 10, 2013
Trendy Barrette using Trendy Twine Spotlight Color
Hello, Trendy Twiners! It's Jessi here from Kissin' Krafts! I am excited to share this fun project with you today!
As you probably know, Watermelon Taffy Twine is the spotlight twine of the month! It is an awesome color combo that (to me) shouts 'girly'. So with that in mind, I wanted to create a project for a little girl.
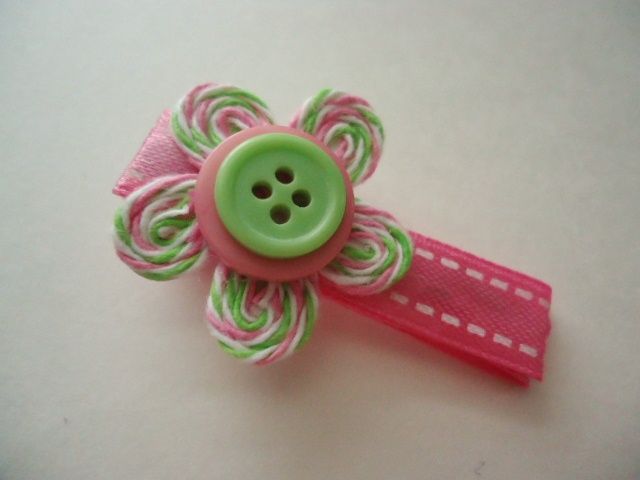
I created this barrette with some Watermelon Taffy Twine, a punch, ribbon and buttons.
As you probably know, Watermelon Taffy Twine is the spotlight twine of the month! It is an awesome color combo that (to me) shouts 'girly'. So with that in mind, I wanted to create a project for a little girl.
I created this barrette with some Watermelon Taffy Twine, a punch, ribbon and buttons.
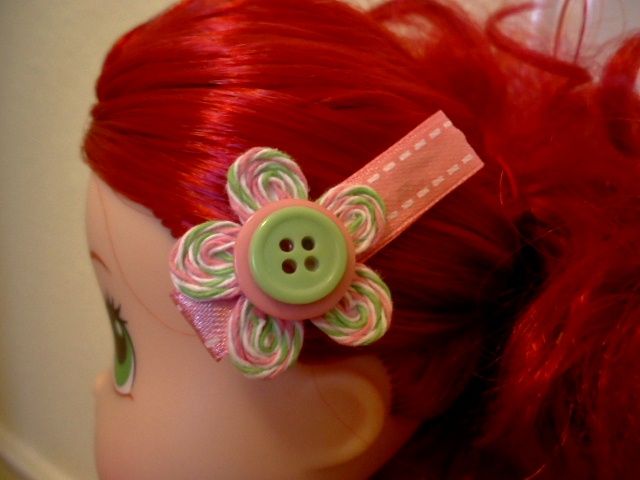
I was hoping to get a picture of it in use, but my 3 year old daughter was not agreeing with the idea! So Strawberry Shortcake to the rescue :)
To create the barrette, I started of with a flower punch from cardstock. I covered the punch with glue and wrapped the twine around each petal. The buttons were added to the center of the flower. The ribbon is glued around the metal clip and the last step is to attach the flower to the clip. Easy Peasy!
Have you seen this month's Trendy Twine Challenge? There is a great prize at stake! Check out the details HERE!
Have a great day!
Supplies:
Trendy Twine - Watermelon Taffy Twine
Tuesday, January 8, 2013
Visible Image Coffee Break
Hello, Visible Image fans! Have you check out the newest stamps? If not, hop on over to the store and take a look!
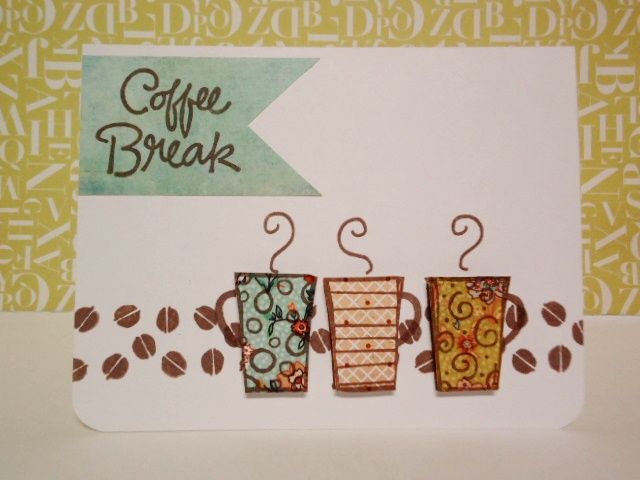
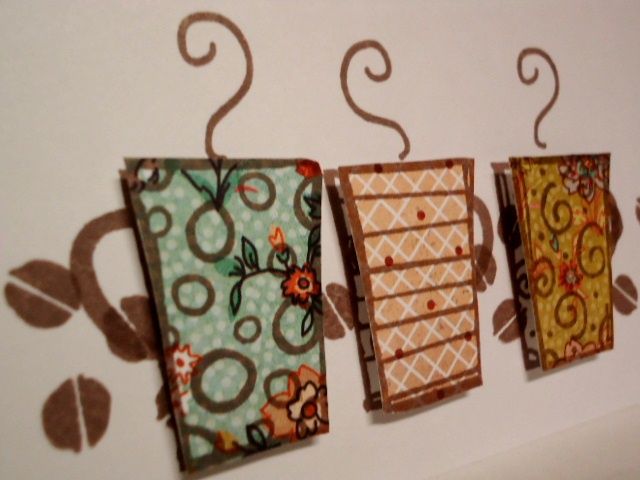
Today I am sharing a CAS card I made using the Visible Image's Coffee Break Stamp set.
The first step was to stamp the coffee beans image repeatly across the bottom of the card. Next, I stamped the coffee mug images on three separate patterned papers and cut the images out. I also stamped the image over the coffee beans to mark where the cups were going to be placed. I attached foam dots to the patterned cups and placed them on the card. The last step was to make the sentiment banner and place it onto the card.
Have you seen the latest challenge on the Visible Image blog? If not, check out the details, HERE.
Join the Visible Image Facebook Group, HERE.
Thank you for stopping by today! Hope you have a great day!
Supplies:
Visible Image - Coffee Break
Playing along with the following Challenges:
Crafty Creations - Anything Goes
Simon Says Stamp - Something New (New Stamps)
365Cards - Round Corners
Playing along with the following Challenges:
Crafty Creations - Anything Goes
Simon Says Stamp - Something New (New Stamps)
365Cards - Round Corners
Monday, January 7, 2013
Trendy Twine Watermelon Taffy Group Day
Hello, Trendy Twiners! Have you seen the latest monthly challenge over at Trendy Twine!
Show Us Your
Mittens
Must
include:
Mittens
Buttons
Snowflake
Color
pink
Trendy
Twine*
**If you do not have Trendy Twine,
use hemp, jute, or embroidery thread only
(no other brands of bakers
twine)**
Deadline is Monday,
January 28th.
Today the Trendy Twine design team is showing some of their creations based off the challenge! Check out the amazing projects HERE! We are using the Watermelon Taffy Twine (the spotlight twine of the month).
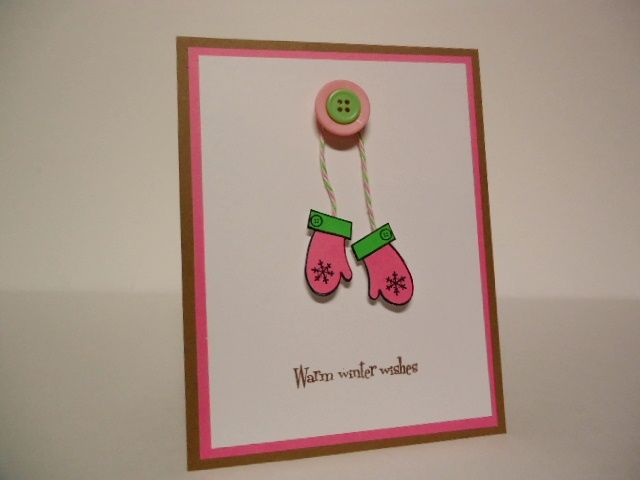
Here is the CAS card I created:
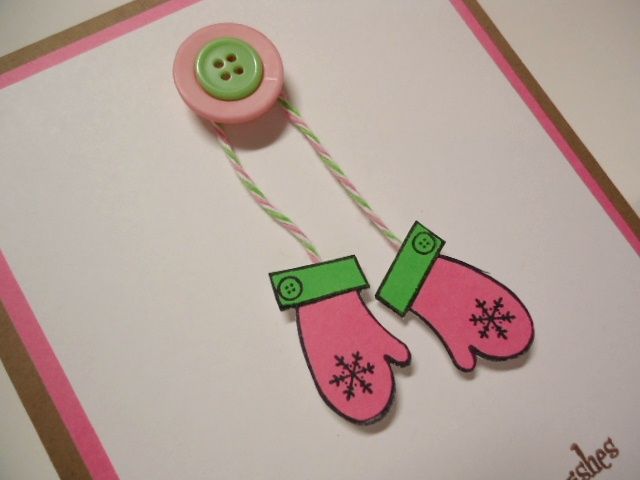
Using the mittens stamp, I repeated the image on the white, pink and green cardstocks. I cut out the parts of the mittens and pieced them onto the white cardstock. I cut out the 'whole' mitten and used foam dots to pop them off the page. I attached the Watermelon Taffy Twine to the bottom of the mittens and 'hung' them over the buttons.
Thank you for stopping by today! Hope you are enjoying the projects from the talented design team over on the Trendy Twine blog.
Have a great day!
Supplies:
Trendy Twine - Watermelon Taffy
Prickly Pear Rubber Stamps - Warm Wishes stamp
Recollection Cardstocks (Kraft, Green and Pink)
Mohawk White cardstock
Studio G Mitten stamp
Misc. Button
Friday, January 4, 2013
New Year Bling with gel-a-tins
Hope the New Year is treating you well! It's Jessi from Kissin's Krafts and I am going to share a CAS card that focuses on the gelly gem rolls. The gelly gem rolls are available in a variety of colors. Check out the store to see the colors.
Here is the New Year's card:
Supplies:
gel-a-tins - gelly gem rolls (gold) and "Gingerbread House" Stamp set
Recollection Black Cardstock
Mohawk White Cardstock
EK Success Black Foam Stickers
Cuttlebug Polka Dot Embossing Folder
Memento Black Ink
Here is the New Year's card:
I used the gold gelly gem roll to highlight the year. A polka dot embossing folder was used to add dimension to the background. To draw attention to the dots, I stamped a dot image from the "Gingerbread House" set on thirteen random dots.
Thank you for stopping by today! Have a happy New Year!
gel-a-tins - gelly gem rolls (gold) and "Gingerbread House" Stamp set
Recollection Black Cardstock
Mohawk White Cardstock
EK Success Black Foam Stickers
Cuttlebug Polka Dot Embossing Folder
Memento Black Ink
Tuesday, January 1, 2013
Dropping the New Year Trendy Twine Ball
Hello, Trendy Twiners! Did you stay up last night to see the ball drop and ring in the New Year? Thank you for stopping by the Trendy Twine special post for the New Years! Don't forget to check out the Trendy Twine blog to see details about today's special giveaway!
Today, I have a New Year Twine ball to share it with you all!
The twine 'crystal' ball is made out of Trendy Twine's Stormy Twine and the pole is made from Black Licorice Twine.
Simple glitter number stickers were added for a simple effect. And to finish the CAS card, a simple sentiment is stamped on the corner.
Thank you for stopping by today! Don't forget to leave a comment on this blog to be entered into the Trendy Twine blog's giveaway!
Happy New Year!
Supplies:
Trendy Twine - Stormy and Black Licorice Twine
Mohawk Cardstock
Studio G Rubber Stamp
Memento Black Ink
Subscribe to:
Posts (Atom)