Showing posts with label layout. Show all posts

Friday, October 21, 2016

DCWV & Chameleon Blog Hop

Hello, DCWV friends! Today, I am teaming up with a few other design team members from DCWV and Chameleon for a super fun Friend Friday blog hop.  If you are not familiar with Chameleon Markers, you can check them out HERE!

I was super excited when I learned about this blog hop. I love my Chameleon markers and have been using them for a while! I was excited to try out some new colors. I received their Color Tones Skin Tone set to play with. I knew exactly what stamp I wanted to use! So it was time to pair it up with some beautiful DCWV paper!


I decided to pair up the Chameleon markers with the DCWV Happy Day Stack. To start the layout, I stamped the image onto different cardstocks and prints to paper-piece the image together. I used the markers to color in the image.  I wanted the layout showcase a lot of the prints from the stack, so I created several layers using the different prints.


I used simple, gold alpha stickers to create the title of the layout, I wanted to highlight the gold accents throughout some of the prints.


Please stop by the DCWV blog and the Chameleon blog to see some more amazing creations created for this blog hop!

Thank you for stopping by and have a great day!

Jessi

Thursday, July 7, 2016

DCWV Watercolor Stack Layout

Hello, DCWV friends! It's Jessi from the Social Media Design Team. I am truly excited to be sharing another layout with you today! I am sort of in a slump of creating cards, but that is OK, because my love for scrapbooking is growing and it is now a fun art for me!

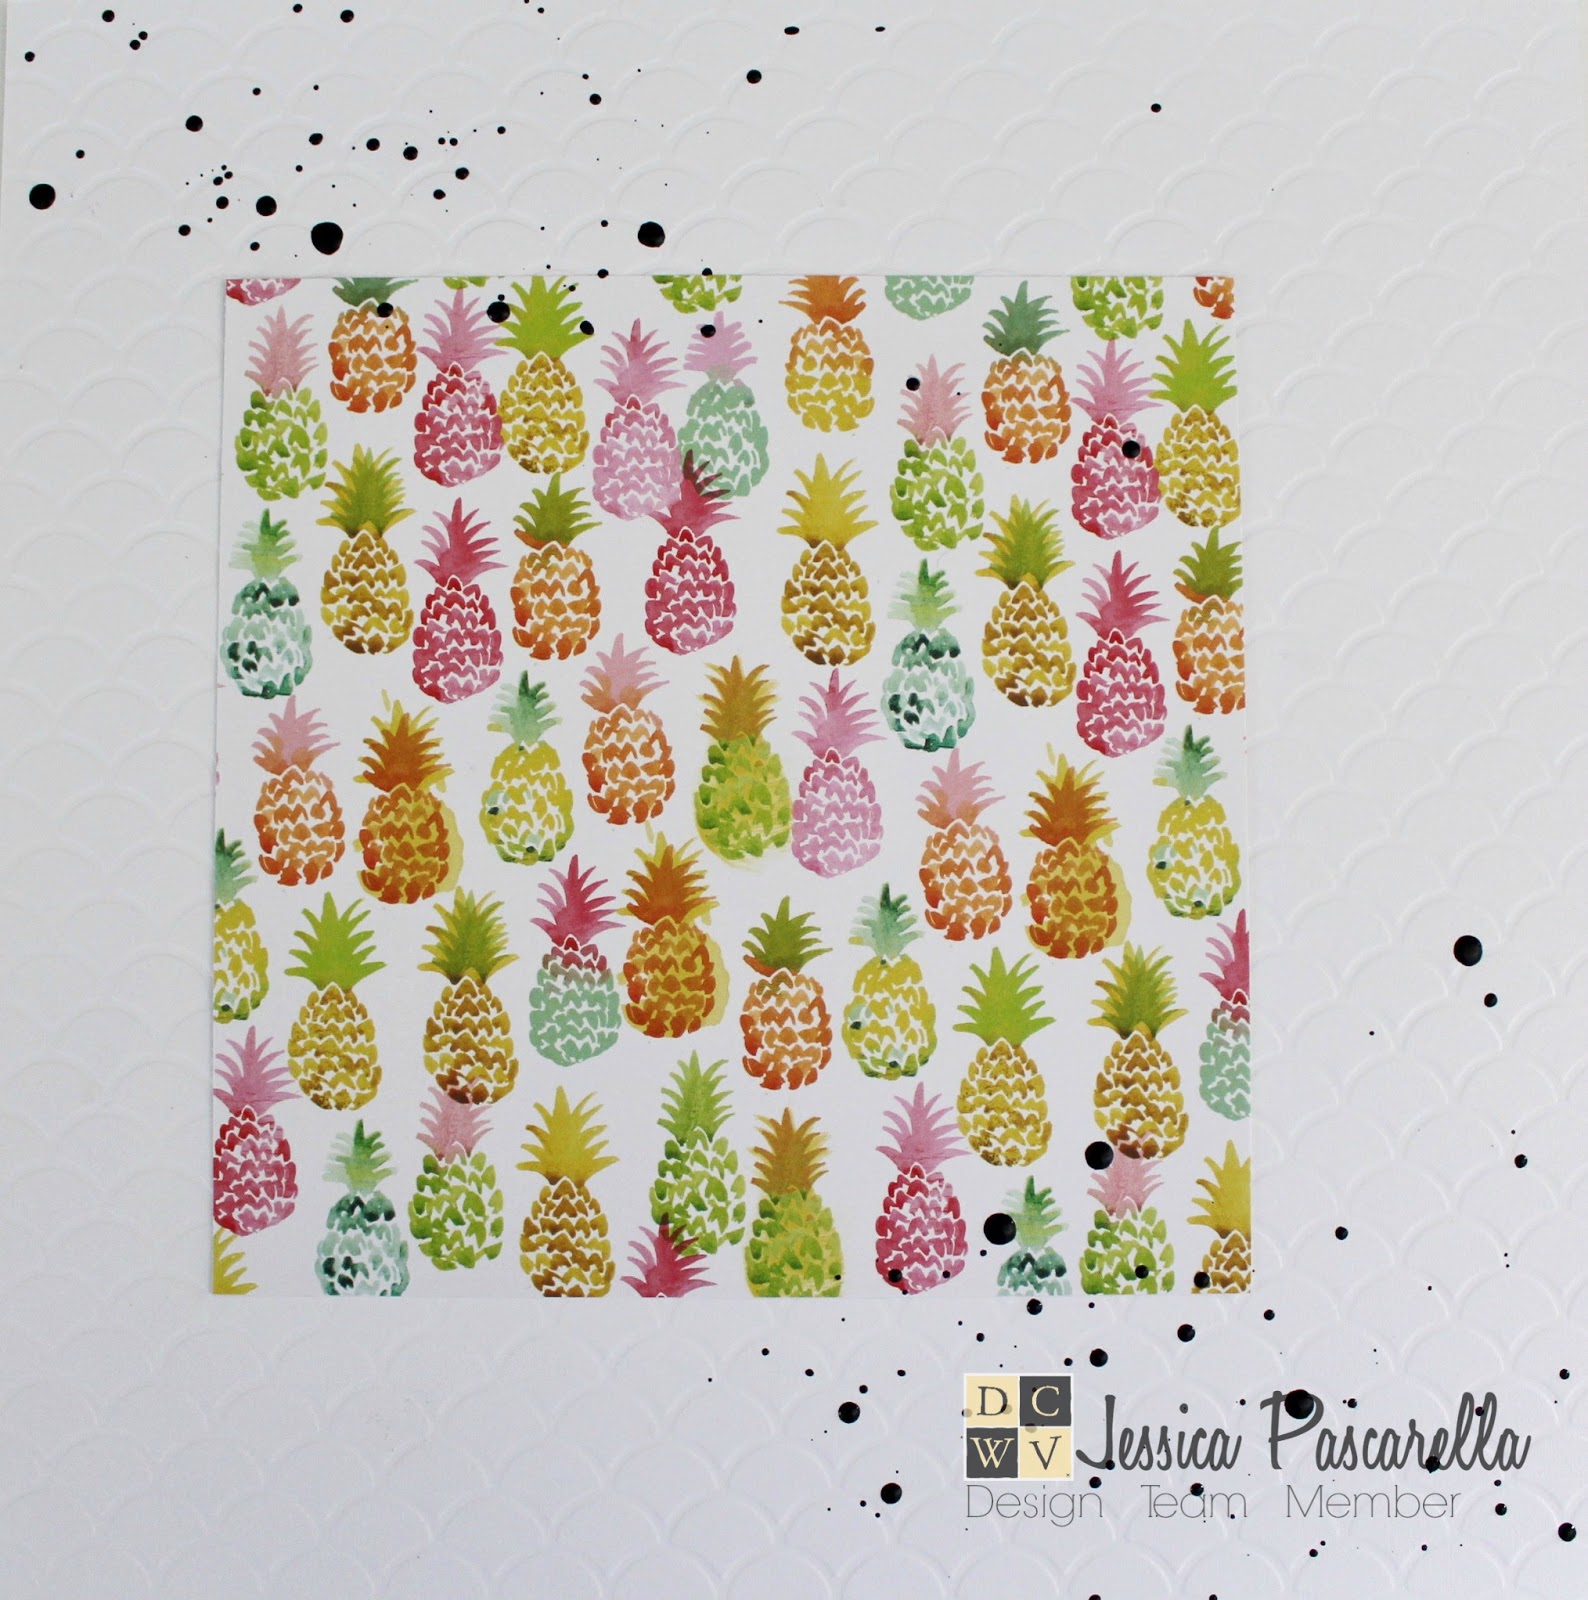
Today I am using two stacks that will be available soon at Hobby Lobby stores, Watercolor and Embossed White stacks!


There are quite of few pineapples throughout the Watercolor Stack, so I decided to highlight them in different parts of the layout. I chose the color pineapple print to be the main background of the layout. I attached the print to a piece of white embossed cardstock. I decided to have the de-bossed side of the cardstock as the front of the layout. I loved how the print caused the indentions to the page.


I knew that the journal card I was going to use had black, so I wanted to add more black to the layout. I opted for black paint splatters. I used watered down acrylic paint on the end of a paint brush to form the splatters.


While the paint splatters are drying, it was time to piece the layers together. I used a variety of prints and one sheet of vellum to highlight the photo. The photo is attached to one fun print and set aside. A different print and vellum are attached together and matted onto the final print slightly tilted. The matted photo is attached to the top. A pineapple diecut is attached to the corner using a foam square.


To finish the layout, I added a journaling card and cut out a few words that were part of the Watercolor Stack.

Thank you for stopping by today!

Jessi


Supplies:
DCWV - Watercolor Stack and Embossed White Stack
Paper Studio - Vellum Sheet
Gina K Designs - Pineapple Die
Black Acrylic Paint

Friday, February 19, 2016

DCWV Stateside RT.66 layout

Hello, DCWV friends! It is Jessi from the DCWV Social Media Design Team! Have you seen the new DCWV Statewide Collection coming to your local Joann Fabric and Craft Store? I am in love! I am not one who normally does scrapbooking, but this collection has inspired me! My family and I took a road trip from Texas to Utah last summer and I have yet to do much with the pictures! Let the crafting begin!
 
My first plan was to create with the DCWV Travel Journal Album. I started the cover and a few of the pages and realized I would not be able to complete the album before my posting deadline. So I had to set that project aside (to come at a later date) and decided to crank out a layout page.
 
 
It sometimes takes me a few days to design a layout page. Because I was in crunch time, I decided to look at the current DCWV Stack-o-holic Challenge sketch and see what I can come up with. Here is the current sketch:


I could not get the layout to work with the pictures I had, so I decided to rotate the sketch and move around some of the elements. Here is what the layout looked like as I started to arrange some of the pieces.


I decided to add a mat to each of the photos. The layout still seemed a little boring to me, I needed to decided some additional elements to add to the page. As I mentioned before, I was working with the DCWV Stateside Travel Journal. In that kit, there was a sheet of black stickers. I added the 'hello' and the star stickers to the chevron tags. The layout could probably be completed at this point, but I am in love with wooden veneers. So I added a wooden car to the layout to finish it off.
 
Thank you for stopping by today! I hope you have a wonderful!
 
Jessi
 
DCWV Stateside Collection used:
Stateside Stack
Stateside DIY Project Stack
Chevron Tag Stack
Travel Journal
 

Friday, November 13, 2015

Pretty Cute Stamps November Release Blog Hop


Welcome Pretty Cute Stamps  friends! Today is the November Release Blog Hop!
If you came here from Melissa's blog, you are in the right place.  If you just stumbled upon this post and would like to start from the beginning, please visit the Pretty Cute Stamps Blog.

The November release stamps can now be purchase in the Pretty Cute Stamps Store. All of the new items (even the bundle) are ON SALE until 10:00 pm CST on November 18th, 2015. You can find all of these new items in the PCS store HERE.


Throughout the blog hop, the design team members will be showing off the new November release now available in the Pretty Cute Stamps store.  I am showcasing the new Fur Baby set:


I decided to switch things up and create a layout


I decided to use this stamp set on a layout. The paw stamps added a nice detail to the page. A simple sentiment is stamped on a banner.

Now, let's talk about a prize:


One lucky hopper will win a $15 Gift Certificate to the Pretty Cute Stamps Store!  Here's what you need to do for a chance to win this Gift Certificate:

1. Leave a comment at EACH blog along the hop on each day.  Be sure to leave us a way to get in contact with you if you win.
That's all you have to do.  If you would like EXTRA entries, you can also do one or more of the following:
2.  Like the Pretty Cute Stamps Facebook Page.  Leave me a separate comment on this blog telling me you did. (The separate comment is your extra entry.)
3.  Sign up for the Pretty Cute Stamps Mailing List and leave a comment on this blog telling me you did.  You'll get occasional emails telling you about new releases, sales, coupon codes, and events. (The separate comment is your extra entry.)

I will randomly choose a winner of the hop candy on Monday, November 16th, 2015.

Thank you so much for stopping by today! Your next stop on the Pretty Cute Stamps Hop is the talented Karla's blog.

Here's the lineup for day 1 of the hop, just in case you get lost along the way:
Lisa: http://prettycutestampsblog.blogspot.com/
Gloria: http://gloriasgoofycraftspot.blogspot.com/
Melissa: http://8ers.blogspot.com/
Jessica: http://www.kissinkrafts.blogspot.com/
Karla: http://creative-love-affair.blogspot.ca/
Amy: http://aocreations.blogspot.com/
Dawn: http://www.dawnmercedes.blogspot.com/
Amber: http://sew-ink.blogspot.com/
Jen: http://www.livelifecreateart.blogspot.com/
Debbie: http://debbiedee.blogspot.com/
Joann: http://jlopezdesigns.blogspot.com/
Janna: http://www.stampingwiththedogs.blogspot.com/
Larissa: http://muffinsandlace.com/

Tuesday, July 21, 2015

Hello Girlie DCWV Layout

Hello, DCWV friends! It is Jessi from the Social Media Team.  In case you haven't heard...DCWV Inc. is coming out with some new product! And to wrap it up in a few words... they are amazing! Today, I am sharing a layout created with the new Hello Darlin' Stack!
 
I am not one to scrapbook. I try, but I tend to lean towards cards. However, when I received the DCWV Hello Darlin' Stack, the first project that came to mind was a scrapbook page. The colors and prints are PERFECT for 'girly' layouts!
 
I was also inspired by this month's DCWV Layout Sketch:


Here is my take on the sketch:

 
I think my favorite print in the entire stack is the black floral. I love how bold the colors are. With that in mind, I wanted it to be a highlight on the page. Resulting in choosing a light background.  The entire layout is very simple. In addition to the simple pieces of paper, I added a variety of embellishments to make the layout POP.

 
If you feel inspired, I hope you will join in this month's DCWV Challenge!
You can find the details HERE.
 
Thank you for stopping by! Stay tune for more information about the new products!


Friday, October 17, 2014

Oh, the places you'll go Layout- DCWV

Happy Friday, all!  I know I have been slow with my postings for a few weeks, but I am back! Don't worry, I have been crafting! I just have been focusing on creating projects for contest, publications, etc! So I cannot share those projects yet!

But I have one to show you today!

How about a layout! That might be a nice change!

Here is my layout using papers from the DCWV Baby Boy Stack paper pad:


The layout started with a patterned paper with the hot air balloons. As you probably know, paper pads provide multiple pages of the same design. So I took the matching paper and cut out some of the hot air balloons and attached them with pop dots to add dimension to the layout. I Also, added a couple extra cloud die cuts to the scene. The rest of the layout is pretty simple (my kind of style)! The layout title is created with two colors of alpha letter stickers.

Thank you for stopping by! Please come back soon to see more creations!

Have a wonderful weekend!

Wednesday, May 23, 2012

SGC: Dying to Diecut!

I am so excited to reveal the latest challenge at Southern Girls Challenge! Who doesn't love using diecuts? Anyone? Hello...

So I thought this challenge would be too easy for me and wanted to spice it up some for myself. Give myself a challenge! I am mainly a cardmaker! I has done layouts before, but I am not that comfortable with creating them! So I wanted to challenge my self to make a layout using diecuts! Here is my layout:


It might be hard to see, but I used a Spellbinder diecut to cut out the quote. I also used Spellbinders Triangles and pre-made diecut stickers (scallop borders and tab).
I really like the technique of spraying/dripping paint spots throughout the project. However, I should have practiced before I actually did it to the layout. I made a mistake and was disappointed with the outcome. So I used a oval diecut and cut out paper to place over the mistake. I really liked how the layout turned out before that flub. Not so much after. But I learned a lesson and I will now try things out before I put it on the final product! Please note that fellow scrapbook beginners!

So do you have a collection of diecuts you are dying to use? Dust them off and create! Once you are done please share them HERE! Great prizes can be won! 

Need some inspiration? Please check out the fellow SGC design team for some wonderful and fun projects!

Thanks for stopping by! I am off the create!

Supplies:
Cosmo Cricket - Garden Variety Collection
Spellbinders - Pendants, Label 8, Lacey Ovals
Recollection brads
Twine
Misc Quote Sticker
Studio Calico Diecut Stickers
Arcylic Paint

Thursday, September 22, 2011

Happily Lost - Lily Bee

So I have been spending some time crafting layouts.  I am having so much fun with this "new" hobby.  I made this layout over the past weekend.  I used Lily Bee papers and stamps from the Happily Lost collection.
Supplies:
Pattern paper - Lily Bee Design (Happily Lost)
Stamps - Lily Bee Design (Happily Lost)
Alpha stickers - Lily Bee and American Craft Thickers
Maya Road Chipboard - Bird
Fiskars - Border Punch
Beads
Ink

Hope everyone has a great weekend! Are you crafting? I'm hoping too!

Saturday, September 17, 2011

A quick post, a few layouts!

Before I call it a night, I figured I would post a couple layouts that I have completed! 


I used a variety of Basic Grey papers for these layouts.  Along with American Crafts Thickers and Lily Bee Alpha stickers.

OK, I'm typing half-asleep...not a good idea!  Good night!


Saturday, August 20, 2011

Summer is almost over...yippee!

Been a busy week!  School starts on Monday...is it wrong that I am jumping in my boots with excitement!  The boys have been non-stop fighting ALL summer...I am looking forward to the "quiet" time during the day!  Brayden starts Kndergarten this year, boy is time going fast!

Here are a couple of layouts that I was able to work on recently.  I included my own handwritten journaling and not happy with the outcome.  I think I am done with the handwritten!
AC - Confetti (Paper and embellishment)  and Thickers
AC Hello Sunshine (papers) and Thickers

Wednesday, July 27, 2011

Baby you're the one...

So I have been cranking out projects this week!  I need to send a special Thank You to my wonderful husband, for giving the time I was craving locked up in my craft room!
I LOVE Lily Bee Designs!  The vintage feel of the papers, the colors, what more can you ask for?  I created this following layout using "This & That" papers.


All the papers are from Lily Bee.  Along with the red alpha stickers and the stamp.  I also used AC Thickers and Cosmo Cricket small alphas. To add a little 3D to the page, I made the flower at the top of the page using a Fiskar circle punch and Basic Grey button.

I also use decorative scissors to cut the edge of the photo mat. I simply folded the edge over and inked the scallops, so they would stand out more.

Have a great one!

Sunday, July 24, 2011

One of a Kind...

I am trying to upgrade my level of scrapbooking expertise to at least immediate.  I have not completed too many LOs, but I am getting braver on trying to techniques.  I might be a little behind the scrapbooking times, but I am having fun trying to catch up.  Here is a LO I made using My Little Shoebox papers.

I am addicted to finding new ways to make flowers.  You can never have enough flowers, right?? 

Supplies:
My Little Shoebox papers
AC and The Paper Studio letters
Misc. chipboard flowers, buttons, brad and ribbon

Monday, July 18, 2011

Together...

So I have been avoiding doing some work with the wedding business.  The last few days, I have been cranking out scrapbook pages and cards like crazy!  Why go back to work, when I am having too much fun crafting? (Psss... not too much fun!)  Here is the LO that I used the Adornit Vintage Groove Collection.
I have been waiting to find the right papers for these pictures!

Supplies: Adornit- Vintage Groove
Letter Stickers - The Paper Studio
"Together" Sticker - Unknown