Showing posts with label adornit. Show all posts

Friday, December 23, 2016

ADORNit Planner Prep Pt. 3

It is almost time to start using my new planner for 2017. I have been working on the final details and am looking forward to sharing them with you. You can check it out my previous planner posts HERE and HERE! I received the ADORNit Watercolor pencils and decided to used them for the rest of the monthly dividers.

May - August:

September - December:


There is a huge difference between colored pencils and watercolor pencils. It is hard for me to decide which ones I like better! Which one do you like better?

Thank you for stopping by! Hope you have a great day!

Jessi
ADORNit Planner - Calendar Girls Planner
ADORNit Watercolor Pencils

Thursday, December 15, 2016

ADORNit Planner Prep Pt. 2

Do you remember my earlier post about coloring my ADORNit planner covers? You can check it out HERE! The next step in my preparation process is to color the monthly dividers. I started off coloring with plain colored pencils.

I love how bright the colors turned out using the colored pencils!

January:

February:

March:

April:

I will post the rest in the next part. I received the ADORNit watercolor pencils, so I switched to the watercolors for the rest of the dividers. I cannot wait to show you the differences!

Thank you for stopping by! Hope you have a great day!

Jessi
ADORNit Planner - Calendar Girls Planner

Wednesday, December 14, 2016

ADORNit Christmas Chalkboard

Hey there, ADORNit friends! I am taking a break from Christmas cards to share a quick altered project I completed using some awesome ADORNit Holiday products! 

**Let me warn you in advance that the pictures for this project did not turn out, we had some rain storms as I was crafting and the lighting was horrible! So my plan to have a tutorial step by step process, did not work out.

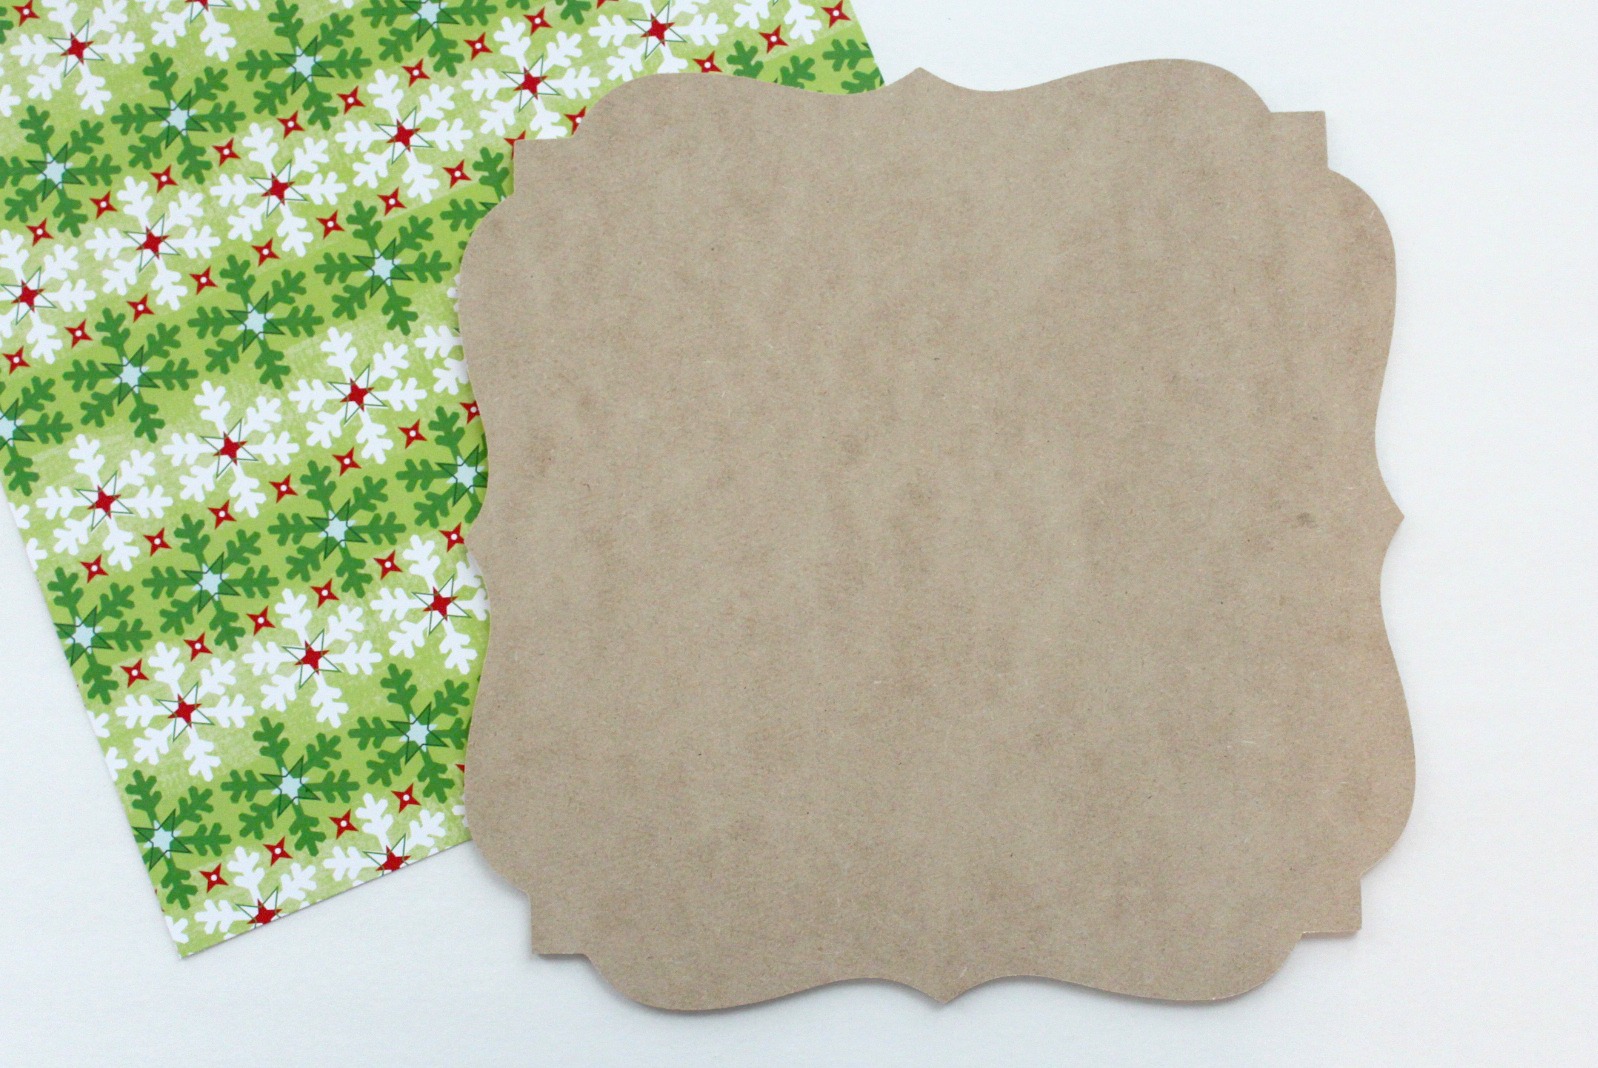
Did you know that ADORNit has a great selection of wooden pieces? I took one of the fancy shaped pieces and the plan was to make a table sign. (I needed one for a PTA luncheon for the teachers, so I wanted to make it festive.)

I picked out the main print for the plaque:


Step-by-Step:
1. Attach paper using Mod Podge. Smooth out all bubbles.
2. Once dried, trim the edges and sand if necessary.
3. Attach a strip of red printed paper at the bottom. Trim once dried.
4. Place a couple fancy border stickers above the red printed paper. Trim around the edges.
5.Cut chalkboard paper to a square and attach to the center of the plaque.
6. Top the plaque off with a festive bow!


Looking for a place to shop for ADORNit products? Check out the ADORNit selection in the Scrapbook.com store!

Thank you for stopping by! Hope you have a great day!
Jessi

ADORNit Supplies Used:
Wooden Plaque
ADORNit Holiday Prints
ADORNit Holiday Border Stickers


Saturday, December 10, 2016

ADORNit Watercolors & Paintables

Hello, friends! I recently sat down and got to play with my new watercolor pencils from ADORNit! I used the pencils on several of their ArtPlay Paintables.

I love that the Paintables are the right size to make quick and simple cards. Below is just one of the cards I have created. Today I am working with the Occasions- Paintables


I used the watercolor pencils to color in the image. I used the ADORNit waterbrush to create the watercolor look on the Paintables. Once the paint was dry, I rounded the corners and added to a yellow print (from the ADORNit Basic Color Paper Stack). From the same pack, I picked a soft blue print to back the card. To break up the card some, I used a orange printed cardstock, also made by ADORNit.


Such a simple way to make a mass selection of cards. Color, paint, and assemble!

Thank you for stopping by today!
Jessi

Wednesday, November 9, 2016

ADORNit ArtPlay Bible Page

Hello, ADORNit friends! How is your Thursday going? One day closer to the weekend! And what a weekend to look forward to! Our first fall temperature weekend here near the Gulf of Mexico.

Today, I have a fun Bible page to share with you today. I paired up some of ADORNit stickers with one of their ArtPlay Paintables.


So I started this page with the simple paintable. I used a variety of markers to color in the image. I used washi tape to attach the ArtPlay paintable card into the Bible. I felt the page needed a little more, so I used some of ADORNit's floral stickers. The stickers include individual pieces of the flower, allowing you to build your own flower. I used a few extra pieces to fill in the empty spaces on the page.


Please stop by the ADORNit Amazon store to see their latest collections!

Thank you for stopping by and have a great day!
Jessi - ADORNit Ambassador

Saturday, October 22, 2016

Prepping My ADORNit Planner

I am planning to make some changes in the upcoming New Year. One of those changes is to be better organized. With all the activities that my family is involved in, it is time to get a planner in place and used! I was super excited to see the ADORNit planner they sent me for being an ADORNit Ambassador. They have a few different styles available, but you can find the one I have, HERE.

Here is the front cover of the Calendar Girls Planner: (I am still trying to figure out what I want to put in the banner...any suggestions?)


It is super cute that this planner even has a beautiful design on the spine of the planner! Could not let that go uncolored!


I LOVE the image on the back cover of the planner. I even colored this side first!


I used a variety of colored pencils to color the planner. But you can use paints, crayons, and markers. Whatever your heart desires! It does take awhile to color in the covers and spine, but it is so worth it when you see the final outcome!

So the next step in prepping my new planner is to color the monthly dividers that are included. I look forward to posting those once I am finished coloring them! Be sure to stop by to check them out!

Did you know the ADORNit has an Amazon store? Stop by and check out the selection available!

Thank you for stopping by and have a great day!

Jessi

Monday, September 26, 2016

Let's Stick Together with Adornit

I am super excited to share my first project as an ADORNit Ambassador! It is going to be a fun adventure and looking forward to working with a variety of ADORNit product. Check out their website HERE and their Amazon store, HERE.


ADORNit has a variety of Coloring products. They include books and separate 12x12 pages. Today, I am working with one image from a new ArtPlay paintable page - Floral Jars designed by Carolee McMullin.  I paired the image with some bright ADORNit scrapbook paper designed by Laura Kelly.


I used a variety of greens and blues watercolors to fill in this adorable image. To make the colors brighter, I painted the image in multiple layers. The sentiment is colored in with bright orange. I used a stitched diecut to cut out the image. The panel is attached to a printed base and added to the card. A simple sentiment is stamped to complete the card.


Interested in learning more about the ADORNit brand? Like them on Facebook, HERE, and join their FB group ADORNit ArtPlay.

Thank you for stopping by today!
Jessi

Friday, August 5, 2011

Skipping Stones Challenge

So I have have been working on a new business adventure.  All I can say right now, is that I am working on crafting several new cards.  I am enjoying that time I get to create!  Some of the cards are turning out and some just don't turn out the way you envision.  For inspiration, I went to my favorite source...the blog world!  I truly love searching the wide-range of talent out there!  Thanks for inspiring me! 

I love participating in challenges!  They are great when you are in a creative-block!  I used Skipping Stones sketch challenge for this card:
Supplies:
Kraft cardstock - Recollection
Pattern Paper - Adornit
Brads - Recollections
Twine - Misc
Ink - Frosted White by ColorBox

I love this sketch so much, I have a feeling I will be playing around some more this weekend!

Friday, July 22, 2011

Trend of die-cut cards...I'm finally there!

I am in love with kraft cardstock.  I tend to use it for all my cards.  It is a habit that I should break...but why stop something that's so good! Although, I did do something that is out of my comfort zone.  I decided it was time to use a die-cut to make the card itself.  I broke out my Spellbinders to start this card.  I must say that I might get addicted to the shaped cards, a nice break from rectangle/square cards!!!! Here is my creation with Adornit Vintage Groove:

Supplies also used:
Buttons - Basic Grey
Alpha Letters - Cosmo Cricket

Challenges:
Frosted Designs - Buttons

Monday, July 18, 2011

Together...

So I have been avoiding doing some work with the wedding business.  The last few days, I have been cranking out scrapbook pages and cards like crazy!  Why go back to work, when I am having too much fun crafting? (Psss... not too much fun!)  Here is the LO that I used the Adornit Vintage Groove Collection.
I have been waiting to find the right papers for these pictures!

Supplies: Adornit- Vintage Groove
Letter Stickers - The Paper Studio
"Together" Sticker - Unknown