Showing posts with label CAS. Show all posts

Monday, November 27, 2017

JC- Paper-piecing with Christmas Cocoa

Hello, Joy Clair friends! I am not a coffee drinker, but I am sure a hot chocolate kind of person! It usually doesn't get cold enough here along the Texas coast to heat up a mug of cocoa. But the moment it does, I do not waste time getting a cup going!  I have tried adding different flavoring, but my all-time favorite is adding marshmallows. So many, that you fill the top of the mug! 

Today, I created a simple Thank You card using the new Christmas Cocoa stamp set:


I have been on a kraft kick lately. One thing I like to do with kraft cardstock is to using Versamark Watermark Ink. To start this card, I using one of the mug images and stamped randomly using the watermark ink. To fill in the empty space, I stamped snowflakes and stars using white ink. 

I wanted to showcase the paper-piecing technique on this card. For the center of the card, I added a circle die cut with a bold print. I wanted to highlight the red in the pattern, so I picked a matching red print and stamped the mug image. The image is then cut out and set aside.

The Christmas Cocoa stamp set includes several different options for the layering/add-ons to the mug. Since I am a marshmallow fan, I wanted to work with the marshmallow stamp. I stamped the image onto a cream color print and cut out. When it came time to assemble the mug, I layered the marshmallows onto of the upper edge of the mug. The paper-pieced mug is then attached on top of the circle die cut.

To finish the card, I used the simple 'Thanks' stamp, also from the Christmas Cocoa stamp set, and stamped onto the cream print. The sentiment is cut into a strip and attached to the bottom portion of the card.


Interested in learn the latest news with Joy Clair Stamps? We would love for you to follow our Social Media pages!


Thank you for stopping by!
Jessi


Monday, November 13, 2017

JC- Dog Gone Christmas & Calendar Fun

Hello, Joy Clair friends! Can you believe that we are almost half way through November? Where did the month go? Christmas is just around the corner! Speaking of Christmas, do you include your pets in the festivities? We always include one of the larger bones for are dog. It is so big that it sticks around for way over a month!

First up, is a project that I created using the super adorable, Dog Gone Christmas stamp set! A perfect stamp set for dog-lovers!


For this card, I wanted the dog and the dog house to pop off the card. To do so, I used a circle die to cut out the circle in the center of the card. The dog house is stamped in the center of the circle. The image is then colored in using Chameleon markers. The dog image is stamped on a separate piece of cardstock. Once the dog is colored in, the image is cut out using scissors. The dog is attached using a foam dot. To finish the card, I stamped and embossed the sentiment in white.

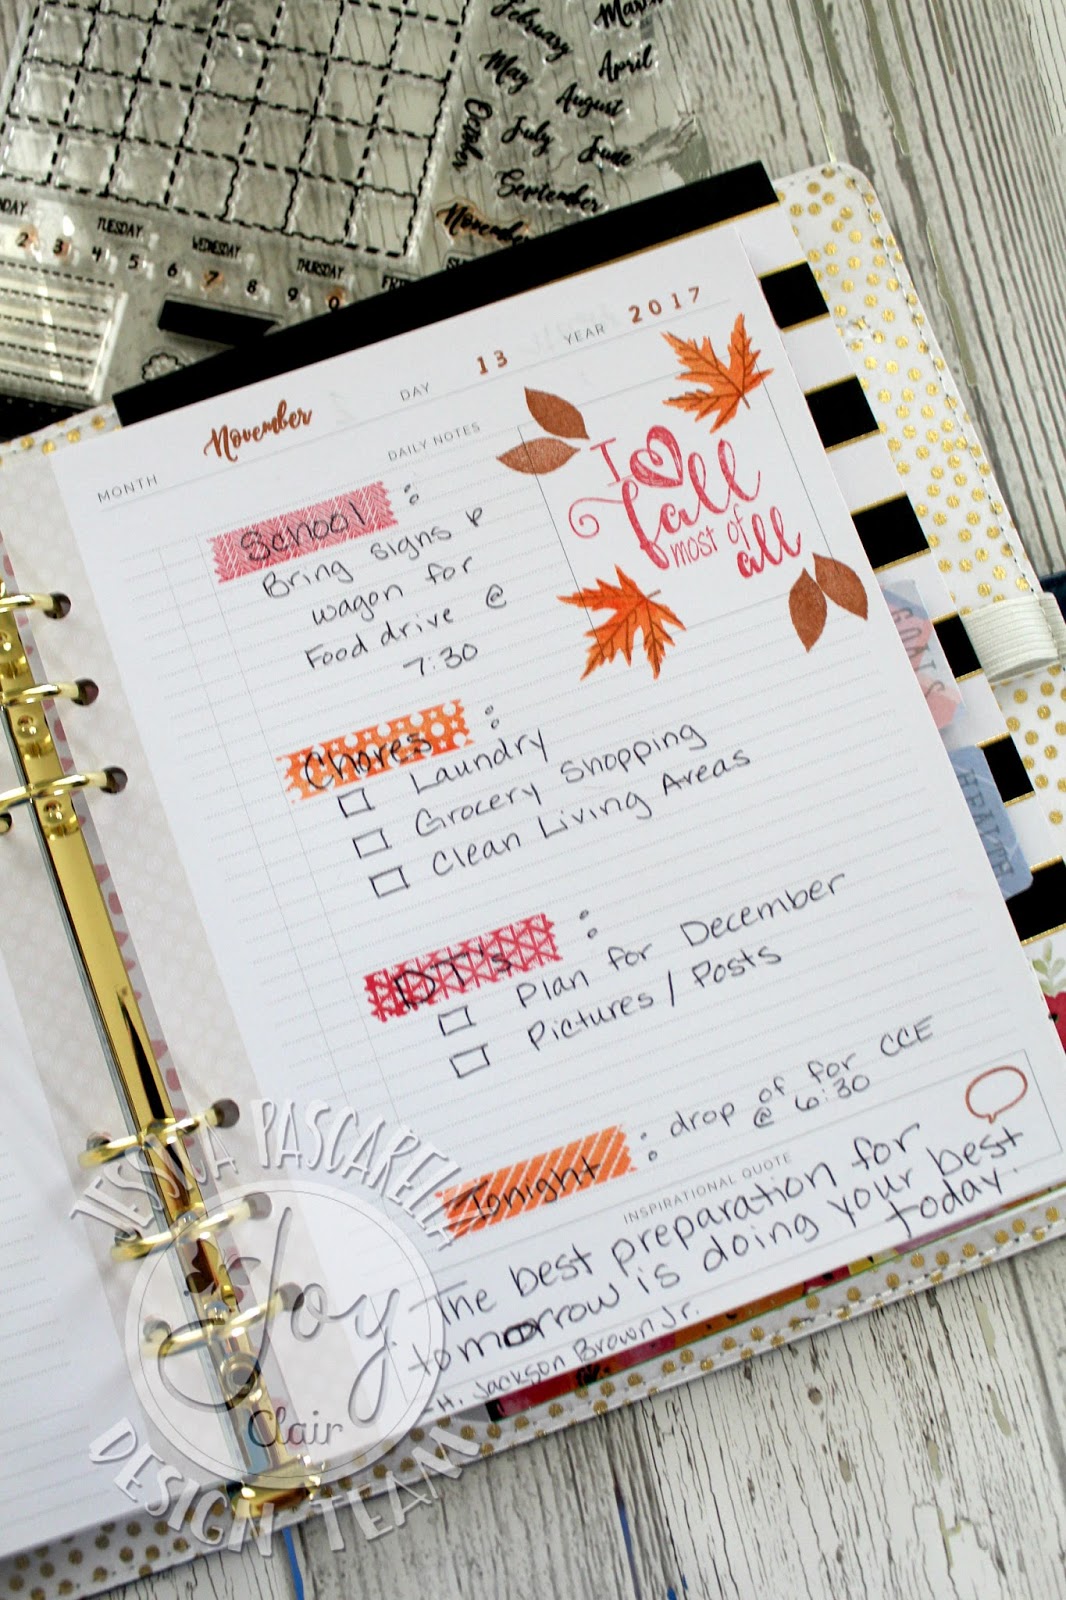
Next up, I included a planner page I created using the new Calendar Fun stamp set:


I really love the washi stamp images included in this set stamp. I alternated stamping the tape images in red and orange inks. These washi stamps add a unique design to the planner sheet. I used the month, day, and numbers to fill out the date at the top of the page. At the bottom of the planner page there is a place to write in a quote. So I included the speech bubble image inside the box. To add more detail to the planner page, I used the Fall Leaves stamp set to decorate the empty box towards the top of the page.

Interested in learn the latest news with Joy Clair Stamps? We would love for you to follow our Social Media pages!


Thank you for stopping by!
Jessi


Wednesday, October 4, 2017

Joy Clair's Embossing and Watercolor

Hello, Joy Clair friends! Can you believe that it is October? This year has flown by fast! Now that with the holiday season around the corner, I am sure the rest of the year will go by faster! 

Today I will be showing you two projects, one using a Everyday stamp set and one using a Color by Faith stamp set. 

My first project for today is one of my latest Bible Journaling pages. I am using Color by Faith's Noah's Ark stamp set:


I wanted to keep this page simple. So I stamped the ark in brown. The clouds were stamped in a gray ink. The animals are stamped in a orange/brown color. Once these inks dried, I used a variety of distress inks and used them as watercolors and filled in the rest of the column. To add the look of the rain starting, I used the salt/pepper dots from the Salt and the Light stamp set. To finish the page, I stamped the phase stamps with black ink.

Next up, is a card using the Rose Sentiments stamp set:


I love working with kraft cardstock. I really love how the color red POPS off the kraft color. To start my card, I stamped the rose frame with red ink and cut the frame out. For the card, I embossed swirls on the front of the card. To make the swirls stand out, I lightly swiped a white ink pad across the embossed swirls. I wanted the sentiment to stand out, so I stamped it ink brown ink. The rose frame is attached to the card base using foam dots.

Interested in learn the latest news with Joy Clair Stamps? We would love for you to follow our Social Media pages!


Thank you for stopping by!
Jessi
Saturday, September 30, 2017

Sending Birthday Wishes

Hello, MarkerPOP friends! It is football season! I am not sure about where you live, but on the weekends here, the skies are full of planes with advertisement banners.

So with that in mind, here is my card using the Waffle Flower's Across the Miles and ZIG Clean Color markers:


The airplane and banner are stamped in black ink. Once the ink dried, I used ZIG Clean Color markers to color in the scene. I added blue sky around the images. To add some design to the top of the panel,  I stamped a hot air balloon and added some die cuts of clouds.  The panel is cut out using a fancy rectangle die and attached to kraft cardstock.


The following ZIGs were used on today's card:
010, 022, 030, 047


Thank you for stopping by! Have a wonderful day!

Jessi

Friday, September 22, 2017

Die-cutting with Rinea Foil and Joy Clair

Hello, Joy Clair friends! I love using die-cuts! They make card-making and even Bible Journaling a tad bit easier! There are some many different ways you can use them!

Today I will be showing you two projects, one using a Everyday stamp set and one using a Color by Faith stamp set. All month long the Joy Clair design team will be teaming up with Rinea Foil paper.

First up, with Halloween around the corner, I am working with the super adorable October Fun stamp set and a variety of foil papers.


I used a variety of different dies to create this card. I used one for the hill, the house, and the moon. I used gold foil for the lights of the house and silver foil for the stars in the sky. The foil adds some fun shine to the card!

Next up, is a Bible page using the Little Monsters stamp set:


I used a simple star die for this page. One word stamp is stamped with the ghost ink and wiped off. The rest of the words are randomly stamped onto the Bible page. For the monsters, I stamped them onto cardstock and colored in using markers. The monsters are cut out and attached to the page.

Please continue to stop by the Joy Clair blog for the entire month of September to see what the Joy Clair design team does with the Rinea Foil.

Interested in learn the latest news with Joy Clair Stamps? We would love for you to follow our Social Media pages!


Don't forget to join us in this month's Joy Clair challenge! Click HERE for the details! Here is my challenge card using the new Fall Leaves stamp set and hopefully will inspire you to join in the fun!


Thank you for stopping by!
Jessi

Sunday, September 17, 2017

2017 MFT Superstar Card Contest - Clean & Simple

Hello, everyone! I hope you all had a fabulous weekend! This is one of our last 'free' weekends for a while. I think the next one is right before Thanksgiving. So my husband and I decided that the family was going to stay home and do whatever we wanted. So for me, I sent most of the day at my craft desk. It has been awhile since I did that...and it felt GREAT!

A few days ago I ran across the My Favorite Things Superstar Card Contest. If you have not heard about it, please stop by and check it out! This is the third year the contest has been around and it is so inspiring to see what everyone comes up with!

There are three different categories of the contest. I decided to play along with the Clean & Simple Genius category. Below is the card that I came up with:


I used the super cute Birds of Paradise stamp set. I chose one of the birds and stamped the image onto white cardstock. The bird is colored in using ZIG Clean Color markers. The image is then cut out using the coordinating dies. When it came time for the sentiment, I wanted to find a unique way to display it. When I think of tropical locations, I always imagine the cute wooden signs that they use to point of directions and various information. So I cut a few different strips from kraft cardstock. To make the strips look like planks of wood, I used the Die-namics Grassy Edges die along each end of the plank. The blank planks were also embossed with a woodgrain folder. The sentiment is stamped onto the wider of the planks. Before attaching the wooden sign to the card, I stamped a variety of leaves from the Blissful Blooms stamp set using Field Day and Green Room MFT inks. The wooden sign and bird are attached to the card to finish it off.

**Sadly, both the MFT Birds of Paradise and Blissful Blooms stamp sets are discontinued. But please stop by the My Favorite Things store to see their latest designs!**

Thank you for stopping by! Hope you have a wonderful day!

Jessi

Thursday, September 14, 2017

Fur-Friends Forever

Hello, MarkerPOP friends! Are you a pet person? If so, what is your favorite kind? I am a dog person. We currently have one dog, Olive. She is an adorable Mastiff mix. Definitely, another child I have to take care of! 

Today, I am working with the Pink & Main's Fur-Friends stamp set and Chameleon markers:


To start this card, I repeatedly stamped the bone image down the side of the card. The dog image is stamped and cut out using a circle die. The image is colored in and attached to the card. To add some extra color to the card, I added three hearts to the card. The final step for the card was to stamp the sentiment .


The following Chameleon markers were used on today's card:
BR4, BR5, RD2, RD4, YO2, YL3, NU0, NU1, NU3, PR2


Thank you for stopping by and have a wonderful day!

Jessi

Saturday, September 9, 2017

Autumn Blessings

Hello, MarkerPOP friends! Are you ready for Fall? I know that I am. Besides the cooler temperatures, one of my favorite things about Fall is the changing colors of the trees. Sadly, where I live, we do not get to see the drastic change. But I am hoping when I visit the DC area next month that I will be lucky enough to witness a few yellow and orange in the trees!

With Fall on the mind, I brought out the super adorable Hero Art's Coloring Layers Autumn Trees stamp set to makes today's card:


Did you know that Hero Art has mini layering ink collections? They make it super simple to coordinate the colors according to a certain theme. Today, I am pairing up the Autumn collection with the Autumn Tree stamp set.

To start this card, I stamped the trunk of the tree with the brown ink. After that I continued with the different layers of leaves using red, orange and rust ink. The sentiment for the card is stamped below the tree. A stitched rectangle die is used to cut out the panel that will be attached to the front of the card. What a simple card to recreate!


Thank you for stopping by! Have a wonderful day!

Jessi


Friday, September 8, 2017

Joy Clair and Rinea Foil

Hello, Joy Clair friends! Don't you love September? The kids are back in school and the temperatures are starting to cool off! Now that the kids are back in school, I am finding some extra time to get crafty!

Today I will be showing you two projects, one using a Everyday stamp set and one using a Color by Faith stamp set. All month long the Joy Clair design team will be teaming up with Rinea Foil paper.

First up, to celebrate the kiddos going back to school, I am using the Back to School stamp set:


To start this card, I stamped one image at a time using the Rinea Ghost Ink onto red foil paper. Once I stamped that image, I immediately wiped the ink off using a damp baby wipe. I repeated this stamp multiple times until the panel was full. The foil paper is attached to the card base.

Next up, is a Bible page using the Salt and the Light stamp set:


This is such a simple page to recreate! I cut a piece of blue foil paper down to size to fit within the Bible margin. I stamped each image one at a time using the Ghost Ink. The image is wiped immediately after it is stamped. The first image stamped was the Earth stamp. This allowed me to know where exactly to position the salt image. To finish the page, I included the phrase stamp at the bottom of the page.

Please continue to stop by the Joy Clair blog for the entire month of September to see what the Joy Clair design team does with the Rinea Foil.

Interested in learn the latest news with Joy Clair Stamps? We would love for you to follow our Social Media pages!


Thank you for stopping by!
Jessi


Thursday, August 17, 2017

Joy Clair August Blog Hop Day 2


Welcome to Day 2 of the Joy Clair August Blog Hop! Today the design team is featuring some of the new Color by Faith stamp sets!

No automatic alt text available.

You should be arriving from the super talented Martha's blog. If you just happened upon my blog and would like to start at the beginning, please hop on over to the Joy Clair blog!

Today I am showcasing the Faith Quotes stamp set:

No automatic alt text available.

Here is my latest Bible Journaling Page:


When I first saw this stamp set and some of the fonts used, I was reminded of a chalkboard. I decided to create the chalkboard look using black cardstock and white ink. I cut down a piece of cardstock to fit the margins of the Bible. Each stamped image is done with white ink. Once the images are stamped I lightly smudged each one to spread the ink. The last step is to run the white ink pad around the edges. 

Remember that we always have prizes for our readers and visitors that comment HERE in our corporate blog and in ALL designers blog.

JC_GIFTCARDS

Just left your comments and tell us which is your favorite stamp set of each day!
Here is the complete list of the Everyday Blog Hop:
Jessica Pascarella YOU ARE HERE
Thank you for join us and don't forget to follow us on our social media venues to be the first to hear the news, sales, promotions and giveaways!
Thank you so much for stopping by today. Have a wonderful and blessed day!

Your next stop on this blog hop is to the talented Helen's blog!


Wednesday, August 16, 2017

Joy Clair August Blog Hop Day 1

Hello, Joy Clair friends! Welcome to the first day of the Joy Clair August Blog Hop! Today the design team will be showcasing some of the newest Everyday stamp sets. You should be arriving for the super talented Stephanie's blog. If you just happened upon this post and would like to start from the beginning, hop on over to the Joy Clair blog.

No automatic alt text available.

Today, I am showcasing the new Ugly Sweater stamp set.


This card is super easy to recreate! It all starts with a piece of Kraft cardstock. I took different border stamps from the Ugly Sweater stamp set and stamped each on using white ink. I repeated this step until the card front is full. For the sentiment, I used a simple word die cut from red cardstock. To add a little bling to the card, I used a gold enamel dot for the I.

Let's talk prizes!!!!

JC_GIFTCARDS


Just left your comments and tell us which is your favorite stamp set of each day! The lucky winner will be chosen to win a gift certificate to the Joy Clair store!

Here is the complete list of the Everyday Blog Hop:
Jessica Pascarella YOU ARE HERE

Tomorrow you will see the entire Color by Faith Collection and all the New Background sets!!! To continue today's hop, your next stop will be the super talented LeeAnn's blog!

Thank you for stopping by!

Jessi

Friday, July 28, 2017

Let's Have Adventure

Hello, MarkerPOP friends! Do you like adventures? I would like to say that I do. But I have found that as I get older, my adventurous level is decreasing! We are taking the kids to their first waterpark in a few weeks. This will be my second time ever to one. I am sort of freaking out!

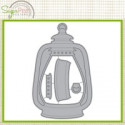
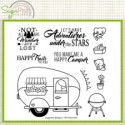
Today's card features the Sugar Peas Design's Lantern die and RV There Yet:


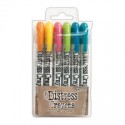
The lantern die cut is made using black cardstock. I also ran the die with white cardstock to get the center piece. The center piece is colored in using Distress Crayons. I blended them with a baby wipe. Once the cardstock is dry, I stamped the phrase onto the white cardstock. The lantern is attached to a starry print.


I used the following Distress Crayons: Spiced Pumpkin and Mustard Seed.


I love this lantern! Makes me want to go on a camping adventure...maybe when the temperatures cool down!

Thank you for stopping by! Have a wonderful day!

Jessi
 

Thursday, July 20, 2017

Aloha Pineapples!

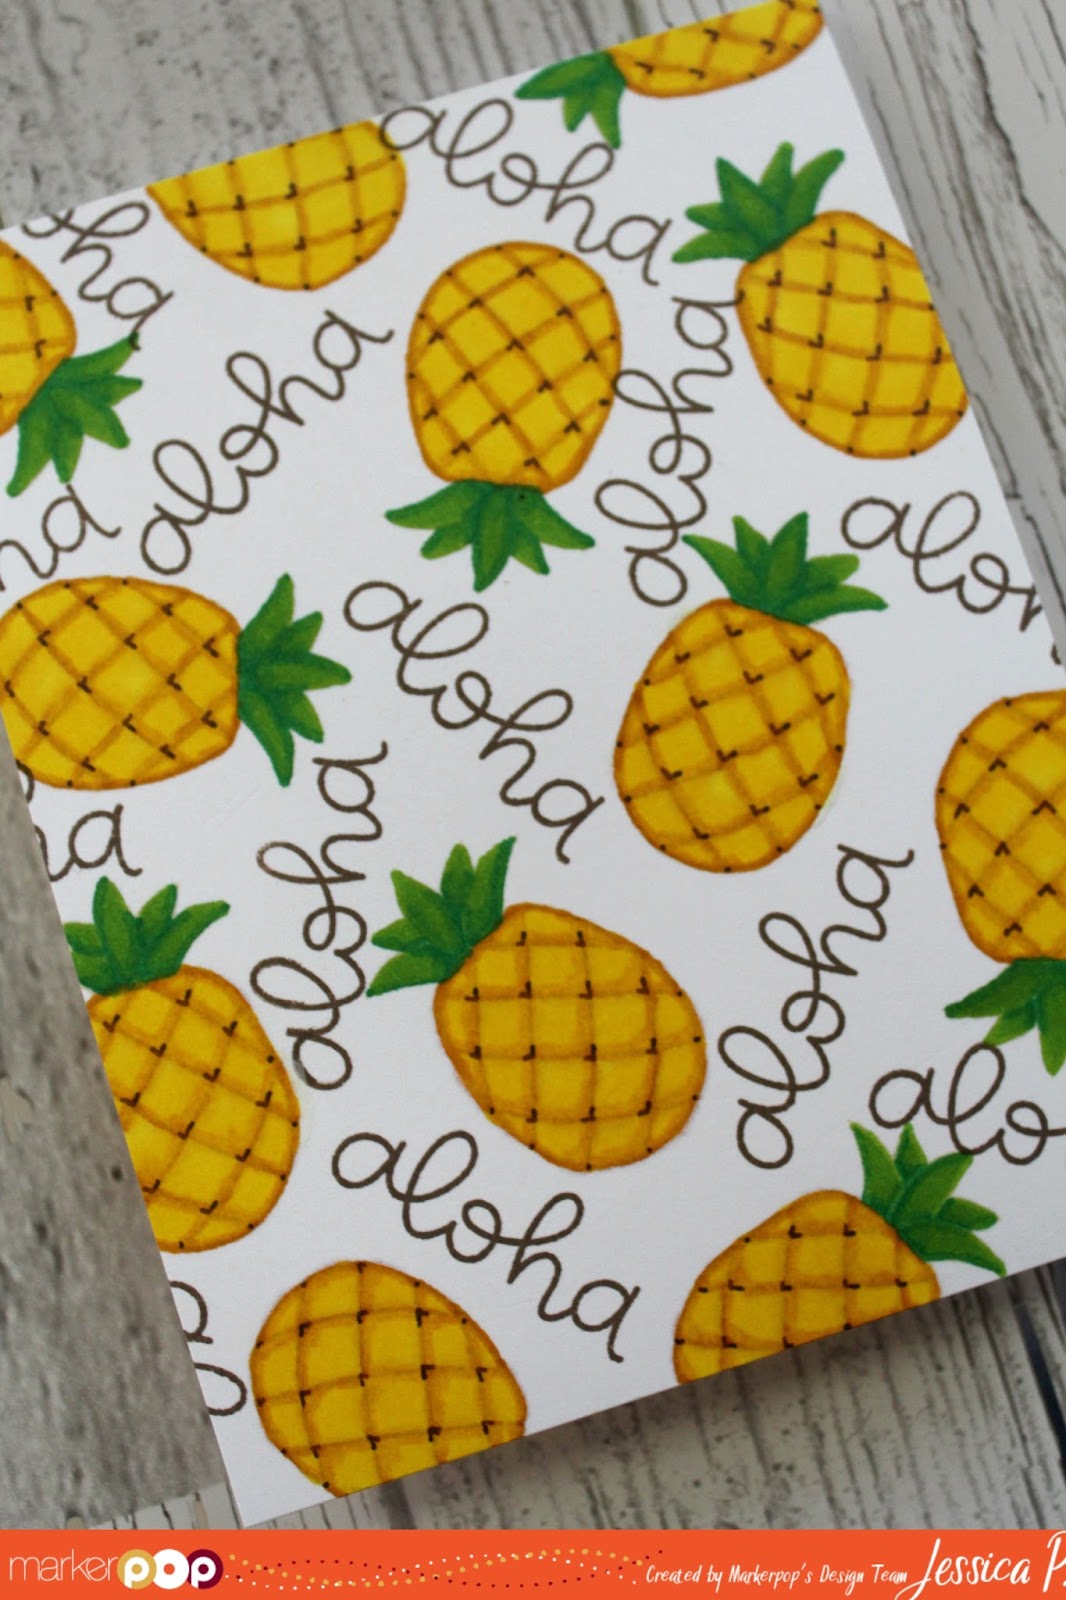
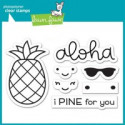
Hello, MarkerPOP friends! Pineapples are really popular right now! They are everywhere! Stamps...Papers...even Home Décor! I love them!!! So when I saw the super cute Lawn Fawn's Aloha stamp set, I had to have it!!!

I decided to pair up the stamp set with Chameleon markers and used the no-line technique:


The pineapple image is randomly stamped across a blank card. I used a light colored ink, so it 'disappears' once the image is colored in. The stem of the pineapples were colored in first. The Chameleon markers YG3 and GR3 were used. The body of the pineapple were colored in with the YL2 and YO3 markers.


To fill the empty space on the card, I stamped the 'aloha' word across the card. To finish the card, I used a brown fine tip pen and added the spikes to the pineapples. 


Who loves a giveaway? Click HERE to get more details!

Thank you for stopping by! Have a wonderful day!

Jessi


Thursday, July 6, 2017

Let's Meat Up

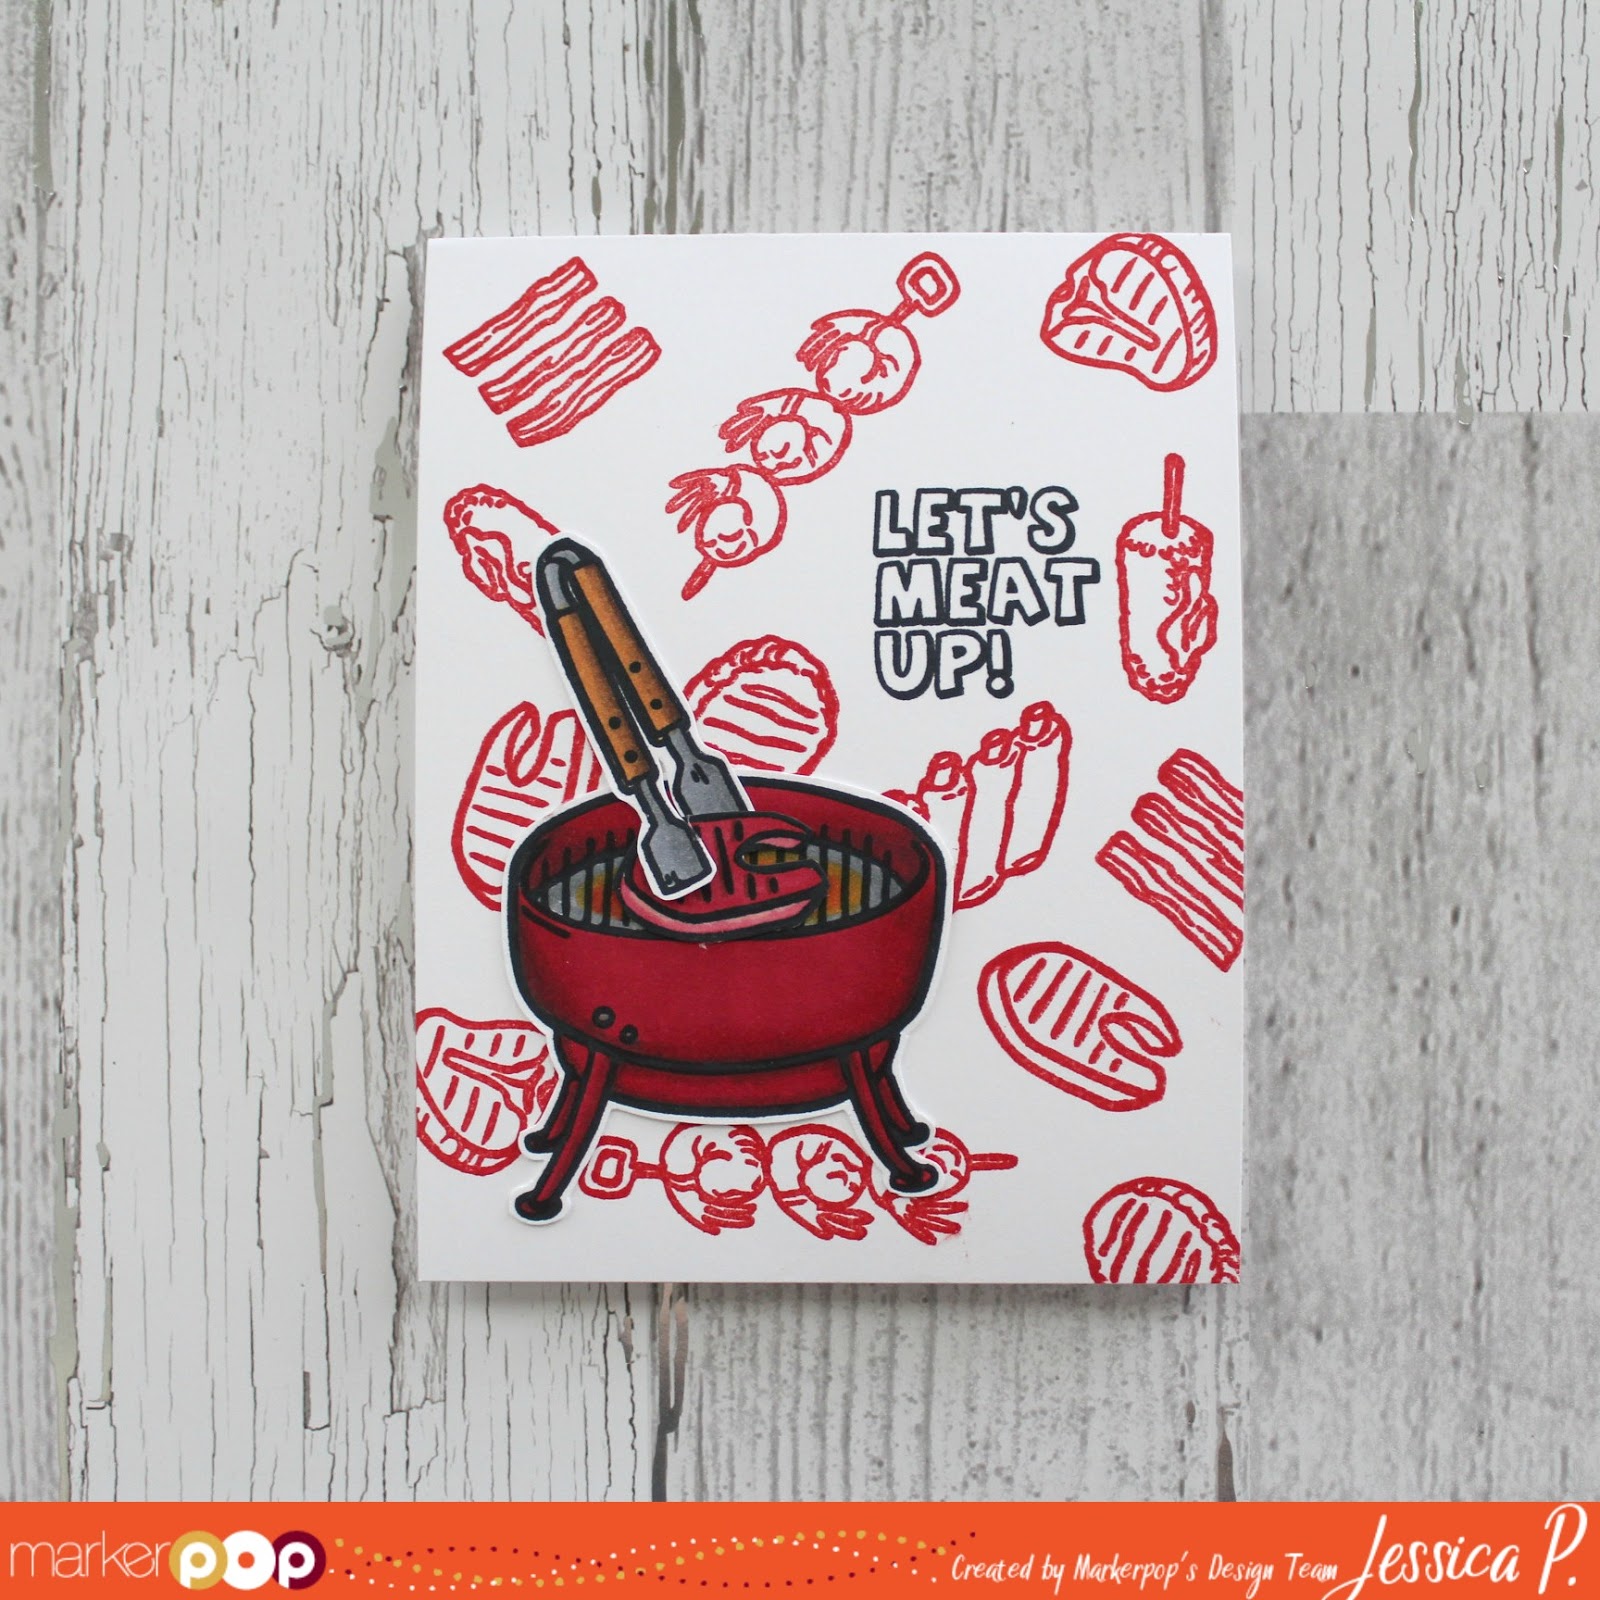
Hello, MarkerPOP friends! I hope everyone had a wonderful 4th of July celebration! Who all BBQ'd? I know that we did...hot dogs and ribs! Yum!!! So with that in mind, I thought this week would be a great week to showcase Waffle Flower's Meat It Up stamp set.

I paired up the Meat It Up stamp set with Chameleon markers:


All the images I wanted to use on the card were stamped onto white cardstock using Memento Tuxedo Black ink. The lines on the stamps are pretty wide, so I used my MISTI tool to allow an even impression of the stamps. The images were colored in using a variety of Chameleon markers. The images were cut out and set aside.


I wanted the sentiment of the card to really pop, so I stamped it using black ink. To form the background of the card, I used red ink and stamped a variety of images from the stamp set. Once the background was complete, I attached the cut out images. The pieces are attached to make it look like the steak is cooking on the grill.


Here is the list of Chameleon markers I used on today's card:
RD2, RD4, BR4, BR5, OR3, OR4, CG5, CG8

Please stop by the MarkerPOP blog for the entire supply list.

Thank you for stopping by today!

Jessi

Saturday, July 1, 2017

Joy Clair - July Monthly Challenge

Happy July, Joy Clair friends! Today starts a new challenge over on the Joy Clair blog! This month, the design team is showcasing some of their favorite Joy Clair stamp set! The theme for this month is Anything Goes

Interested in joining the fun? Hop on over to the Joy Clair blog to find out how you can play along!

Today, I am playing with the Doodle Flower Background and Hello Sentiments stamp sets.


I love this background stamp! I decided to stamp/emboss the image in gold and cover only part of the panel. I left the bottom empty, so I could go back and emboss a sentiment. The sentiment is from the Hello Sentiment stamp set. I attached the embossed panel onto a robin's egg blue cardstock.

Such an easy card to create. You can even color in the image for a different look!

Thank you for stopping by!

Have a wonderful day!

Jessi

Thursday, June 22, 2017

Hello, Friend

Hello, MarkerPOP friends! My style is Clean and Simple. I love the simplicity of the final project. I sometimes feel guilty with how quick it takes to make a card. So I have started to added some additional touches that I believe push the card to the next level! One of my new favorites is the NUVO Drops!

Today, I am using the Altenew's Be Strong stamp set and Chameleon markers:


I used Memento Tuxedo Black ink to stamp the images onto the white cardstock. I used a couple orange and yellows Chameleon markers to color in the individual bulbs. To make the bulbs look more life-like, I covered each one with Clear Nuvo Drops. When the drops dry, they give off a glassy look to the bulbs. A sentiment is stamped at the bottom of the card.


I used the following markers on today's card:
Chameleon markers -

Please head on over to the MarkerPOP blog for the list of supplies used on today's card.

Thank you for stopping by! Hope you have a great day!

Jessi
Thursday, June 1, 2017

Joy Clair June Challenge

Hello, Joy Clair friends! Today is the 1st of the month, which means...time for a new challenge!

This month's challenge is Summer-Time. We want you to share how this photo inspires you! Is it the colors or the popsicles?

For me, I loved the colors and the scattered popsicles!


Today, I am using the Seas the Day stamp set:


This is a very simple card to recreate! I used the larger starfish image from the stamp set and repeatedly stamped around the panel in a variety of colors. I used the same colors on the sentiment to give the rainbow effect.

Please stop by the Joy Clair blog to join in the challenge and to find out the rules!

Thank you for stopping by!

Have a great day!
Jessi