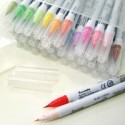
Showing posts with label ZIG markers. Show all posts

Wednesday, November 2, 2016

Joy Clair November Release Blog Hop

Welcome to the Joy Clair November Release Blog Hop!
Joy Clair is releasing some amazing new stamp sets today!


The design team has been working hard with some new creations to show the new sets off! You should be arriving from Martha's blog.If you are stopping by my blog and would like to start at the beginning, please stop by the Joy Clair blog.

Joy Clair’s November release contains four stamp sets, two everyday sets and two sets from their bible journaling line, Color by Faith!
All the stamps from this release will be on sale starting today.

Today I am showing off the new Color by Faith's A Child is Born:

The image of Mary is stunning. I wanted to keep the design simple and have the image really pop off the page. I stamped the image in black ink and allowed it to dry. I used ZIG Clean Color Real Brush markers to form the watercoloring on the page. The word phrases are stamped in black ink. Such a simple and easy page to recreate!


Now let’s talk about the grand prize! There will be TWO winners from the blog hop. Each winner will receive $25 Joy Clair gift certificate. WHAT A PRIZE!!!
1. Comment on the Joy Clair blog and the blogs of each participate along the way!


You have until November 5th, 2016 at noon EST. The winners will be announced on November 30th.
Thank you for stopping my blog! Your next stop will be the talented Cornelia's Blog!

Hop with us. Be sure to visit each of the designers on this blog hop!

Wednesday, October 26, 2016

Happy Belated Birthday

Happy Wednesday, everyone! It is Jessi here and I am excited to step away from holiday cards and show an everyday card with you today.

Today's card is using the super cute, WPlus9's Friends for All Seasons: Fall.


I love my ZIG Clean Color Brush markers. They are so easy to work with. I decided to use them in a careless way today. I stamped the images in black ink and let the ink dry completely.


I used a variety of ZIG Clean Color markers to color in the scene. I did not want the color to fully cover the image, so I left uncolored parts throughout the scene. Once the watercolors were dry, I used a fun die to cut of the scene. The scene is attached to a printed paper and mounted onto a card base.


Please stop by my MarkerPOP post for a list of supplies.

Thank you for stopping by today!

Wednesday, September 14, 2016

Avery Elle - Thank You

Hello, everyone! It is Jessi here today! As I have said before, Avery Elle is one of my favorite stamp companies! Their images are super fun and so easy to work with! So I decided to bring out one of their older sets and give it a new life!


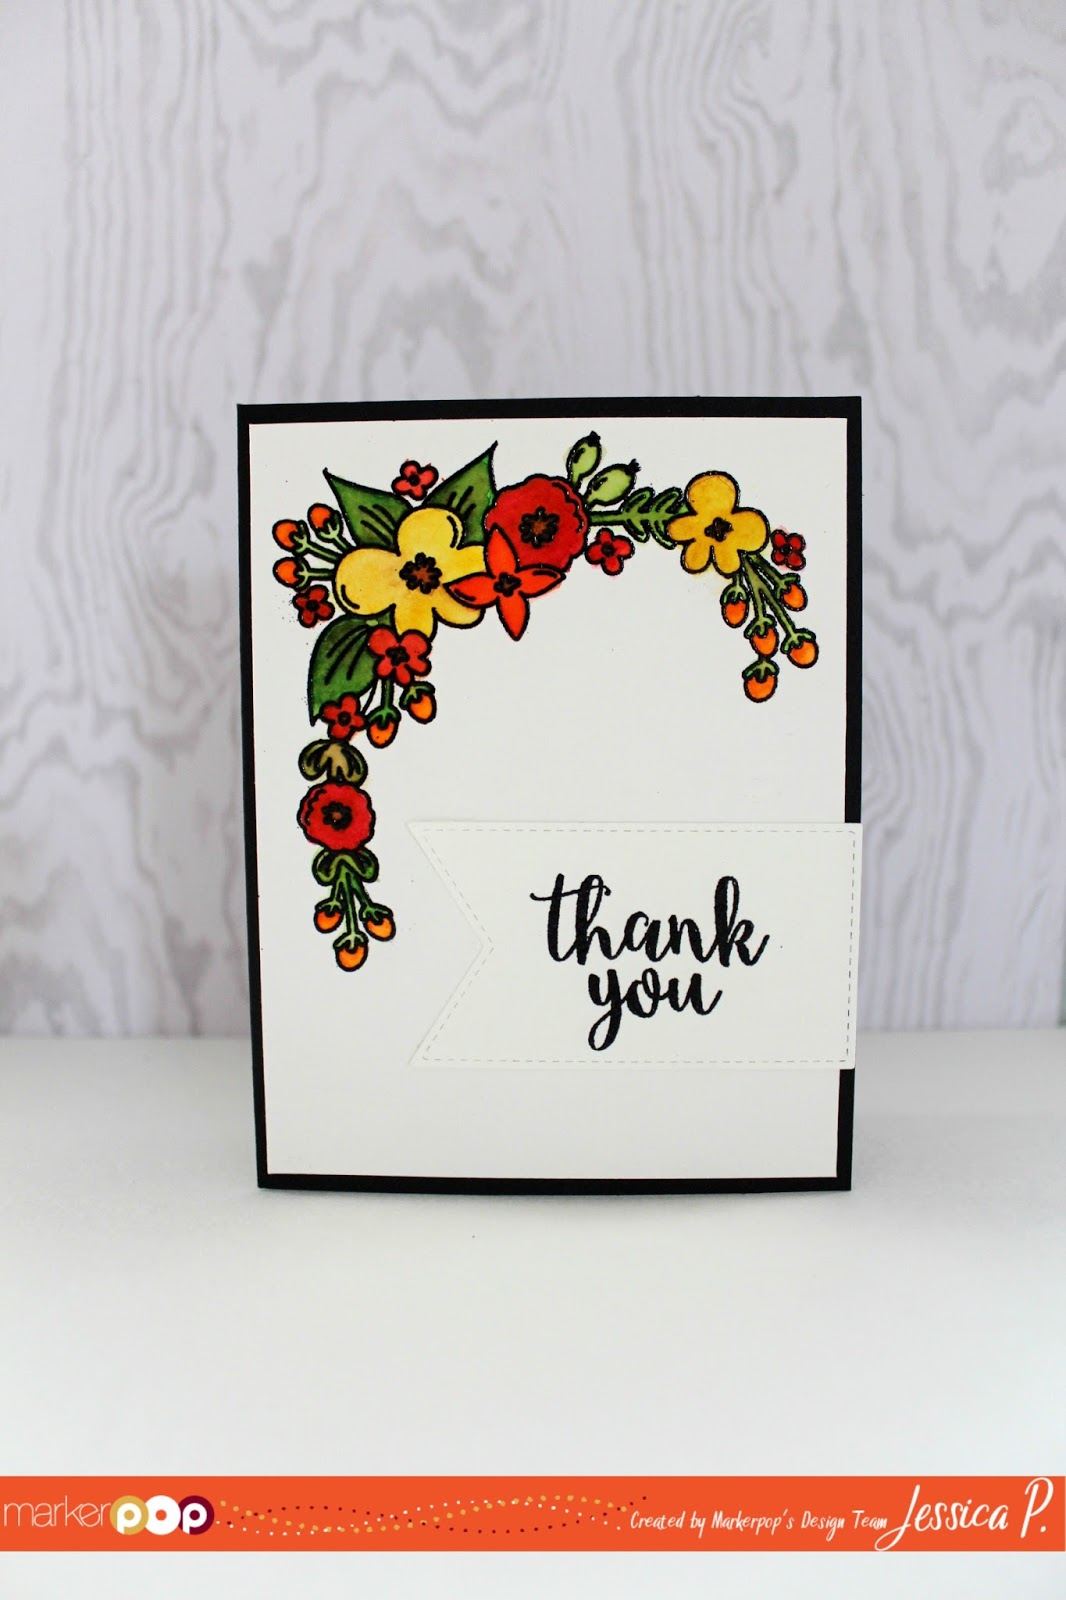
I don't know about you, but when I think of flowers I usually think about bright and cheery colors. I decided that since fall is around the corner, I was going to use fall colors on the flowers in the Avery Elle's Floral Frame stamp set.


The first step I took was to stamp and emboss the image in black. The image is then colored in with a variety of Zig Clean Color Markers. I used some of the regular reds, oranges, and yellows ZIG markers. To turn the colors more into the fall scheme, I added touches of browns. The sentiment is stamped onto a stitched pendant die cut.


Stop by my MarkerPop post for the list of supplies used on this card!

Thank you for stopping by today!
Have a great day!

Wednesday, August 17, 2016

MarkerPop & The Greeting Farm's Bible Page

Hello, everyone! It is Jessi here today. I am mainly a cardmaker, but recently, I started my journey with Bible Journaling. You can use a variety of mediums on the Bible pages. Today I will be using some Zig Clean Color Markers and some Chameleon markers, as well.

Along with the markers, I am working with the super cute stamp set, Jesus is the Way, from The Greeting Farm.


To start this page, I stamped the angel image onto white cardstock. Chameleon makers were use to color in the hair and skin parts of the image. The image is cut out and set aside. I took a piece of scrapbook paper and cut a strip to fit in the margin of the Bible. The angel image is attached towards the bottom of the strip and phrase ' Praise the Lord' is stamped towards the top of the strip. Once this is done, set the strip aside and move onto the page itself.


The Greeting Farm's Jesus is the Way stamp set includes a lot of word stamps.  I decided to use a variety of them to stamp onto the page. I am highlighting the words on a certain verse. In between some of the words and the empty spaces, I stamped the butterfly image or the trio of hearts stamp. The butterflies are colored in with a variety of yellow and orange ZIG Clean Color Markers.


To finish the page, I used a piece of washi tape to attach the strip of paper with the angel image. The tape is placed at the top of the strip (Half on the paper strip and half on the Bible page.) This allows you to flip up the strip to see the stamped verse underneath.

Stop by my MarkerPop post for the list of supplies used on this card!

Thank you for stopping by today!
Have a great day!


Wednesday, August 3, 2016

My first MarkerPop DT post!

Happy Wednesday, everyone! My name is Jessica Pascarella and I am super excited to be joining the MarkerPop design team! So since this is my first MarkerPop post, let me introduce myself!

I am a SAHM of 3 wonderful kids. My main love is card-making. But have started to expand into scrapbooking and altered items. My love for papercrafts started over 13 years ago when I made my wedding invitations. My style is mainly Clean and Simple (CAS), but I love to challenge myself to try new styles as well as new techniques. My latest obsession is using watercolors. 

As I mentioned above, I love watercolors! And I have to admit it was 'love at first sight' when I was introduced to ZIG Clean Color Real Brush markers!

So for today's creation, I paired up the ZIG Clean Color markers with one of the newest Avery Elle stamp set, Wild Birthday.


To start the card, I stamped the balloon image several times onto some watercolor cardstock using Memento Tuxedo Black ink. Once the ink dried, I used a variety of ZIG markers to color in the balloons. I used the Wild Birthday coordinating dies to cut out the balloons and set them aside. I repeated the process for the hippo image.


To create the sky background, I used the popular ink-smooching technique. If you are not familiar with this technique, let me explain quickly. On a piece of acetate, add a few colors of paint (in this case, I used a variety of blue ZIG markers) and mix with a small amount of water. Flip the acetate over and place on top of the cardstock you are working with. Move the acetate around to spread the color until you are satisfy with the overcome.

Time to piece the card together! A small hole is punched in the hippo and strands of twine are wrapped around the image. The end of the strands are arranged at the top of the card to line up the balloons. The balloons are attached with adhesive. The hippo is attached to the card with a foam dot. A simple sentiment is stamped on the bottom of the card.


Stop by my MarkerPop post for the list of supplies used on this card!

Thank you for stopping by today and seeing my first MarkerPop creation!
Have a great day!


Supplies:

Wednesday, April 6, 2016

You're the Gratest

 Hello, Joy Clair friends!  I am excited to be sharing one of my latest Joy Clair projects with you today! You can check out the new release HERE!
Today, I am working with the new stamp set, Mother's Day.

Mother's Day Clear Stamps - Joy Clair - 1

And my card using this fun stamp set:
 
 
This is a very CAS to re-create! You can find out the details on the Joy Clair blog! Hope to see you there!
 
What to learn more about Joy Clair stamps or see a number of inspirational projects using the stamps, please join the Joy Clair Facebook Group.
Thank you for stopping by!

Jessi
Supplies:
Joy Clair - Mother's Day

Wednesday, March 30, 2016

Joy Clair - Hoppy Birthday

Hello, Joy Clair friends! 
 I am excited to be sharing one of my latest Joy Clair projects with you today!
Today, I am working with the new stamp set, Hoppy Birthday!

Hoppy Birthday Clear Stamps - Joy Clair - 1

And my card using this fun stamp set:


I stamped this fun frog image and colored in with ZIG watercolor markers. I picked out a variety of prints from a 6x6 paper pad, so the prints were made to coordinate with each other. I cut out a piece of green to make it look like a lily pad. I used blue prints for the water and sky.
 
What to learn more about Joy Clair stamps or see a number of inspirational projects using the stamps, please join the Joy Clair Facebook Group.
Thank you for stopping by!
Supplies:
Joy Clair - Hoppy Birthday

Tuesday, March 29, 2016

Hello, Spring!!!

Hello, Pretty Cute Stamp fans! Hope you are having a fabulous week! I am excited to share my project with you today!

I am working with the adorable Spring Flowers stamp set.
 
 
When I came up with the plan for this card, I envisioned a few flowers around the bottom corner. I stamped a few of the flowers with white ink and added white embossing powder. With the heat gun, I heated the powder until it melted. I used a variety of ZIG markers to color in the images. A simple sentiment is stamped. The panel is attached to a bright cardstock and attached to the card base.
 
As I am here typing this post, I look at the card and am thinking I might go back and add a few more images. Possibly covering the entire front.
 
Thank you for stopping by today!


Supplies:
Pretty Cute Stamps - Spring Flowers


Wednesday, March 23, 2016

Joy Clair - Armor of God

Hello, Joy Clair friends!  Hoping you are having a wonderful week! With this being Holy Week, I am sure finding lots of Bible journaling pages from the week's readings. The week has been super busy, hoping to get to sit down and complete a few pages later today.
Today, I am working with the new set, Armor of God, from the Color by Faith series.

Armor of God Clear Stamps - Joy Clair - 1

Here is the ible journaling page using this inspiring stamp set:


This was a very simple page to create. I first stamped the knight image onto the page. Once the ink dried, I used ZIG watercolor markers to color in the image. The simple phrase is stamped at the top of the page and I added yellow watercolor rays to highlight the words.
What to learn more about Joy Clair stamps or see a number of inspirational bible journaling projects,  using the stamps, please join the Joy Clair Color by Faith Facebook Group.
Thank you for stopping by!
Supplies:
Joy Clair - Armor of God


Saturday, March 19, 2016

Funny Farm

Hello, Pink & Main friends! It is Jessi from Kissin' Krafts! Are you loving the new release from Pink & Main? If you have not seen the release, check it out HERE!

I used a couple of the new stamp sets to make this card, The Herd set and Funny Farmer set.


I created this scene by stamping the images and coloring them in with ZIG watercolor markers. The dirt is also created using the same watercolor markers. The fence is made with strips of brown cardstock. A simple sentiment is added to the 'white space' of the card. The scene is matted to a fun print and attached to the front of the card base.
 
Don't forget to play along with the Pink & Main Monthly challenge! This month's theme is SPRING! You can get the details HERE!

Thank you for stopping by today!
 
Supplies:
Pink & Main - Funny Farmer and The Herd


Wednesday, February 24, 2016

Creating Together with Marcie Sharp

Hello, friends! I am excited for today's post. Towards the end of last year, the talented Marcie Sharp had an idea about creating a series of working with a variety of card-makers. She sent out a request for people who were interested and I jumped at the opportunity to work with her! Please check out her blog, Sharp Designs, to see some previous installments of the Create Together series.


The fun thing about this series is that she puts a different challenge for each designer. What a unique way to inspire others. My challenge was to CASE a card she had previously created. So off to her Pinterest page to see a large group of her creations. After sending a few days narrowing down the possibilites, I chose to CASE this card created by Marcie. You can see it HERE on her blog.


If you have been following Marcie, she has been on a journey to work on different ways to work on her coloring skills. So I decided to take the coloring challenge as well for this installment of Create Together. I recently won a set of ZIG markers. I have been trying to get use to this form of watercoloring. So I decided to pull out a few different colors and get to work.


What drew me to Marcie's card was the the CAS style, but mostly the adorable elephant image. I recently purchased an elephant image from Butterfly Reflections, Ink and wanted to use the image for my card. So I stamped it onto watercolor paper and begin the painting process.


Let me tell you...I am in love with these ZIG markers and cannot wait to work with them more! Here is my final card CASEing her card.


I really love the layout of her card and stuck pretty close to it. My image is a little larger, so all the elements are crammed closer together. I also decided to added some double-stitching dies along the edges of the panel.

Know onto Marcie's blog to see what card of mine she decided to CASE. I am looking forward to seeing what she created!

Thank you for stopping by today. And thank you Marcie for letting me participate in the Create Together series with you! You always make some inspiring cards! Cannot wait to see what you have in store!

Tuesday, February 23, 2016

From Our Gnome to Yours

Hello, Pretty Cute Stamp fans! Hope you are having a fabulous week! I am excited to share my project with you today!

I am working with the super fun Gnomies stamp set!


 Last month I was lucky enough to win a set of ZIG markers. I am finally breaking them out and giving them a try! So, my first step to create this card was to stamp the images in a light ink color. The next step was to start coloring the images in with the different ZIG markers. Once the paint dried, I rounded the corners and added a few cloud diecuts. The girl gnome is cut out and attached to the scene. A simple sentiment is stamped onto the larger cloud.

Thank you for stopping by today!

Jessi


Supplies:
Pretty Cute Stamps - Gnomies stamp set