Showing posts with label coloring. Show all posts

Thursday, July 13, 2017

Happy Birthday Bus

Hello, MarkerPOP friends!!! July is a busy birthday month in my family. Do you have a certain month of the year that has more birthdays than others? Another month for us is May.

Today, I am working with the Avery Elle's Birthday Bus stamp set and Chameleon markers:


To start this card, I stamped the van image onto white cardstock. The line for the road is drawn in with a black tip pen. I decided to add the presents to the top of the car and balloons above the card. I also used the black tip pen to draw in the balloon strings. To finish the scene, I added a couple exhaust puffs to the van. The sentiment is stamped at the bottom of the card in the center.


I used lots of Chameleon markers to color in the scene, I started with the balloons and worked my way down the card, saving the van for last. To finish the card, I added a some white gel marks to each of the balloon.


The following Chameleon markers were used on today's card:
NU1, NU2, NU4, BR2, BR4, BR5, YO2, YO3, YL2, BG4, BL2, BL3, BL4, PR4, YG3, GR3, RD2, RD4, BK4, CB, OR4, PK3

Please stop by the MarkerPOP blog to see the entire supply list.

Thank you for stopping by today! Have a great one!

Jessi

Friday, May 5, 2017

You Are Out Of This World

Hello, MarkerPOP friends! This is the last day for Teacher Appreciation Week for our local schools. So I have been working on a few cards to hand out to our teachers. I found it challenge it make a card for my son to give to his teacher. I wanted the card to share some of his personality.

This month, the design team will be using a variety of different alcohol markers. One of my favorite marker brand is Chameleon Markers. I love how easy these markers are to use. The blending comes so easy with these markers. 

Today, I am working with the Lawn Fawn's Out of This World and a bunch of Chameleon markers.


I wanted to create a scene in the center of the cut out of the card. To start the card, I stamped the planet images and colored them with the alcohol markers. The spaceman image is also stamped onto white cardstock, colored in, and cut out. I used a few different grays to color in the background of the scene.  


To add some additional elements to the card, I added glossy accents to the spaceman's mask. I added "stars" to the scene, by adding enamel drops. The sentiment is stamped and embossed ink white on black cardstock. The cardstock is then cut out in a strip and attached to the card.


The following Chameleon markers were used to color in this card: RD2, RD4, VO2, VO4, OR3, OR4, YO2, YO3, CG5, CG8, BR2, PR4, BG4, BL3, BL6, BG4, PK3, NU1, NU2

Please stop by the MarkerPOP blog for the list of other supplies used on this card.

Thank you for stopping by! Have a great day!

Jessi

Monday, April 3, 2017

Joy Clair's SpringTime Flowers - Masking

Hello, Joy Clair friends! I don't know about you, but I love flowers. So much so, that every year I test my green thumb. And let me tell you, my thumb is more of a rotten green than a beautiful bright green! My flowers look good for a month or so and the heat of summer fries them up. I am excited about my garden this year, I am giving bulbs a try. And so far, some of them are popping up!

Today, I am showcasing the new Spring Time Flowers stamp set. I have decided to pair up the flowers with the masking technique the design team is using this month.


To start this card, I cut out an oval from masking paper using an oval die. The paper is sticky on the back, so I stuck it in the center of the card panel. I stamped the first flower on the cardstock and one onto masking paper. The masking paper flower is cut out and placed over the stamped cardstock. I stamped another flower and then removed the paper. I repeated this process until the flowers covered the entire card.


It is time to color in the flowers, I used a variety of oranges to color in the centers of the flowers. The petals are colored in with a variety of yellows. This was a simple card to create. The only real time consuming part is coloring in the flowers. You can create this card using large flower images or even small flower images.

Are you interested in learning the latest news going on with Joy Clair? Join us on your favorite Social media sites to see our newest products and samples from the design team members.
 YouTube 

So before you go, let me ask a question. What is your favorite flower? Mine is the hibiscus...all different shades of them. In fact, I just planted a couple of shrubs that are suppose have blue flowers on it when it blooms.

Thank you for stopping by today!


Supplies:
Masking Paper
Memento Tuxedo Black
Chameleon Markers


Saturday, August 13, 2016

Pink & Main's Magical Unicorns & Coordinating Dies

Happy Saturday, Pink & Main friends! Who is loving the newest Pink & Main release?
I know that I am!

Today, I am working with the Magical Unicorns stamp set. This stamp set was released a few months back, but the coordinating dies were released this week.


The idea for this card started with the background print. The print includes a few small moons, so I decided to make a larger one for the center of the card. I stamped the unicorn image and colored it in with a variety of markers. The horn on the unicorn is colored in with a glitter pen. The image is cut out using the coordinating die. The card needed a little more, so I used the star die from the set and added a few around the card. The sentiment is stamped onto the card.

Do you love to create with Pink & Main stamps? We would love to see your projects! Please join the Pink &  Main Creations Facebook Group and share your projects!

Thanks for stopping by!


Supplies:
Lawn Fawn - Hello Sunshine
Markers - Spectrum Noir

Saturday, August 6, 2016

Sunshine & Smiles

Happy Saturday, Pink & Main friends! Fall is around the corner! At least that is what I keep telling myself! Anything to deal with this HEAT!!! Sigh...

Pink & Main's August release will be available on the 10th! The design team has been sharing some sneak peeks. Today, I am working with the Sunflowers stamp set. This stamp set will also have coordinating dies available.


I really wanted to highlight the awesome sunflower in the Sunflower stamp set. I used a variety of fall colors to color in the images for this card. I used the coordinating dies to cut out the images. I used the Rounded Rectangles Dies to create a frame to highlight the sunflower.


The adorable bear is attached with foam dots on the corner of the frame. The simple sentiment is stamped towards the bottom of the card. Such a easy and fun card to create!

Do you love to create with Pink & Main stamps? We would love to see your projects! Please join the Pink & Main Creations Facebook Group and share your projects!

Thanks for stopping by!


Supplies:
Pink & Main - Sunflowers stamp set and coordinating dies
We R Memory Keepers - Wildflowers 6x6 paper pad
Markers - Chameleon

Saturday, October 17, 2015

Pink & Main Winter Scarlett Card

Happy Saturday, Pink & Main friends! I am running a little behind today! But I am finally able to post today's project! 

Today I am using the new Scarlett stamp set and coordinating dies. When I saw the name of this sweet girl, I insistently thought of using different shades of red. However, I recently saw a snowflake card and thoughts blues would be great.


Scarlet is stamped on white cardstock and cut out using the coordinating die. I colored the image with a variety of markers. To form the card, I simply stamped the sentiment onto the card. I randomly stamped snowflakes (from the Scarlett and Cocoa Cafe stamp sets). The girl is attached using a foam dot. To fill in some of the empty spaces, I used some white sequins. 

Thank you for stopping by today! Hope you have a wonderful weekend!

Jessi

Supplies:
Pink & Main - Cocoa Cafe, Scarlett stamps and coordinating die.

Saturday, June 13, 2015

Pink & Main Birthday Boy

Happy Saturday, Pink & Main friends! I hope you are having an awesome Saturday! Today, I am getting a slow start to the day! It is a gloomy, rainy day here on the Texas Coast. A perfect day to get my craft on!

Today's card is using one of Pink & Main's June release stamp sets - Birthday Boy.
 
The birthday boy image is stamped and colored in with a variety of markers. The balloons for the same image are stamped on a couple of different prints. This was done to paper-piece the balloons. The boy and balloons are attached to a patterned backing. The corners of the backing are rounded. The card base mat is create with 2 different prints. To finish of the card, a few sequins are added to the card.
 
 
Have you seen the new Pink & Main June Release? If not, check out the sets, HERE! There are some adorable sets available!
 
Thank you for stopping by today!
 
Jessi

Pink & Main Stamp set used:
 
 Birthday Boy


Saturday, April 11, 2015

Let's catch up!

Hello, Pink & Main friends! Spring is in the air! Flowers are blooming and bugs are a buzzing! Speaking of bugs...have you seen the new Pink & Main Stamps release? If not, please check out the new stamps, HERE! There are some super cute bugs and punny sentiments!
 
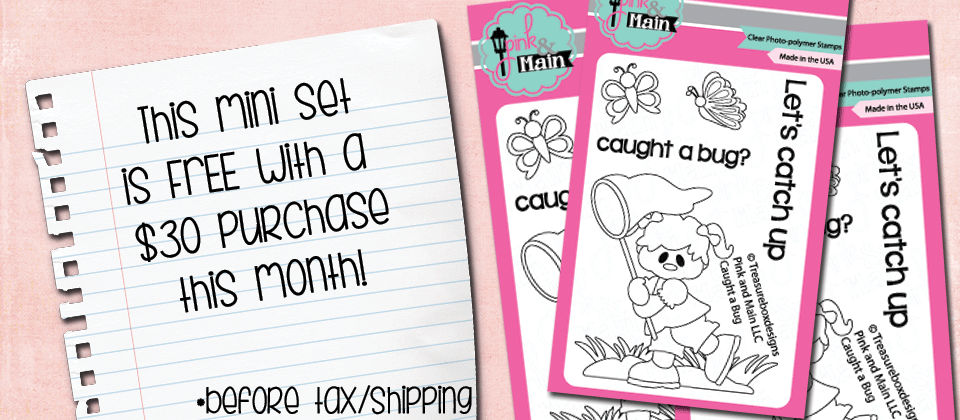
Also, included in the release is the 'Let's Catch Up' mini set which is free with a purchase of $30 or more. 

 
I used simple colored pencils for this image. To a fun spring detail to the card, I paper-pieced a sun and layered on top of the image.
 
 
Thank you for stopping by today! Keeping popping by to see more design team members take on the new release!
 
April2015freebie


Friday, March 20, 2015

Hello, Friend!

Hello, Butterfly Reflections friends! I am excited to be in the Butterfly Reflection, Ink blog today!

One of the colors I gave myself for 2015 was to improve my coloring skills. It is a work in progress and I am having a blast with it!

Have you noticed that there are several cute elephant stamps out there!  I bought the Avery Elle Ellie stamp set from the Butterfly Reflections.

 
This elephant is simply adorable! Because I am learning (and make lots of mistakes) I stamp the scene on a blank cardstock. Then I stamp the images I will be coloring onto a separate sheet. That way if I make a mistake it is not on the actual card. After I few attempts, I was finally happy with the coloring. I cut out the elephant and attached to the card. I did the same step with the balloons. The grass and flowers are stamped and colored. A simple sentiment is used to finish the card.
 
**This Avery Elle set is currently out of stock, but check out the Avery Elle section in the Butterfly Reflection, Ink store to see more amazing images!
 
Thank you for stopping by today! Check out Butterfly Reflections for the latest product! Their selection is full of amazing possibilities!


Supplies:
Avery Elle - Ellie
Markers