Showing posts with label technique. Show all posts

Thursday, May 4, 2017

Joy Clair Layering Images

Hello, Joy Clair friends! It is Jessi here. I am cannot wait to show you today's project! This month, the design team is working with layers. One way to add layers to your project is to stamp and cut out individual elements.

Today's project is showcasing the Joy Clair's Doodle Flowers stamp set:


To start this card, I stamped a variety of images onto white cardstock. The images are colored in and cut out individually. The jar image is stamped onto a printed piece of paper and cut out. A frame is created using two rectangle dies.


The frame is attached to printed paper. The jar image is glued with in the frame. Now it is time to add the different layers of flowers to the jar. The first layers to be placed are the leaves. One is placed on each side of the jar. One flower image is attached in the center of the leaves.


To finish the card, the remainder of the flowers and leaves were slipped into the place. A simple sentiment from the Joy Clair's Everyday Sentiment is stamped at the bottom of the card.

Are you interested in learning the latest news going on with Joy Clair? Join us on your favorite Social media sites to see our newest products and samples from the design team members.
 YouTube 

Thank you for stopping by today!

Monday, April 3, 2017

Joy Clair's SpringTime Flowers - Masking

Hello, Joy Clair friends! I don't know about you, but I love flowers. So much so, that every year I test my green thumb. And let me tell you, my thumb is more of a rotten green than a beautiful bright green! My flowers look good for a month or so and the heat of summer fries them up. I am excited about my garden this year, I am giving bulbs a try. And so far, some of them are popping up!

Today, I am showcasing the new Spring Time Flowers stamp set. I have decided to pair up the flowers with the masking technique the design team is using this month.


To start this card, I cut out an oval from masking paper using an oval die. The paper is sticky on the back, so I stuck it in the center of the card panel. I stamped the first flower on the cardstock and one onto masking paper. The masking paper flower is cut out and placed over the stamped cardstock. I stamped another flower and then removed the paper. I repeated this process until the flowers covered the entire card.


It is time to color in the flowers, I used a variety of oranges to color in the centers of the flowers. The petals are colored in with a variety of yellows. This was a simple card to create. The only real time consuming part is coloring in the flowers. You can create this card using large flower images or even small flower images.

Are you interested in learning the latest news going on with Joy Clair? Join us on your favorite Social media sites to see our newest products and samples from the design team members.
 YouTube 

So before you go, let me ask a question. What is your favorite flower? Mine is the hibiscus...all different shades of them. In fact, I just planted a couple of shrubs that are suppose have blue flowers on it when it blooms.

Thank you for stopping by today!


Supplies:
Masking Paper
Memento Tuxedo Black
Chameleon Markers


Friday, January 20, 2017

Joy Clair Embossing with Dino Love

Hello, Joy Clair friends! This month the design team will be working with the embossing technique. Today I am working with the super cute Dino Love! This stamp set is perfect for making Valentine Day cards for the special people in your life, especially the young ones!


I usually like to lay out my plan for the project I am working with. I am a visual person and like to make sure something will work before I just drive in! Sometimes this process is quick, while other times it can take me several hours to finalize a design that I am happy with.


Once I figure out the adjustments that need to be made, it is time to get started with the embossing! I am going to be embossing with white powder, so stamp the images in white ink as well. I stamped and embossed in different stages to cover the card.


Here is what card looks like once the embossing is completed:


 The red frame is attached to the center of the card. The dinos are stamped and embossed in white. The images are cut out and attached using foam dots.


This was such a fun card to create. I love the texture and shimmer that embossing adds to cards and other projects. If you have not given it a try, you need to!! The possibilities with embossing are endless.

What to learn more about what is going on with Joy Clair? Join our social media sites: Facebook page, Color by Faith Bible Journaling facebook page, Instagram and Twitter. Plus, Pinterest page and Youtube channel for your inspiration!

Thank you for stopping by! Hope you have a great day!

Jessi

Supplies:
Joy Clair - Dino Love
Lawn Fawn - Yeti White Ink
WOW White Embossing Powder
Pink & Main Stitched Round Square Dies
Foam Dots


Tuesday, August 16, 2016

MFT Camp Bonfire Entry

Print


Last week, My Favorite Things had a fun Camp Create Session. My goal was to participate in all the sessions, however...life got in the way. I did manage to crank out one card for the Camp Create Farewell Bonfire.

Print

This session is called Single Layer Savvy. The challenge is to create a card using one layer. So here is what I came up with using the fun Birds of Paradise stamp set.


I used a variety of stamps from the Birds of Paradise stamp set to create this scene. To prevent the images from overlapping one another, I used the masking technique. For this technique, I stamped the image on a different sheet and cut the image out. Before I stamp the next image on the scene, I would use the mask to keep the stamps from overlapping. I used bright ZIG Clean Color markers to color in the images.

Thank you for stopping by!

Jessi

Friday, August 21, 2015

Freshly Made Sketches/AEIHeartUChallenge

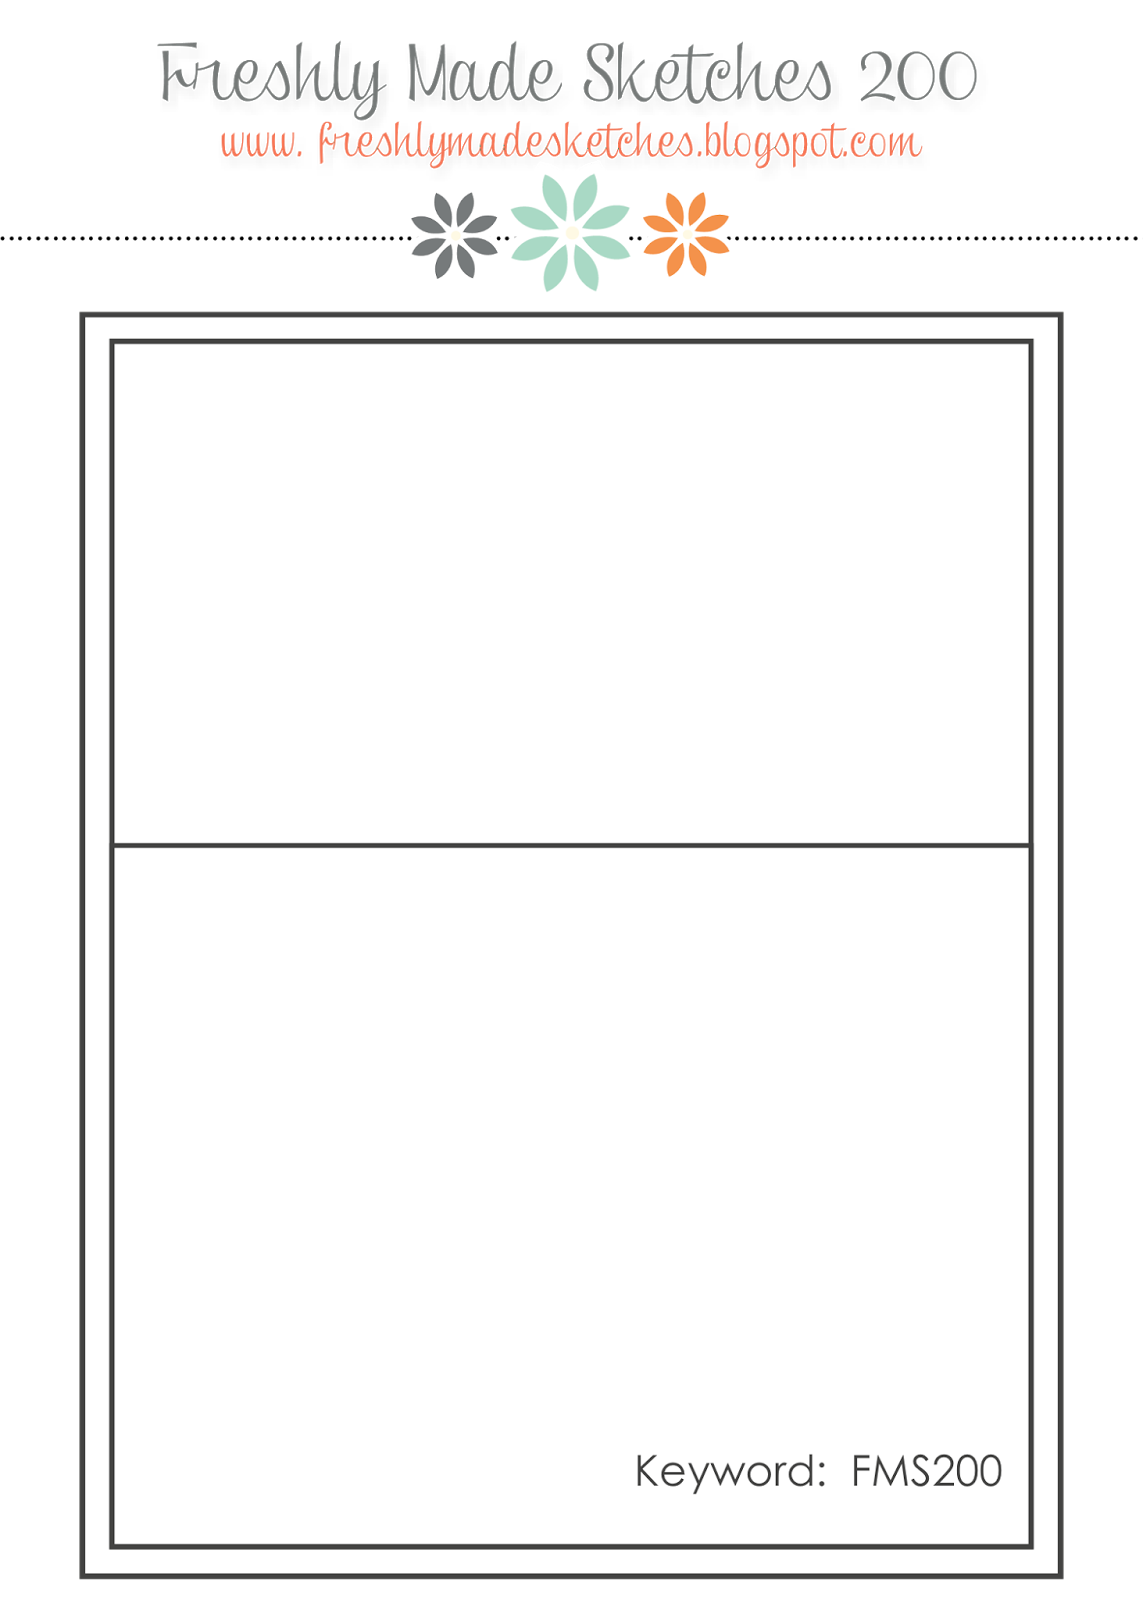
I recently found a new challenge blog, Freshly Made Sketches. Their current sketch is the 200th, so they are having a huge celebration! When I saw the sketch, I just had to play along!

The 200th Freshly Made Sketches sketch:


My take on the sketch (I flipped the sketch upside down):

 
  I have been inspired by some many talented designers using the 'ink smooshing' technique. I figure it was time for me to give it a try! To create the night sky, I used a variety of blues, grays, and purples watercolors. Once the paint dried, I embossed stars with white embossing powder. The shooting star is created with yellow embossing powder.  The sentiment is stamped in white ink on a vellum pendant. The deer is stamped and colored with distress inks.
 
I am also playing along with the AEIHeartUChallenge - Embossing.
 
Thank you for stopping by today!
 
Supplies:
Vellum
Watercolors
White and Yellow Embossing Powders
 
Challenges played:
 

Saturday, March 28, 2015

Pink & Main Happy Easter


Can you believe that Easter is next week? Where does the time go? Perfect timing for the adorable Pink & Main's Chocolate Bunny stamp set! For today's card, I attempted the popular no-line coloring technique.

 
The first step is to stamp the image in a light color ink. I used watercolor pencils to fill in the spaces. The background is a blend of watercolors as well.  Besides the time it took to color the image, this is a very simple card to create.
 
Thank you for stopping by today!
 
Have a wonderful day!


Monday, May 26, 2014

Gallery Idol 2014 Round 2 is now open for voting!

Let Round 2 of the Gallery Idol begin! And it is all about Diecutting!

When I found out the theme for this round, I went to Pinterest for some inspiration. It was there that I came across the 'Die Cut Inlay" Technique. I will be honest. I was not familiar with that technique before this search. So the ideas started to come in. I made the first card and LOVED the technique!  I even made went on to make another! (Mainly because I was doubting my creation, but also because I had so much fun!)

So here is the card I submitted for Round 2 (and it was the first card I made using the technique):


To create the 'inlayed' target, I nested all the circle dies and ran them through the machine with two different papers. I separated the circles and re-created the target design alternating the paper.  Other dies used on this card were the heart die and the pendant die.

The finishing touches included the sentiment (made with both stamps and stickers). Wood veneers are attached using twine.

I truly appreciate you visiting my blog. I hope you will take a look at the other 19 talented designers! You can take a look at all the entries HERE. Please take the time to vote for your favorite! 

Have a great day! 


Supplies:
Crate Paper -  Love Notes
Spellbinders - Circles and Pendant Dies
Sizzix - Heart Dies
Studio Calico - Wood Veneers
Trendy Twine - Totally Natural
Sweet Stamp Shop - Wheely Like You
My Mind's Eye Word Stickers

Playing along with the following challenges:
Through the Craft Room - Anything Goes
Scrapbooker PhD Challenge  - Die cuts
The Pink Elephant - Anything Goes

Thursday, April 3, 2014

Little Tangles Challenge - Masking

Happy Thursday, everyone! I hope you are enjoying your week and finding some time to create something wonderful!
Today starts a new challenge over on the Little Tangles Challenge! 
 
This week is all about masking! I have to admit, I have not done this technique often. But when I think of masking, I think about creating a scene with stamps. What better Neat and Tangled set, but Little Bear.

Here is my masculine card using the masking technique:
 

I cannot wait to see the creations that you come up with! Don't forget to link up your projects HERE!
Here are a few rules about the Little Tangles Challenge:
Challenge Guidelines:
  • Create a NEW project based on the challenge theme. Your project must fit within the challenge theme in order to be eligible to win.
  • Submit your entry through the Inlinkz tool below. (If you have a blog, please link to the blog post with your challenge entry, not your entire blog!)
  • Link back to our challenge and display our challenge graphic in your blog post.
  • The use of Neat & Tangled stamps is not required, but it is strongly encouraged! If you don't own any Neat & Tangled stamps, check out the FREE digi stamps HERE
  • You may enter as many times as you'd like.
  • We'd love for you to be a follower of Little Tangles!
  • You have until Sunday, April13th at 11:59 EST to enter.