Tuesday, August 16, 2016

MFT Camp Bonfire Entry

Print


Last week, My Favorite Things had a fun Camp Create Session. My goal was to participate in all the sessions, however...life got in the way. I did manage to crank out one card for the Camp Create Farewell Bonfire.

Print

This session is called Single Layer Savvy. The challenge is to create a card using one layer. So here is what I came up with using the fun Birds of Paradise stamp set.


I used a variety of stamps from the Birds of Paradise stamp set to create this scene. To prevent the images from overlapping one another, I used the masking technique. For this technique, I stamped the image on a different sheet and cut the image out. Before I stamp the next image on the scene, I would use the mask to keep the stamps from overlapping. I used bright ZIG Clean Color markers to color in the images.

Thank you for stopping by!

Jessi

Saturday, August 13, 2016

Pink & Main's Magical Unicorns & Coordinating Dies

Happy Saturday, Pink & Main friends! Who is loving the newest Pink & Main release?
I know that I am!

Today, I am working with the Magical Unicorns stamp set. This stamp set was released a few months back, but the coordinating dies were released this week.


The idea for this card started with the background print. The print includes a few small moons, so I decided to make a larger one for the center of the card. I stamped the unicorn image and colored it in with a variety of markers. The horn on the unicorn is colored in with a glitter pen. The image is cut out using the coordinating die. The card needed a little more, so I used the star die from the set and added a few around the card. The sentiment is stamped onto the card.

Do you love to create with Pink & Main stamps? We would love to see your projects! Please join the Pink &  Main Creations Facebook Group and share your projects!

Thanks for stopping by!


Supplies:
Lawn Fawn - Hello Sunshine
Markers - Spectrum Noir

Thursday, August 11, 2016

Hello Sweet Forest Friends

Hello, everyone! It is Jessi here today. I love stamps. In fact, I probably need to join a support group. I have probably three or four stamp companies that are my favorites. Today I will be showcasing products from one of them... My Favorite Things. Believe it or not, it has only been in the last year that I started to hear much about them. And I have been falling in loving with every release since!

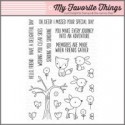
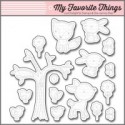
On my card today, I am using the super adorable, Sweet Forest Friends stamp set and the Sweet Forest Friends coordinating dies. The combination of the stamps and dies make it super easy and super fast to put together amazing cards!


One of my favorite type of cards to create are scene cards! So for this card I used stitched dies to highlight the scene, pendant for the background and rectangle for the scene itself. The next step is to stamp and color in the images to create the scene. I used a variety of Chameleon markers on the images. For additional effect, I used a White Gelly Roll pen to add white dots to the deer's back. Once the images were ready, I used the coordinating dies to cut them out.


Time to piece the card together! First up, I choice a fun fall color print for the background the card. the next layer is the stitched pendant. Next is the blue stitched rectangle that represents the sky. I used the same stitched rectangle and the Lawn Fawn Grassy die to create the basis of the scene. The stamped elements are added to the scene. The last part is to stamp the sentiment. I thought 'Hello, Friend' was perfect because the deer is looking up at the bird.


Stop by my MarkerPop post for the list of supplies used on this card!

Thank you for stopping by today!
Have a great day!


Wednesday, August 10, 2016

Joy Clair's New Sets - Butterfly Kisses & Everyday Sentiments

Hello, friends! It is Jessi from the Joy Clair design team. Did you see the newest Joy Clair release from last week? So many wonderful sets! I could not wait to get to stamping with them. From cards to bible pages to a new type of project (you will have to wait for my next post in a few weeks), the possibilities are endless!

I have two projects to share with you today! First up is one of my latest Bible Journaling pages using the new Butterfly Kisses stamp set.


My second project for the day is a card using the new Everyday Sentiments stamp set.


Interested in learning how I made these projects? You can find out the details on the Joy Clair blog!

What to learn more about Joy Clair stamps or see a number of inspirational projects using the stamps, please join the Joy Clair Facebook Group and our Color by Faith Facebook Group.
Thank you for stopping by!

Jessi
Supplies:
Joy Clair Stamps - Butterfly Kisses, Everyday Sentiments, and Raise Your  Glass

Saturday, August 6, 2016

Sunshine & Smiles

Happy Saturday, Pink & Main friends! Fall is around the corner! At least that is what I keep telling myself! Anything to deal with this HEAT!!! Sigh...

Pink & Main's August release will be available on the 10th! The design team has been sharing some sneak peeks. Today, I am working with the Sunflowers stamp set. This stamp set will also have coordinating dies available.


I really wanted to highlight the awesome sunflower in the Sunflower stamp set. I used a variety of fall colors to color in the images for this card. I used the coordinating dies to cut out the images. I used the Rounded Rectangles Dies to create a frame to highlight the sunflower.


The adorable bear is attached with foam dots on the corner of the frame. The simple sentiment is stamped towards the bottom of the card. Such a easy and fun card to create!

Do you love to create with Pink & Main stamps? We would love to see your projects! Please join the Pink & Main Creations Facebook Group and share your projects!

Thanks for stopping by!


Supplies:
Pink & Main - Sunflowers stamp set and coordinating dies
We R Memory Keepers - Wildflowers 6x6 paper pad
Markers - Chameleon

Thursday, August 4, 2016

DCWV August Stackaholic Challenge

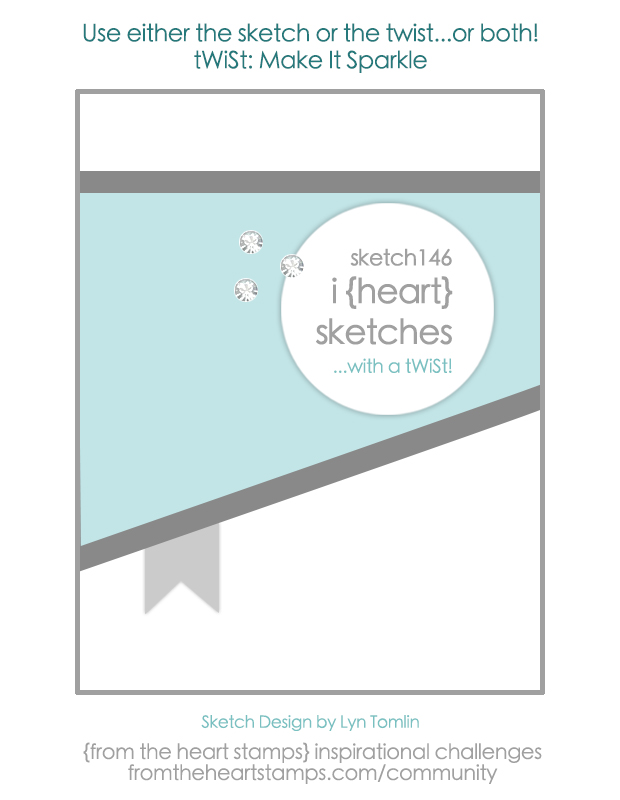
Who is ready for the August DCWV Stackaholic Challenge? There are two amazing sketches available to work with this month! This month I decided to play along with the card sketch.

Take a look at this sketch:


Here is the card I made using the new Gilded Grey Stack available at AC Moore stores:


I chose to stick pretty close to the sketch provided. The only real difference is the part that shows three circular embellishments. I turned made this part by cutting words out of a print provided in the stack.


Want to play along with the card sketch or check out the details about entering your creation? Stop by HERE for all the information!

Thanks for stopping by today!

Supplies:
DCWV - Gilded Grey (available at AC Moore stores)

DCWV Coastal Frame

Hello, DCWV friends! It's Jessi from the Social Media Design Team. I have been longing for a fun trip to the beach. We are now in August and my family still has not been to the beach yet! That is so sad, we only live 30 miles from the Gulf of Mexico! But if the beaches nearby where in better conditions, we would go more often. So when I received the new DCWV Coastal Stack it brought back some pleasant beach memories!

The colors in the Coastal Stack are beautiful! They go perfectly with the photos of my past trip to Cape Cod. Time to create a frame for one of my favorite pictures!


DCWV Coastal Frame:
1.       Paint edges of unfinished wood frame.
2.       Cut printed cardstock to 8in.x8in. square
3.       Cover front of frame with a thin layer of Mod Podge and attach cardstock.

4.       Use exacto knife to cut out the picture opening of frame.

5.       Add embellishments to the frame. (These are hand cut from the DCWV stack)
Supplies:
DCWV Coastal Stack (now available at AC Moore stores)
Unfinished Wood Frame
Martha Stewart Putty Acrylic Paint
Exacto knife

Mod Podge
Thank you for stopping by! Have a wonderful day!

Thank you for stopping by today!

Jessi

Wednesday, August 3, 2016

My first MarkerPop DT post!

Happy Wednesday, everyone! My name is Jessica Pascarella and I am super excited to be joining the MarkerPop design team! So since this is my first MarkerPop post, let me introduce myself!

I am a SAHM of 3 wonderful kids. My main love is card-making. But have started to expand into scrapbooking and altered items. My love for papercrafts started over 13 years ago when I made my wedding invitations. My style is mainly Clean and Simple (CAS), but I love to challenge myself to try new styles as well as new techniques. My latest obsession is using watercolors. 

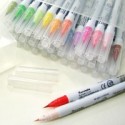
As I mentioned above, I love watercolors! And I have to admit it was 'love at first sight' when I was introduced to ZIG Clean Color Real Brush markers!

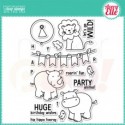
So for today's creation, I paired up the ZIG Clean Color markers with one of the newest Avery Elle stamp set, Wild Birthday.


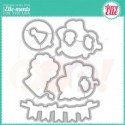
To start the card, I stamped the balloon image several times onto some watercolor cardstock using Memento Tuxedo Black ink. Once the ink dried, I used a variety of ZIG markers to color in the balloons. I used the Wild Birthday coordinating dies to cut out the balloons and set them aside. I repeated the process for the hippo image.


To create the sky background, I used the popular ink-smooching technique. If you are not familiar with this technique, let me explain quickly. On a piece of acetate, add a few colors of paint (in this case, I used a variety of blue ZIG markers) and mix with a small amount of water. Flip the acetate over and place on top of the cardstock you are working with. Move the acetate around to spread the color until you are satisfy with the overcome.

Time to piece the card together! A small hole is punched in the hippo and strands of twine are wrapped around the image. The end of the strands are arranged at the top of the card to line up the balloons. The balloons are attached with adhesive. The hippo is attached to the card with a foam dot. A simple sentiment is stamped on the bottom of the card.


Stop by my MarkerPop post for the list of supplies used on this card!

Thank you for stopping by today and seeing my first MarkerPop creation!
Have a great day!


Supplies:

Tuesday, August 2, 2016

Joy Clair August Release Blog Hop

Welcome to the Joy Clair August Release Blog Hop! Joy Clair is releasing some amazing new stamp sets today! The design team has been working hard with some new creations to show the new sets off! You should be arriving from the talented Martha's blog.  If you happened to join the hop in the middle, please start at the Joy Clair blog!

Joy Clair’s August release contains four stamp sets, two everyday sets and two sets from their bible journaling line, Color by Faith!
All the stamps from this release will be on sale starting August 2nd.

Today I am showing of the new Prickly Happy stamp set designed by our very own Crystal! She knock this one out of the park for sure!


The cactus images in the set were screaming to be colored in with the no-line technique! I started by stamping the images in a light color ink.


The next step used a variety of green watercolors to form the cactus in the scene.


The sand of the desert is a variety of brown watercolors.

The sunset part of the scene uses a variety of yellows, oranges, reds, pinks, and purples.
**Tip** Use a heat gun to dry the paints in between colors.

The sentiment (from the new Everyday Sentiments) is stamped in white onto a black strip and attached with foam tape.


Now let’s talk about the grand prize! There will be TWO winners from the blog hop. Each winner will receive $25 Joy Clair gift certificate. WHAT A PRIZE!!!
1. Comment on the Joy Clair blog and the blogs of each participate along the way!


You have until August 4th, 2016 at noon EST. The winners will be announced on August 5th.
Thank you for stopping my blog! Your next stop will be the talented Steph's blog.

Be sure to visit each of the designers on this blog hop!

Monday, August 1, 2016

Joy Clair August Challenge

Is it the first already?!?
Where does the time go?
Are ready to see the next Joy Clair challenge?

Below is the color inspiration for this month:


I used the colors in the above photo to start my card and filled in with some additional colors.


I used the Paisley Bouquet stamp set for this challenge card. I stamped the larger design onto white cardstock. The design is colored in with a variety of markers and colors. The design is cut out and used to embellish the black frame on the embossed card. A simple sentiment is stamped in the middle of the frame. A few sequins are added onto the card for additional elements.

Prize:
A $25 gift card to the Joy Clair store.
Randomly selected to give everyone a chance to win!

Rules for the Joy Clair Challenge:
  • Create a new card, bible journaling or project using the theme of the challenge posted above. Use of Joy Clair products is optional.
  • Post your project on your personal blog or online gallery.
  • Please directly link to the Joy Clair blog in your post. 
  • Projects must be NEW, no back linking, please.
  • Number of entries is unlimited.
Please make something with the inspiration above.
This challenge will go from August 1st and closing on August 30th 12pm mst.
The winner will be announced August 31st.


Supplies:

Winner Announcement!

Hello, everyone! I want to say welcome to my new followers and thank you to everyone who entered my Christmas in July giveaway last week.

It is time to announce the winner of the DCWV Prize Pack.

Karen C. (kprc826)

The winner has one week to send an email to kissinkrafts@yahoo.com to claim their prize.

Have a great day!

Jessi


Pink & Main August Challenge - SCHOOL

Hello, Pink & Main friends! It is the first of August, which means it is time for a new challenge!
This month's theme is SCHOOL! I know I am ready for school! How about you?

Today's card uses the super cute Owl Nerds stamp set.


I used the crayon from the Owl Nerds stamp set and randomly stamped the image on the front of an A2 card. To fill in the spaces, I stamped the scissor image from the Planning School stamp set. I used a variety of markers to color in the crayons. A blender marker was used on the metal and eraser part of the image to give it a reflection look. The sentiment is stamped onto a black strip of cardstock with white ink and embossed in white.

Do you love to create with Pink & Main stamps? We would love to see your projects! Please join the Pink & Main Creations Facebook Group and share your projects!

We would love for you to join in this month's challenge! Please check out the details HERE!
  
Thanks for stopping by!

Jessi

Supplies-
Pink & Main - Owl Nerds and Planning School stamp sets

Saturday, July 30, 2016

Pink & Main Sneak Peek = Wild About You

Happy Saturday, Pink & Main friends! Can you believe that July is almost over?!? Before we know it, August will be here and then Back to School will be upon us! (Yes, I am counting down the days until my kiddos go back to school...24!

Today, I am giving you a sneak peek at one of Pink & Main's August release stamp sets, Wild About You. It has some adorable animals in the set and I am giving you a look at the precious bear.


I stamped the bear image onto a printed paper and colored in with a variety of markers. This new stamp set also has coordinating dies to match, making it super easy to cut out the stamped images.


I paired up a printed pocket page from a paper stack with a coordinated print and attached to the front of a card base. The sentiment is stamped on the pocket page. The bear is attached to the card.

This is where I planned to stop the card, however, it felt like it was missing something. I colored the 'c' in with a matching blue marker. Three enamel dots are attached to help fill in some of the white space.

Do you love to create with Pink & Main stamps? We would love to see your projects! Please join the Pink & Main Creations Facebook Group and share your projects!

Thanks for stopping by!


Supplies:
Pink & Main - Wild About You stamp set and coordinating dies
DCWV - Boho Style
Markers - Chameleon and ZIG
Paper Studios - Enamel Dots

Friday, July 29, 2016

Bible Journaling w/ The Greeting Farm

Hello, everyone! It is Jessi from Kissin' Krafts!
I am excited to be back on the Butterfly Reflections, Ink blog, today!

I have joined the Bible Journaling community a few months ago. So when I saw that BRI carried the faith-based stamp sets from The Greeting Farm, I knew I had to get to work! For today's page, I choose the adorable Trust in the Lord stamp set. 


I stamped the angel image in the center of the column. The image is colored in using Neocolors and ZIG Clean Color markers. The phrases were stamped in black ink. The inside of the 'Lord' image is also colored in with Neocolors. I used a variety of blues and greens to create the scene around the angel. Water was used to blend the colors together.

If you would like to see the Trust in the Lord stamp set and the other The Greeting Farm sets, check out this SECTION in the BRI store.

Thank you for stopping by today!

Jessi

Supplies from BRI Store:
The Greeting Farm - Trust in the Lord stamp set

Thursday, July 28, 2016

DCWV Hello Darlin' Card

Hello, DCWV friends! It's Jessi from the Social Media Design Team. I have been cleaning my crafting area this past week. While I was making room for some new DCWV stacks, I came across one of my all-time favorites...Hello Darlin' Stack!

The Hello Darlin' Stack is full of bright colors and beautiful prints. It has been a while since I worked with the stack. It was time to change that!


This stack includes a sheet of diecuts to be used to embellish you projects. I love the camera diecut and decided to use it as the highlight of a card. I cut out a variety of prints and embellishments to create the card.


Instructions:
  1. Attach the two prints to form a background mat for an A2 card.
  2. Attach the circle diecut to the mat towards the bottom third of the card.
  3. Attach yellow strip to overlap the bottom of the circle.
  4. Attach the embellishments (sentiment, banner, and camera) to the card.
Such a simple and beautiful card to recreate!

Thank you for stopping by today!

Jessi


Supplies:

Monday, July 25, 2016

Christmas in July DCWV Giveaway

Today is the 25th of July! What a perfect day to do a Christmas in July giveaway!

I love being on the DCWV design team! DCWV is an amazing company with a wide selection of awesome paper goodies! They are very generous to us and now it is time to pass on some of the goodies to one lucky winner!

Here is the prize package up for grabs:


This prize package includes:
3 - 12x12 stacks
2 - 6x6 stack
1 - DIY stack
1 - small album

Who is ready to hear how to enter? Leave a comment for each item below you complete!
This giveaway ends at 11:59 PM CST July 31st. Winner will be announced on the blog the following week!

Thank you and have a great day!

Merry Christmas in July!

Saturday, July 23, 2016

Sweet Birthday Wishes

Happy Saturday, Pink & Main friends! Our family has a few July birthdays, so I have been cranking out the birthday cards and wanted to share one of my latest Pink & Main creations.

Today, I am working with one of Pink & Main oldies, Birthday Wishes stamp set.

I paired up the Pink & Main stamps with some festive birthday prints. The background of the card is cut from print and a circle is cut out and attached to the card base. The fun Pink & Main sentiment is stamped in the empty space of the circle and colored in.  A few colorful diecut balloons are attached to the card with foam tape and twine. To complete the card, I added a few diecut stars on the card!

Do you love to create with Pink & Main stamps? We would love to see your projects! Please join the Pink & Main Creations Facebook Group and share your projects!

Thanks for stopping by!


Supplies:
Pink & Main - Birthday Wishes
DCWV - The Birthday Stack
Trendy Twine - Totally White
Paper Smooches - Balloon Dies
MFT - Star Dies

Tuesday, July 19, 2016

Enjoy the Summer


 Hello, Joy Clair friends!  I recently came back vacation and now I need another one...maybe a kid-free one! Our family vacation was a blast, however, I tend to schedule a ton of stuff and never get a chance to relax. So with that in mind, I came up with a perfect card!

Today's card uses the following stamp sets: April Showers, Let the Light Shine, and Raise your Glass. 


Interested in learning how I made these projects? You can find out the details on the Joy Clair blog!

What to learn more about Joy Clair stamps or see a number of inspirational projects using the stamps, please join the Joy Clair Facebook Group and our Color by Faith Facebook Group.
Thank you for stopping by!

Jessi
Supplies:
Joy Clair Stamps - April Showers, Let the Light Shine, and Raise your Glass

Friday, July 8, 2016

Pink & Main's Magical Unicorns


Happy Saturday, Pink & Main friends! Last week, I showcased a card using the new scallop border dies. I used them to create waves. This week, I am using the same layout, but with another use.

I used the same border dies to create the clouds on this card.


I also included the Magical Unicorns stamp set on this card. When I first saw the image of the unicorn sitting down, I imaged it sitting on a cloud. I stamped the image and colored in with a variety of markers. The image is cut out and attached between the layers of clouds. I stamped the remaining clouds in a similar ink as the background cardstock. The sentiment stamped in the same color. To finish the card by added a few die cut stars.

Be sure to stop by on July 10th to see the newest dies added to the Pink & Main collection!

Do you love to create with Pink & Main stamps? We would love to see your projects! Please join the Pink & Main Creations Facebook Group and share your projects!

Thanks for stopping by!


Supplies:
Pink & Main - Scalloped Borders

Thursday, July 7, 2016

DCWV Watercolor Stack Layout

Hello, DCWV friends! It's Jessi from the Social Media Design Team. I am truly excited to be sharing another layout with you today! I am sort of in a slump of creating cards, but that is OK, because my love for scrapbooking is growing and it is now a fun art for me!

Today I am using two stacks that will be available soon at Hobby Lobby stores, Watercolor and Embossed White stacks!


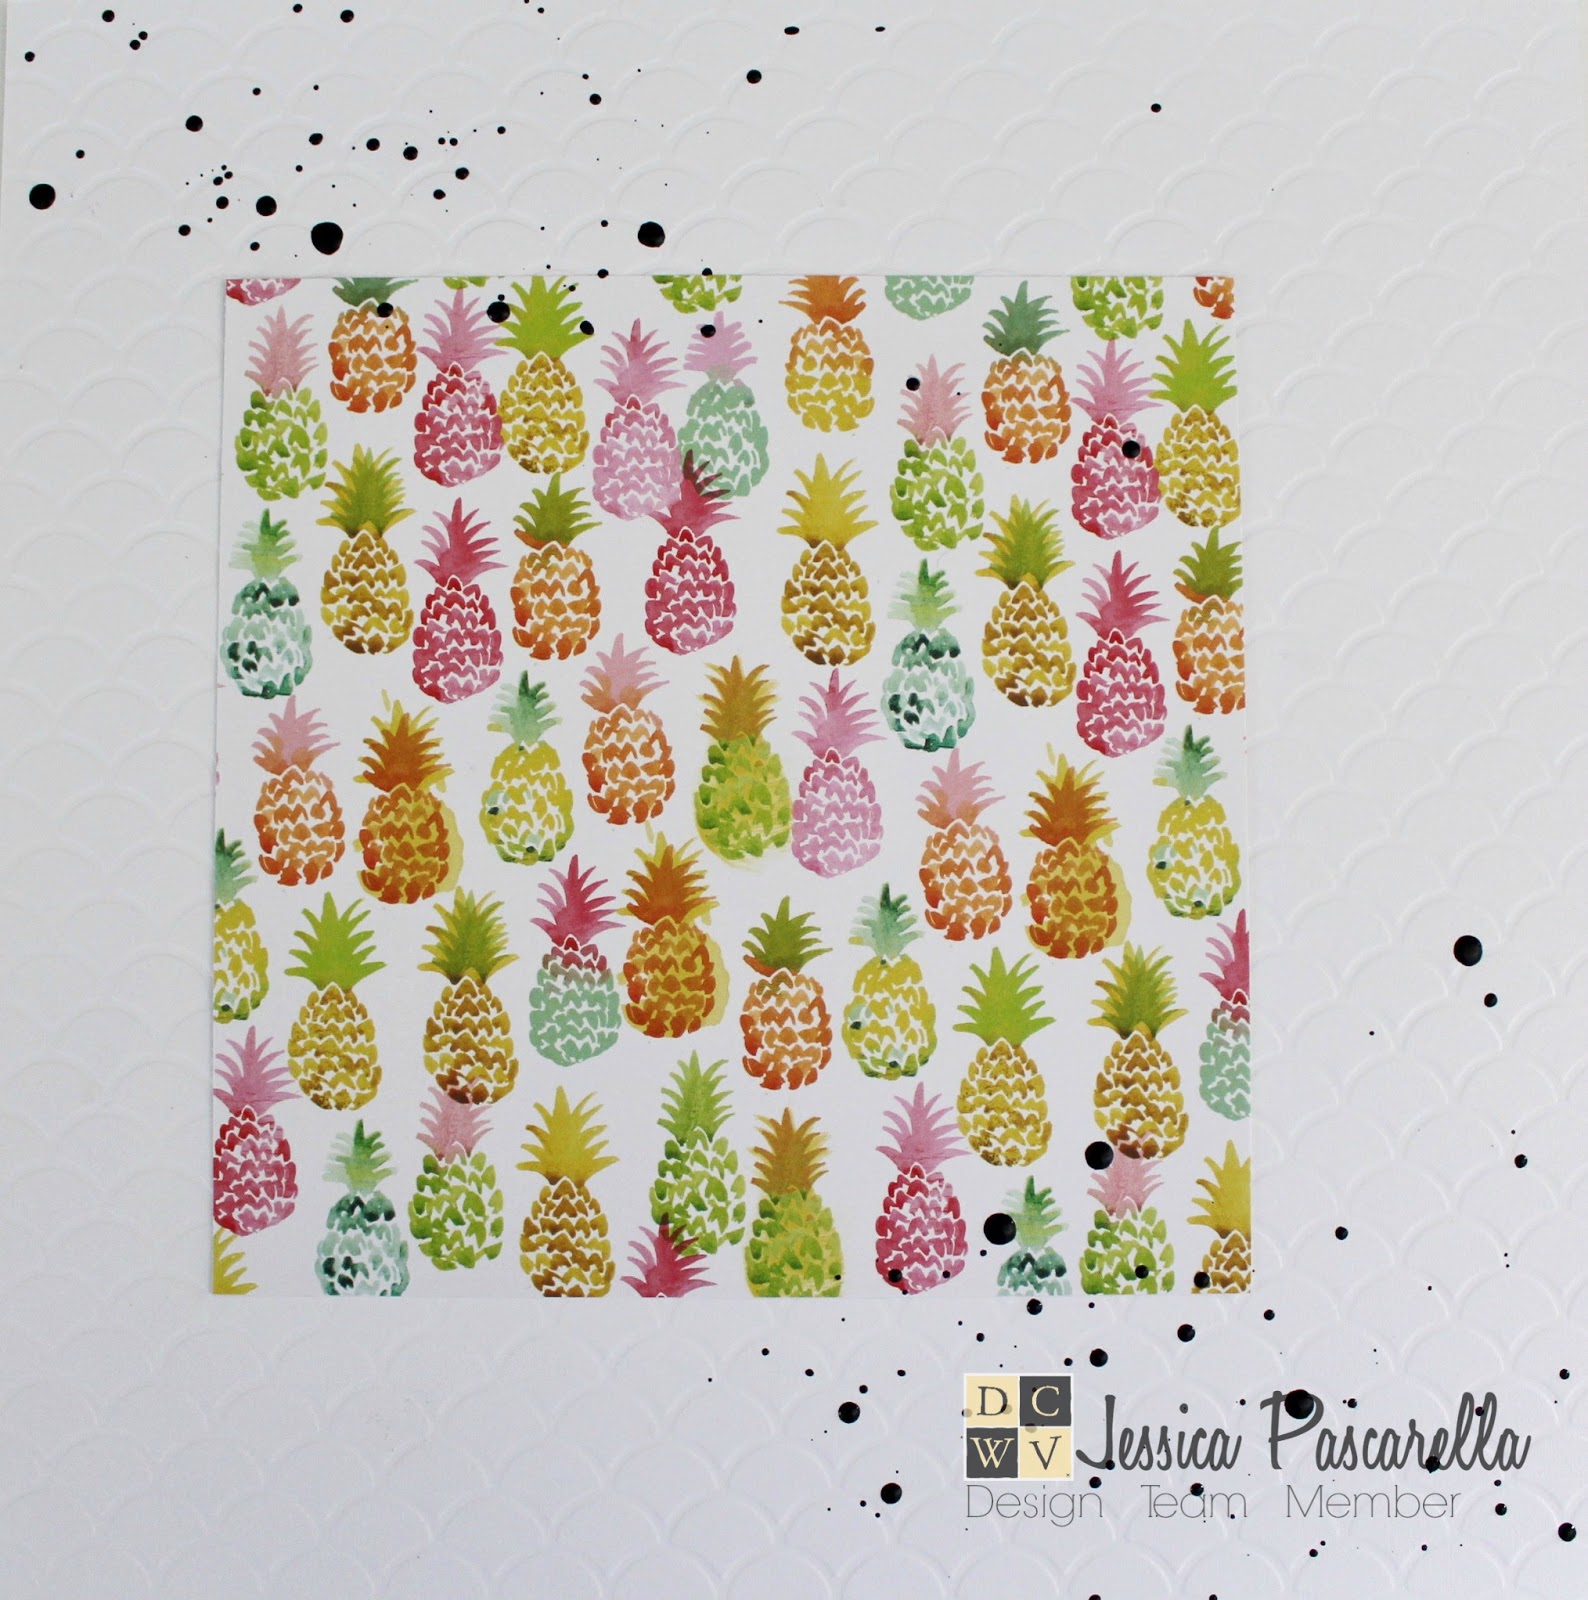
There are quite of few pineapples throughout the Watercolor Stack, so I decided to highlight them in different parts of the layout. I chose the color pineapple print to be the main background of the layout. I attached the print to a piece of white embossed cardstock. I decided to have the de-bossed side of the cardstock as the front of the layout. I loved how the print caused the indentions to the page.


I knew that the journal card I was going to use had black, so I wanted to add more black to the layout. I opted for black paint splatters. I used watered down acrylic paint on the end of a paint brush to form the splatters.


While the paint splatters are drying, it was time to piece the layers together. I used a variety of prints and one sheet of vellum to highlight the photo. The photo is attached to one fun print and set aside. A different print and vellum are attached together and matted onto the final print slightly tilted. The matted photo is attached to the top. A pineapple diecut is attached to the corner using a foam square.


To finish the layout, I added a journaling card and cut out a few words that were part of the Watercolor Stack.

Thank you for stopping by today!

Jessi


Supplies:
DCWV - Watercolor Stack and Embossed White Stack
Paper Studio - Vellum Sheet
Gina K Designs - Pineapple Die
Black Acrylic Paint